You started learning Django by creating a blog from the DG tutorial at a Django Girls event near you. This is the first python event you’ve been to and you fell in love with both the language and the community. Now you have your first application you want to learn how to do more and improve your skills.
This blog post narrates the process of implementing an interactive map and how to embed said map into Django website. You’ll learn how to create relationships between tables through foreign keys. You’ll also learn how to filter objects in the database using the Django ORM and create specific pages to show the filtered objects.
Note: You can also skip ahead to the section Storing Spacial Data if you already have the blog from Django Girls tutorial.
The code shown on this tutorial is also available in this GitHub repository.
Putting together the Django Girls Tutorial blog
You can go to the Django Girls Tutorial here to learn in more detail how to put together the blog but below you’ll see the steps I’ve taken with some minor edits of my own for simplicity sake.
Getting started: Set Up
Creating the python environment, installing Django, and creating the blog app:
|
|
|
|
|
The first thing to note is that by default Django uses SQLite as the default database, you can check that by looking in travel_diaries/settings.py and looking for the DATABASES variable and you should see something like this:
|
|
|
|
|
|
After creating the blog app you should add it to the INSTALLED_APPS list in travel_diaries/settings.py:
|
|
|
|
I also updated the timezone and the language settings in the same file:
|
|
|
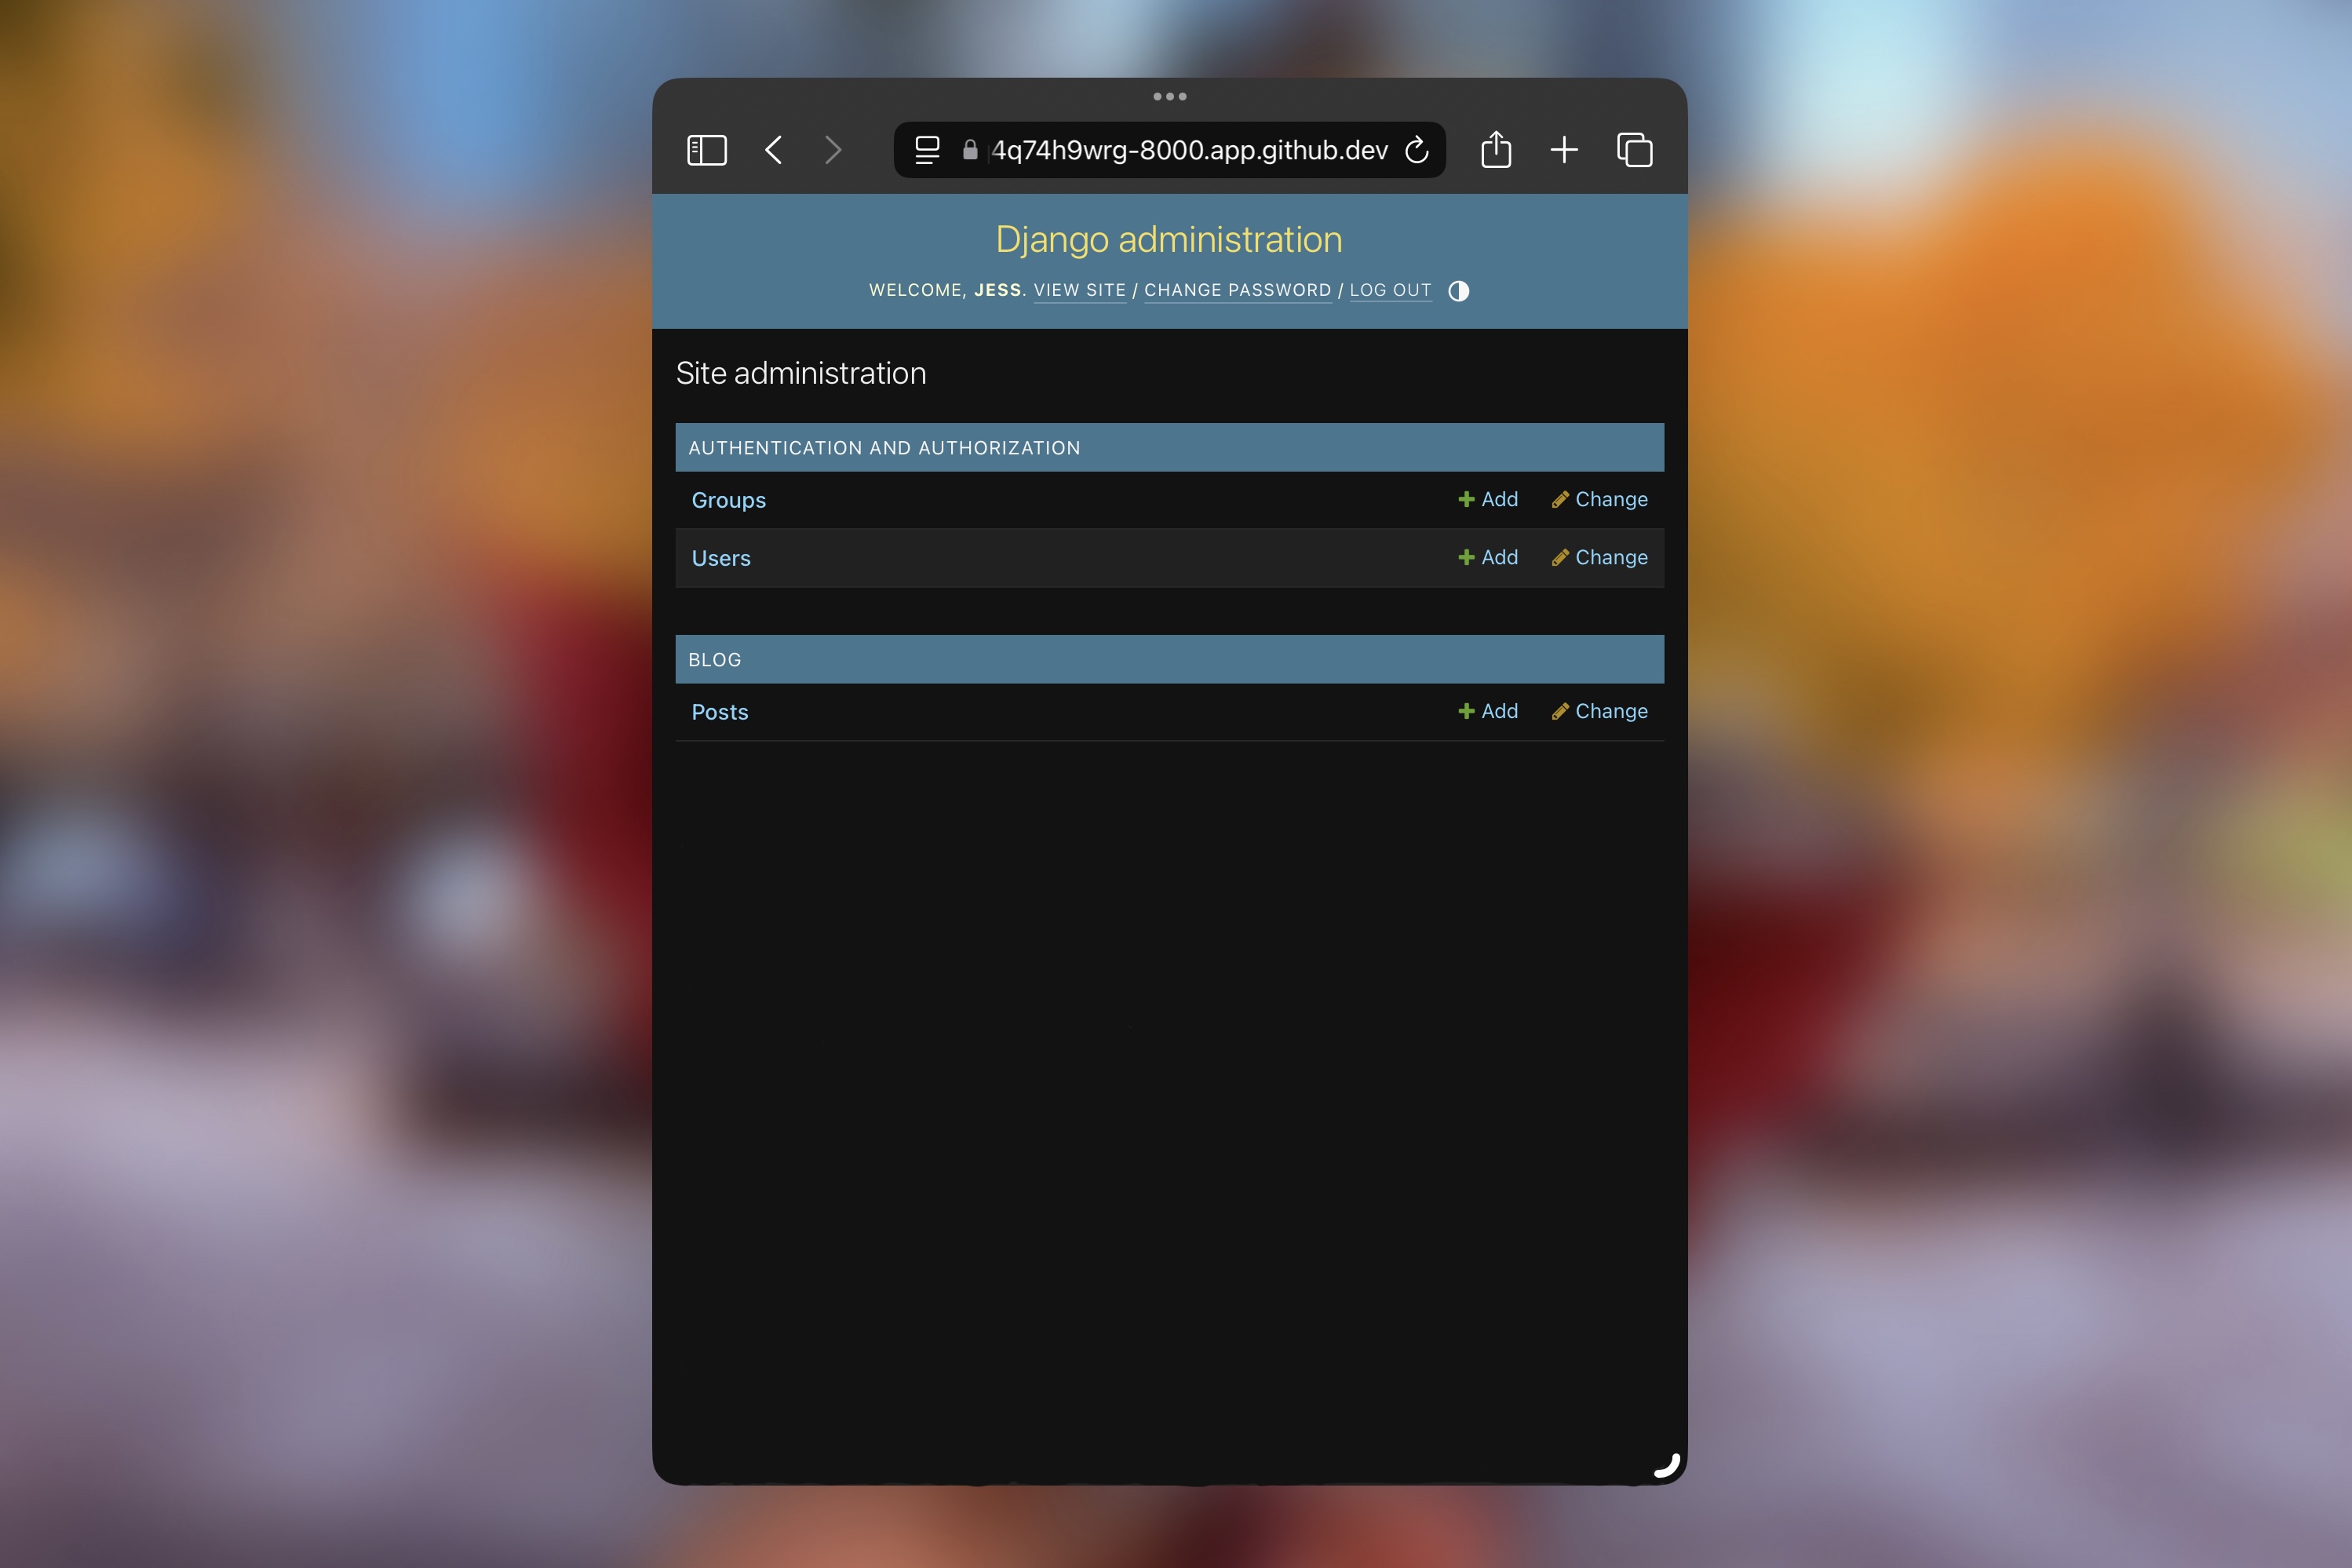
Creating Superusers
One last thing to do before running the app: creating a user with admin powers.
To do so, you need to run the migrations already created by default when you start your project. This creates the basic structure Django needs to create users for accessing the /admin, is through the /admin that you can create blog posts.
|
|
Then run the server:
|
Now you can also access the admin page and login at http://127.0.0.1:8000/admin.
Modeling a Post
The only thing you can do at this point is manage and create users. Let’s change that.
For the purpose of this tutorial you’ll only have one user that is you, and you’ll be the author of the blog posts, so let’s move on to modeling a post. First create the blog app:
|
Then add the following to blog/models.py
|
|
|
|
|
|
|
|
|
|
|
|
|
|
|
|
|
Note that, differently from the Django Girls Tutorial, here we are protecting authors upon deletion of blog posts by using on_delete=models.Protect, this avoids the author being deleted when a blog post is deleted.
Then remember to register your new model in the admin so you can see it in /admin and be able to create blog posts, to do so open blog/admin.py and update the file like so:
|
|
|
|
If you have the /admin page open just refresh it and you should see your Post model in there, if not run your server and login to see it.
Creating Posts
Before you can actually create a post you need to create the corresponding tables on the database, do that by running the two commands below:
|
|
The makemigrations command creates scripts to update the database called migrations, since this is a new model, the script will create a new table to store the data for each new post. Then the migrate command actually run the migrations and creates the tables and other updates.
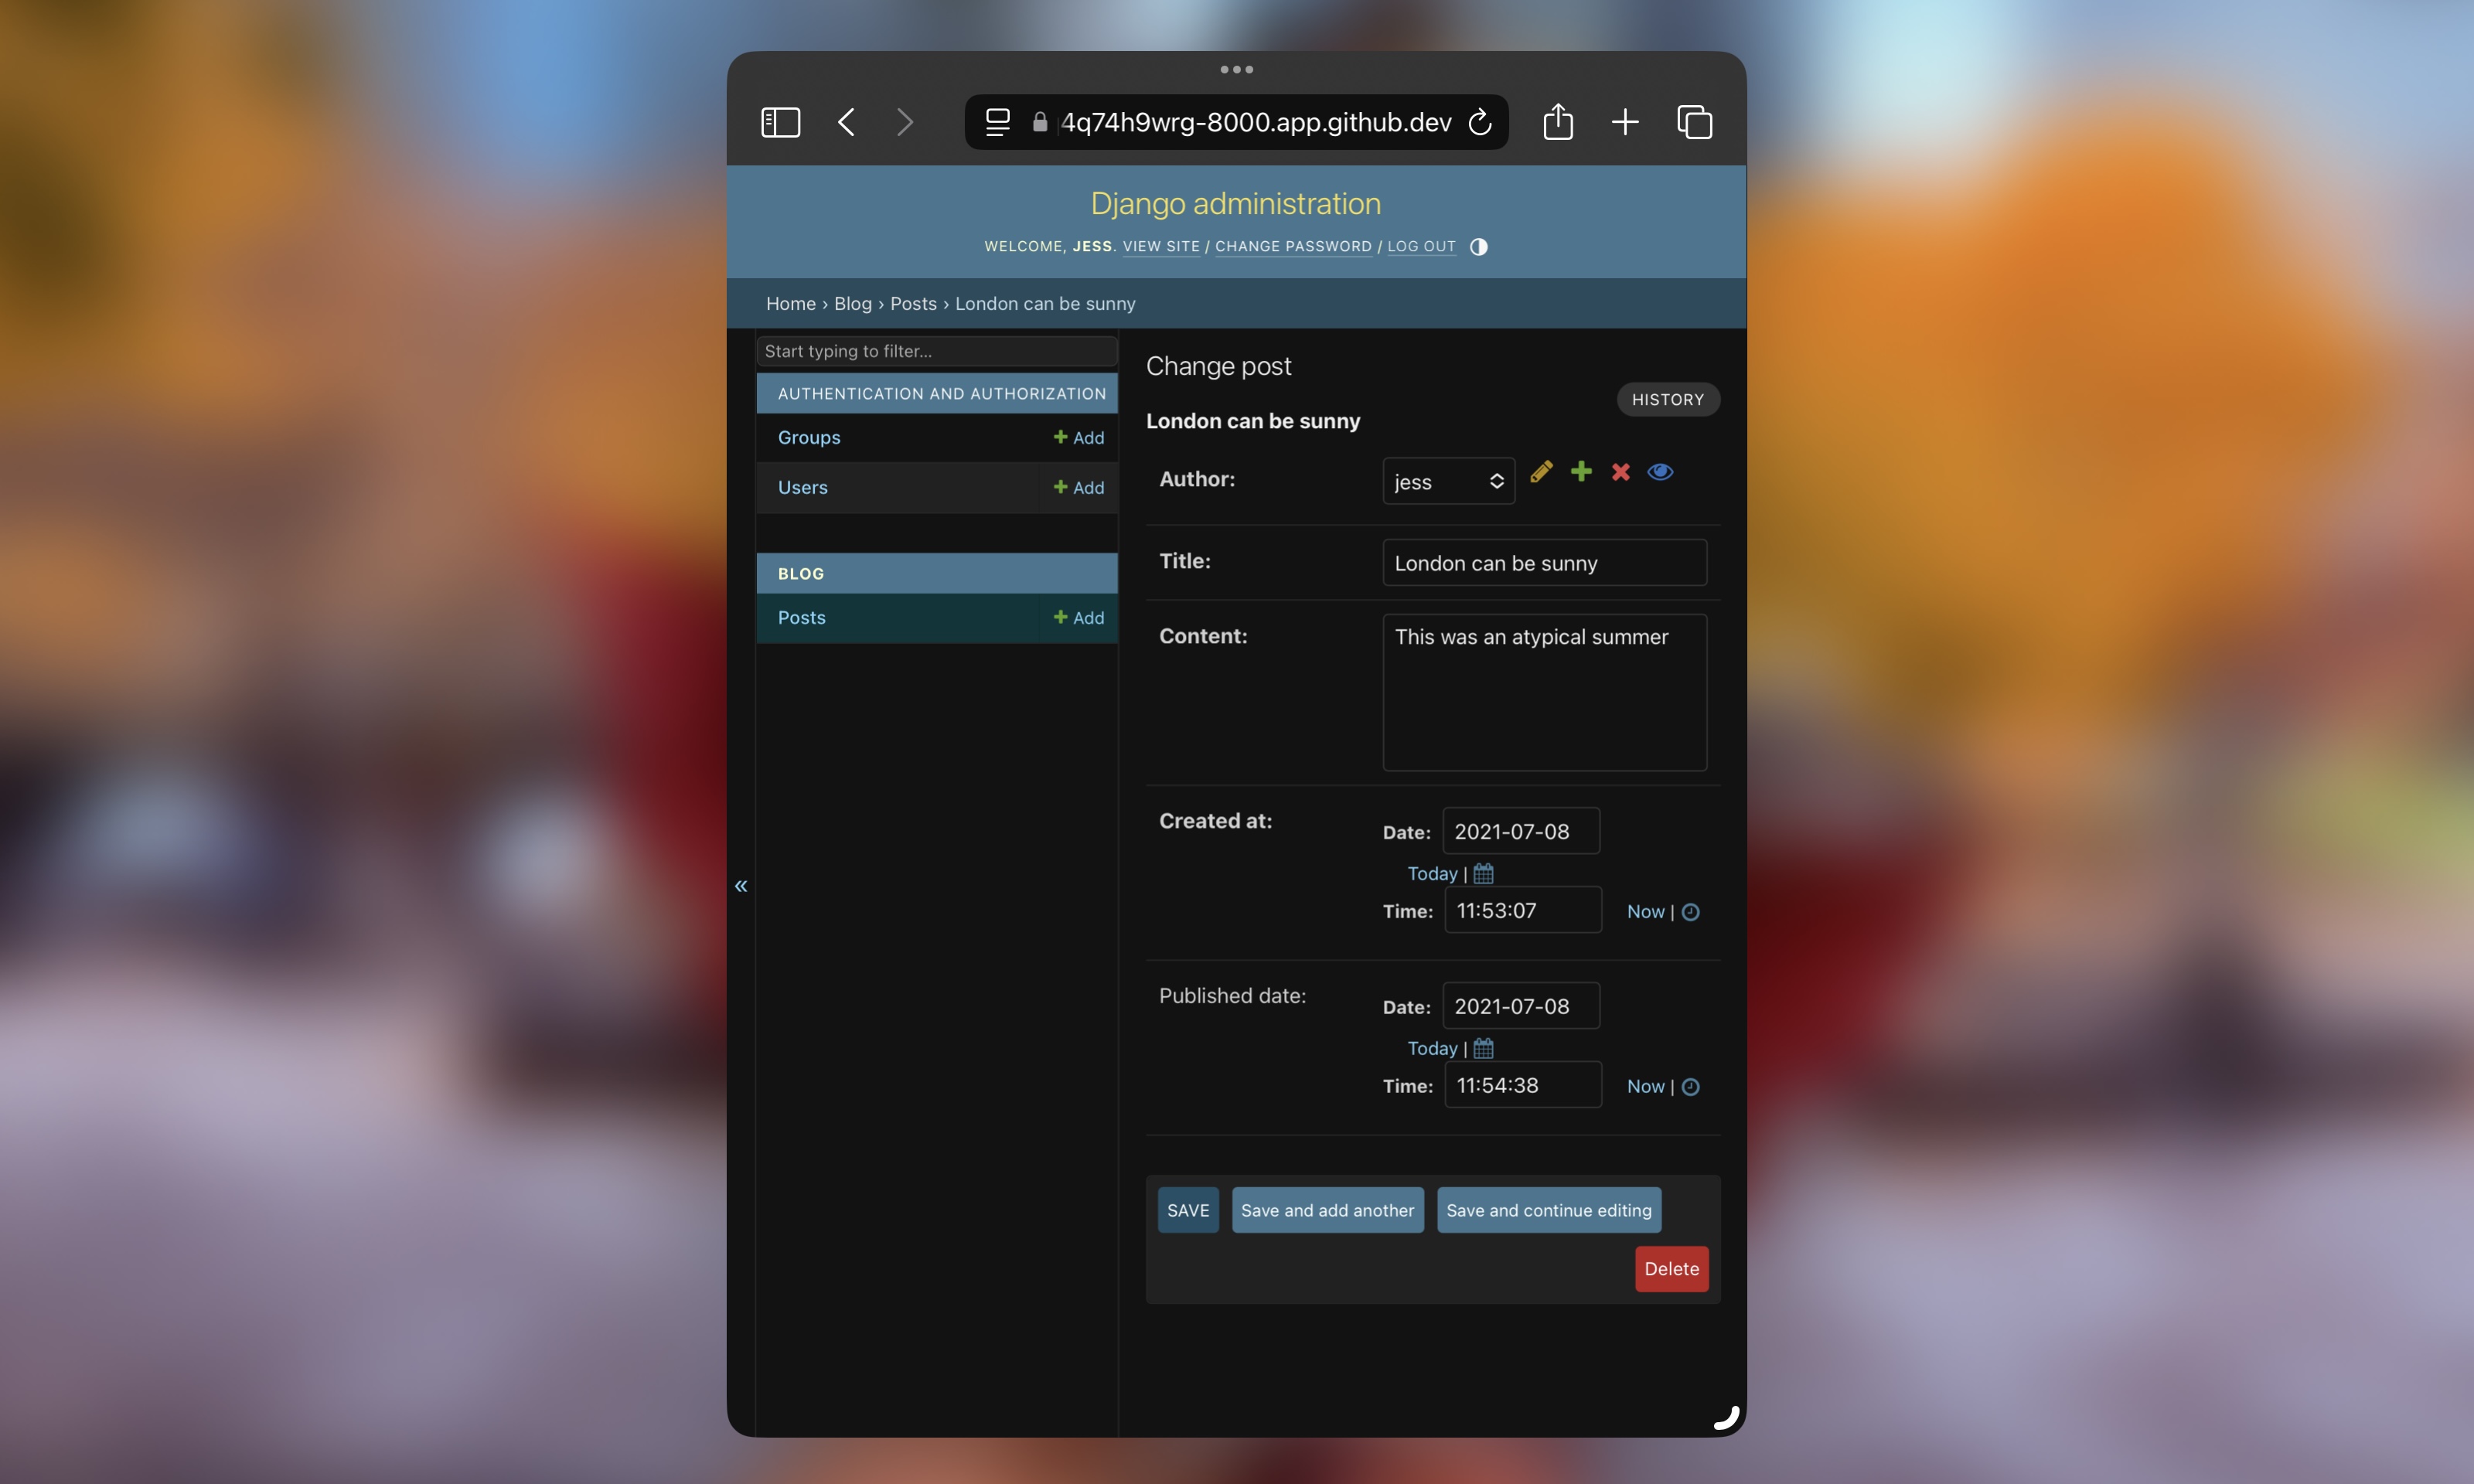
Through the /admin interface you should be able to create your blog posts. Take some time to add a couple so you can have some data, this will be used later too.
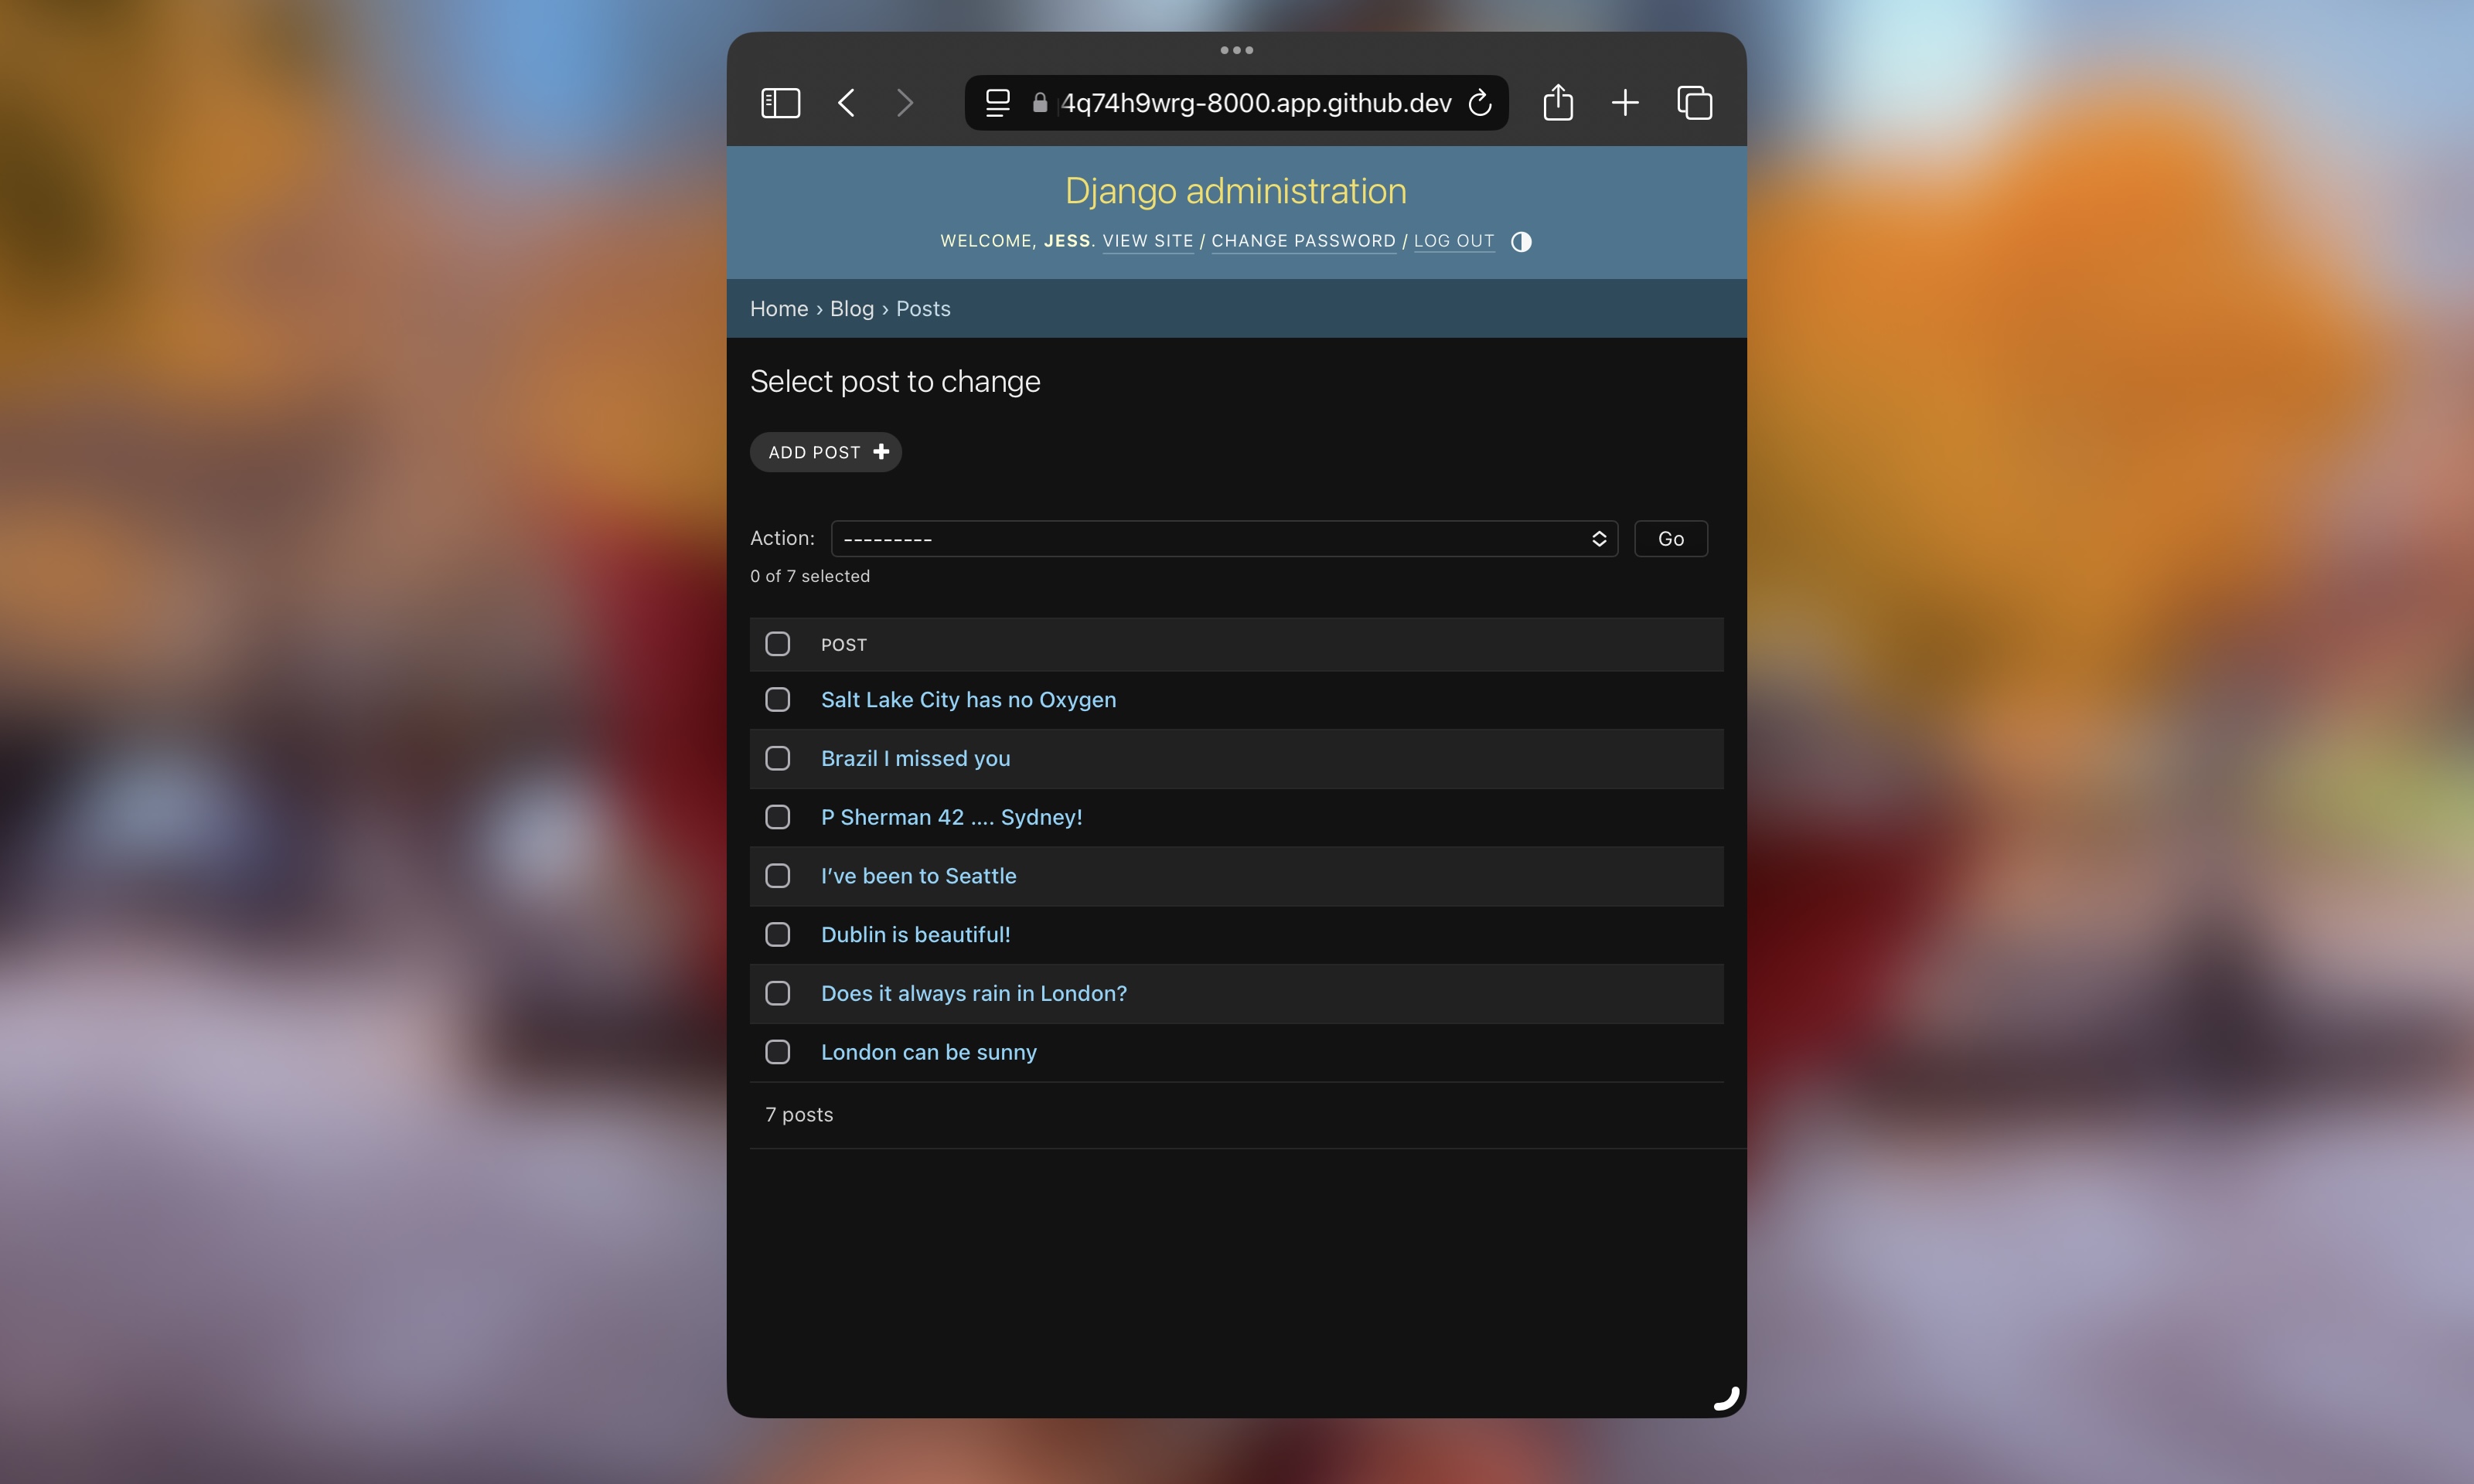
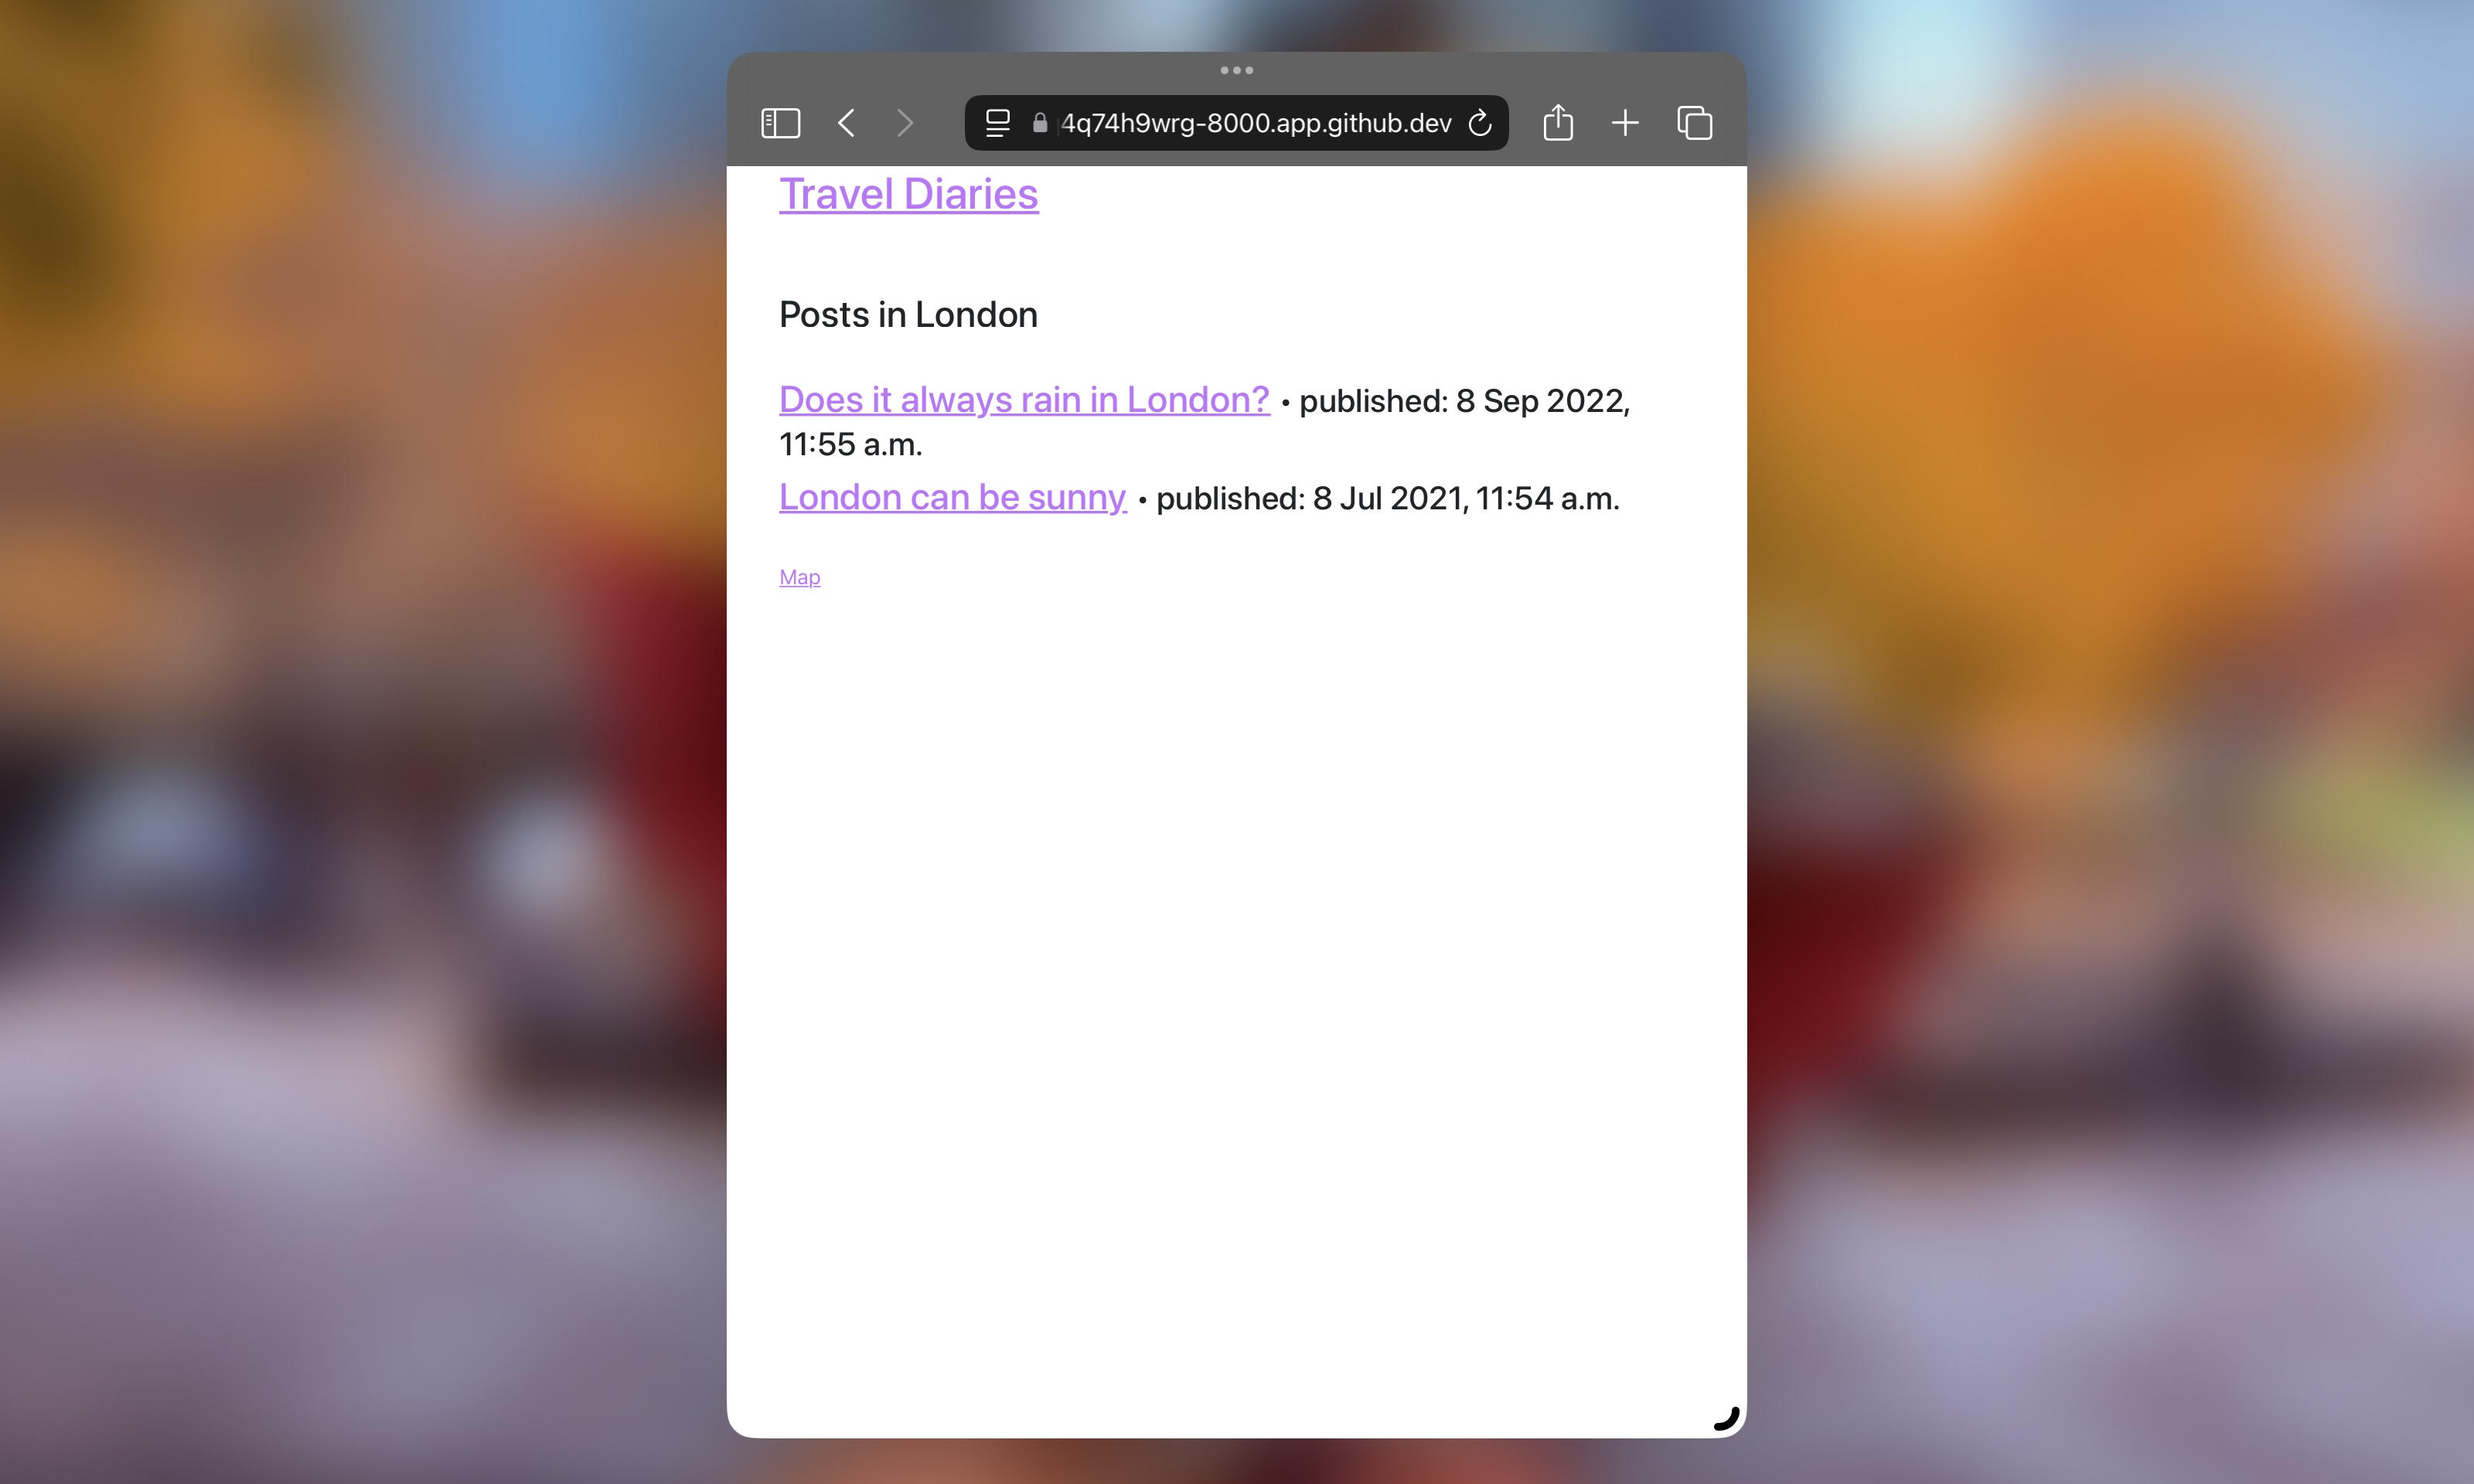
Listing Blog Posts in a Page
Time to create HTML and CSS files so we can list our posts and render the posts beautifully.
- Inside your
blog/folder, create atemplates/folder and then ablog/folder inside templates; -
Now create a
base.htmlwith the following code:{% load static %}<!DOCTYPE html><head><title>{% block title %}Travel Diaries{% endblock %}</title><link rel="stylesheet" href="https://cdn.jsdelivr.net/npm/bootstrap@5.3.3/dist/css/bootstrap.min.css" integrity="sha384-QWTKZyjpPEjISv5WaRU9OFeRpok6YctnYmDr5pNlyT2bRjXh0JMhjY6hW+ALEwIH" crossorigin="anonymous"><link rel="stylesheet" href="{% static 'css/blog.css' %}"></head><body><header class="page-header"><div class="container"><h1><a href="/">Travel Diaries</a></h1></div></header><br><br><main class="container"><div class="row"><div class="col">{% block content %}{% endblock %}</div></div></main></body></html>This base template will hold all the bits of HTML you can reuse across all other pages that extend it.
-
Create also a
post_list.htmllike so:{% extends 'blog/base.html' %}{% block content %}{% for post in posts %}<article><h2><a href="{% url 'post_detail' pk=post.pk %}">{{ post.title }}</a> <small> • <time>published: {{ post.published_date }}</time></small></h2></article>{% endfor %}{% endblock %}Note: This post list is a bit different from that on the Django Girls tutorial as it only displays the Post title and publishing date.
-
And finally
post_detail.html:{% extends 'blog/base.html' %}{% block content %}<article><h2>{{ post.title }}</h2><small><time>published: {{ post.published_date }}</time></small><br><br><p>{{ post.content | safe | linebreaks }}</p></article>{% endblock %}Note: This post detail is also a bit different from that on the Django Girls tutorial as it not only displays the Post content but also allow for rendering HTMLs that might be part of the post like the embedded code for a YouTube video for example.
-
Now you may have noticed the usage of a CSS file in the
base.html, but you currently don’t have that file, so let’s us create it, create astatic/folder inside your blog app folder and in it acss/folder containing ablog.cssfile with the following content:h1 a, h2 a {color: #c175ff;}Make sure to change the color you see there as a hex code to one of your liking.
-
Now you need a view or better views to use these amazing templates. So update
blog/views.pyto this:from django.shortcuts import render, get_object_or_404from django.utils import timezonefrom .models import Postdef post_list(request):posts = Post.objects.filter(published_date__lte=timezone.now()).order_by('-published_date')return render(request, 'blog/post_list.html', {"posts": posts})def post_detail(request, pk):post = get_object_or_404(Post, pk=pk)return render(request, 'blog/post_detail.html', {"post": post})The
post_listfunction will grab all posts you have order them by the publish date putting the most recent blog post first in theposts. This filter returns aQuerySetthat gets injected into the page when therender()is called. You can think of thisQuerySetas a list resulting of filtering the posts in the database.The
post_detailfunction on the other hand, is responsible for rendering a given post in its own page, it finds the post if it exists using its primary key and injects that through the render function. -
To make use of the HTMLs and Views you need to update the URLs so your application know how to render the blog pages, so create the
urls.pyfile within your blog app and update theblog/urls.pylike this:from django.urls import pathfrom . import viewsurlpatterns = [path('', views.post_list, name='post_list'),path('post/<int:pk>', views.post_detail, name='post_detail'),]The first pattern uses the
post_list.htmland corresponding homonyms view to render the list of posts while the second is responsible for generating a page for each individual post. Note that the post URL for an individual post follows a pattern likepost/1where the1is the primary key of a post in the database.An improvement for a later date is to use the post slug for generating the URL as opposed to the primary key.
Now you can see a post like this:

Storing Spacial Data
Up until now it you had a recap of the Django Girls Tutorial with some tiny differences. If you want more details you can find it in the Django Girls Tutorial.
But let’s move to the fun parts! First things first, we need to make a decision: should you store the location as part of the post model itself or should you create a separate object to store the information? And if you separate things in different models, should you keep things in the same app or put things in a separate app entirely?
To facilitate re-usability, since you can have more than one blog post for a given location, maybe a place you visit quite often, is better to separate the location as its own model.
With the same mindset, we should be able to keep each module as specific to the part of the application it contains, it is a good practice to separate responsibilities into different apps, having a separate app also allows you to re-use this code in other projects, so that’s what we’ll do in this blog post.
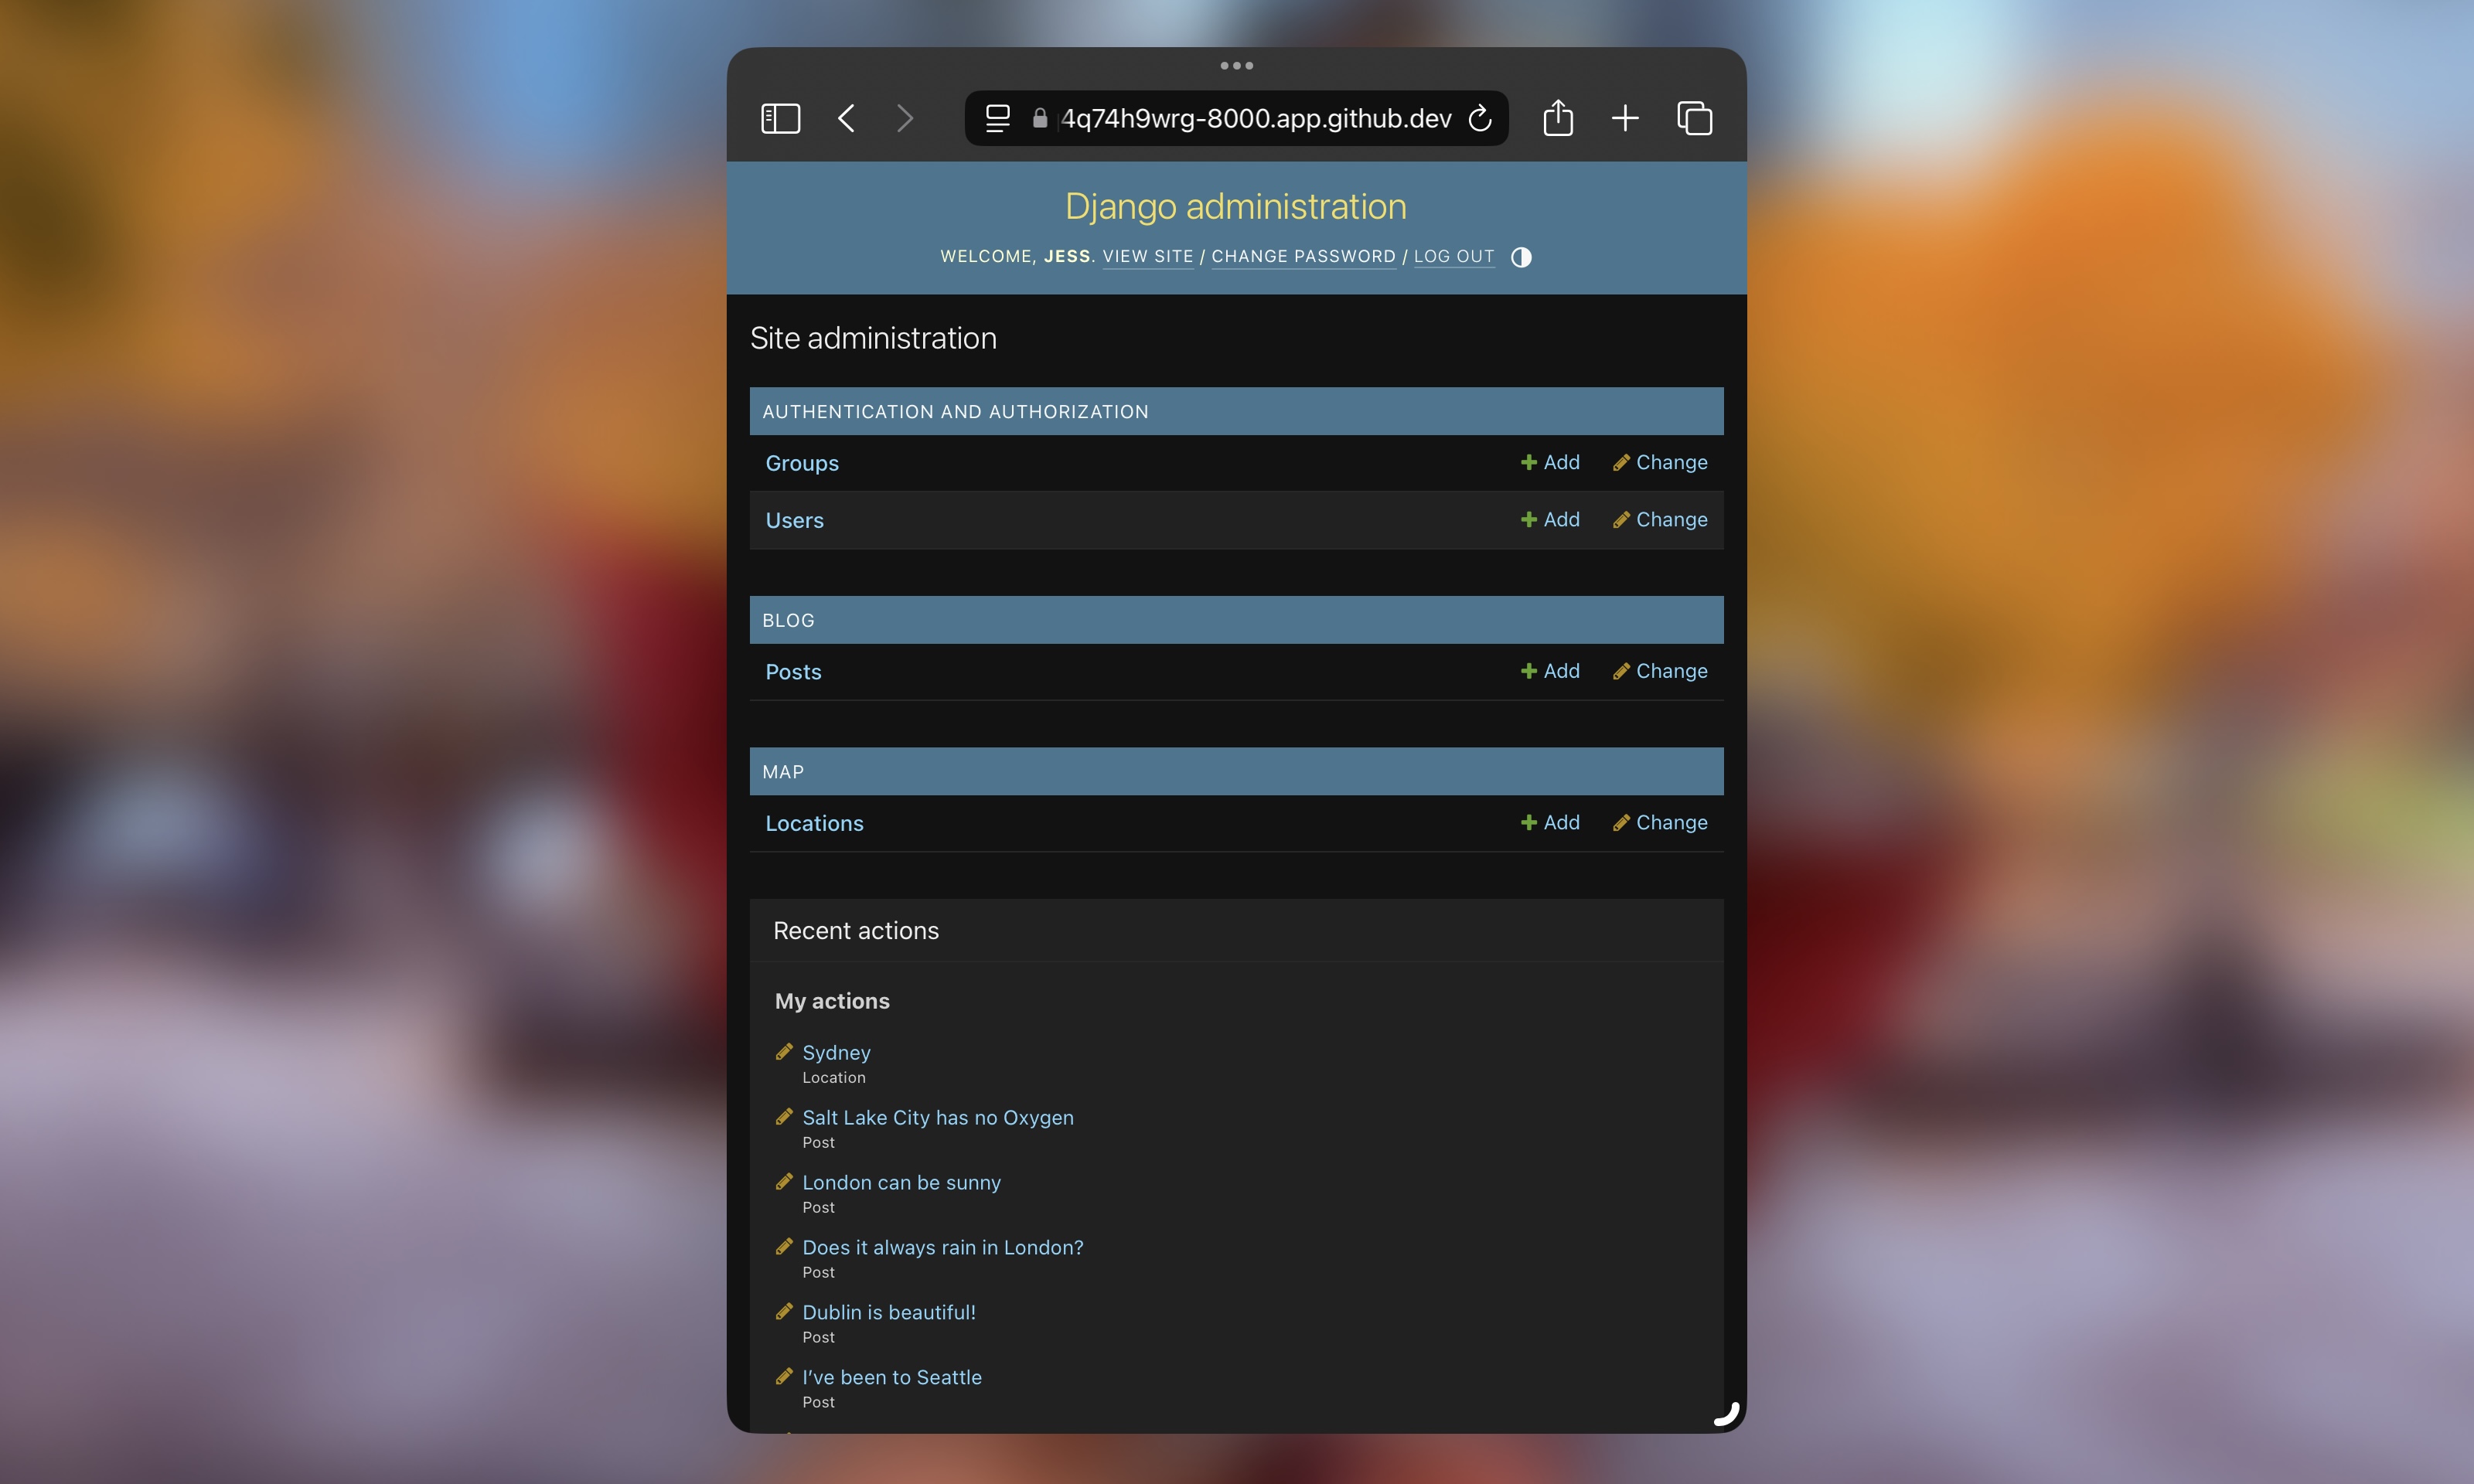
Creating Map App
The app to hold the locations will be named Map and will host all logic for locations and the map generation. Splitting this allow you for example to reutilize the code at other applications with little refactor, and also for the map to exist almost independently from your blog. Let’s create a new app:
|
Then add that to your application by updating the travel_diaries/settings.py:
|
|
|
|
|
|
Modeling a Location
In order to show locations both on the blog and on the map you need to be able store them so we need a model, update map/models.py like so:
|
|
|
|
|
|
|
|
|
Put simply a Location has a name and the coordinates to find it in a map (latitude and longitude).
Since you now have a model is a good time to create the corresponding table on your database, run:
|
|
Creating a Map
Now that you have a model you need to both add a view for it, and add it to the admin so you can create new locations. Let’s start with the basics: creating the view. Go to the map/views.py and add the following code:
|
|
|
|
|
|
|
|
Let’s breakdown what is happening:
folium: is a library to that allows you to create maps in Python with Leafleet.js, you can check out the Folium documentation here or this other blog post I wrote to learn the Folium basics (translated with the help of Google from Portuguese - for now);folium.Map: creates a map of the world far enough to see most of the world map;folium_map.get_root().render(): exports the created map into an HTML as a string that can be passed to the view.
After updating the map/views.py install Folium like this:
|
Define the URL patterns for map app in the map/urls.py like this:
|
|
|
|
|
|
And add the map app to the application URLs in the travel_diaries/urls.py like this:
|
|
|
|
|
|
|
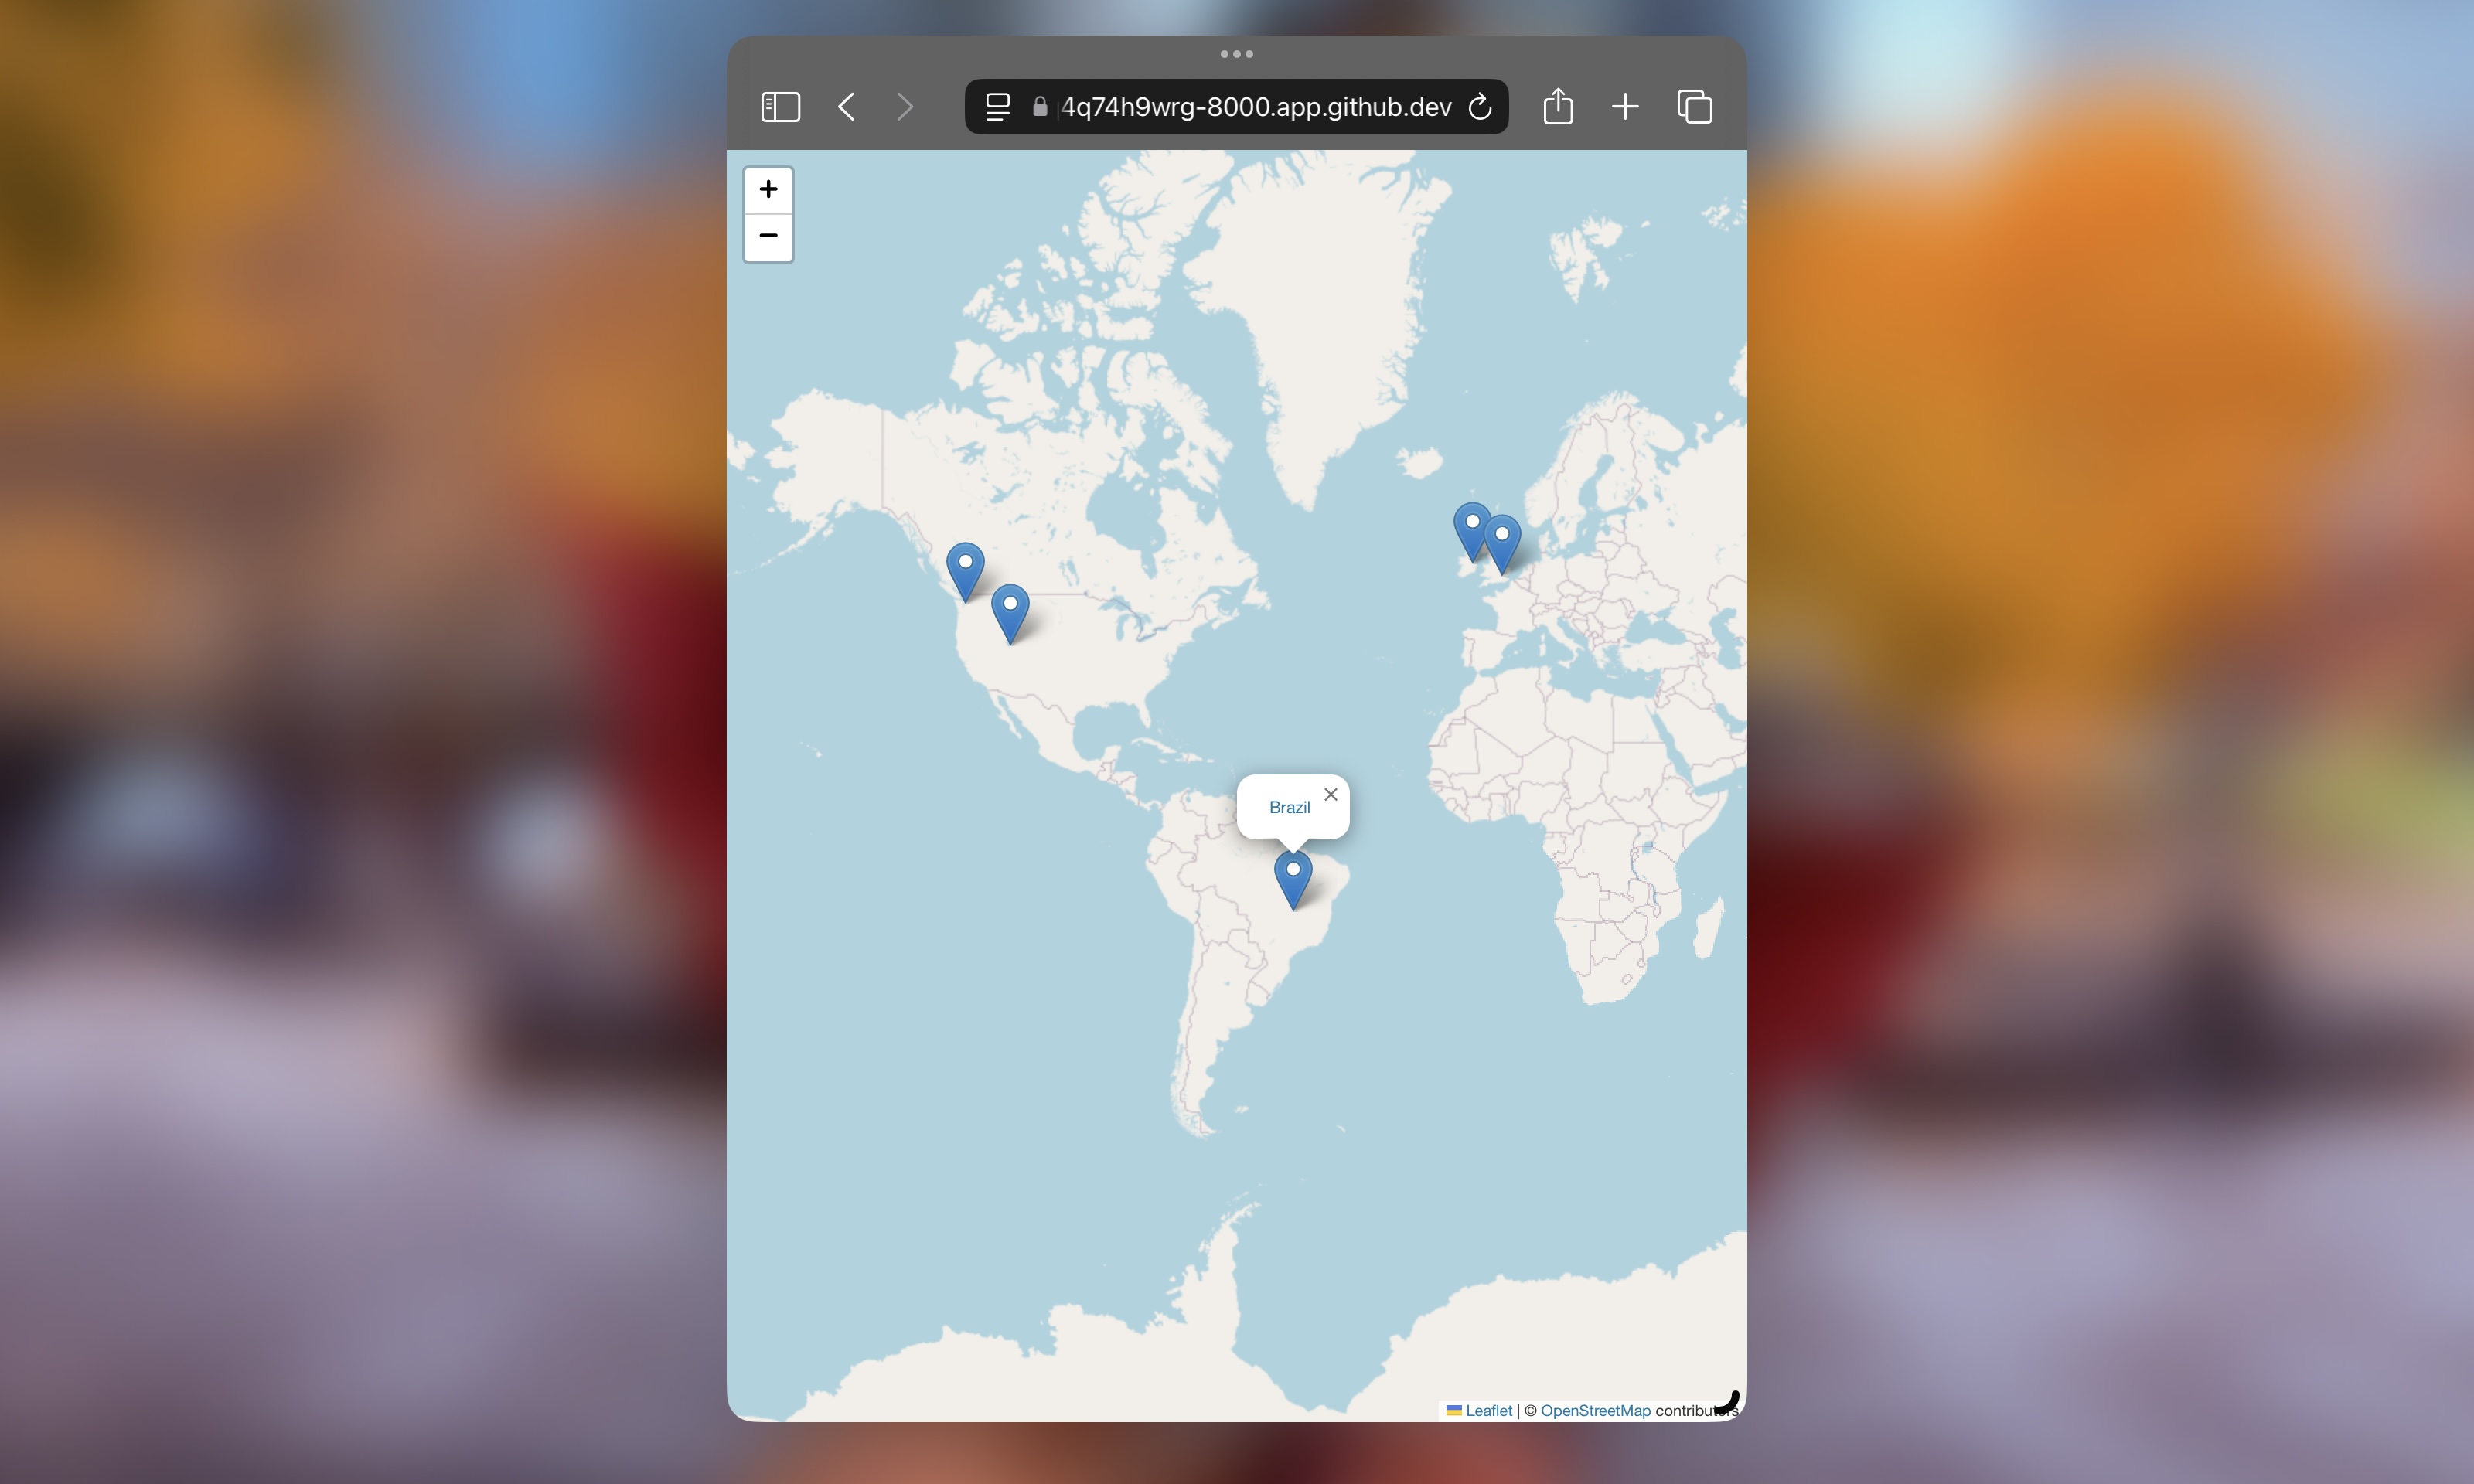
With these alterations every time someone access /map endpoint on your site they will see the map created.
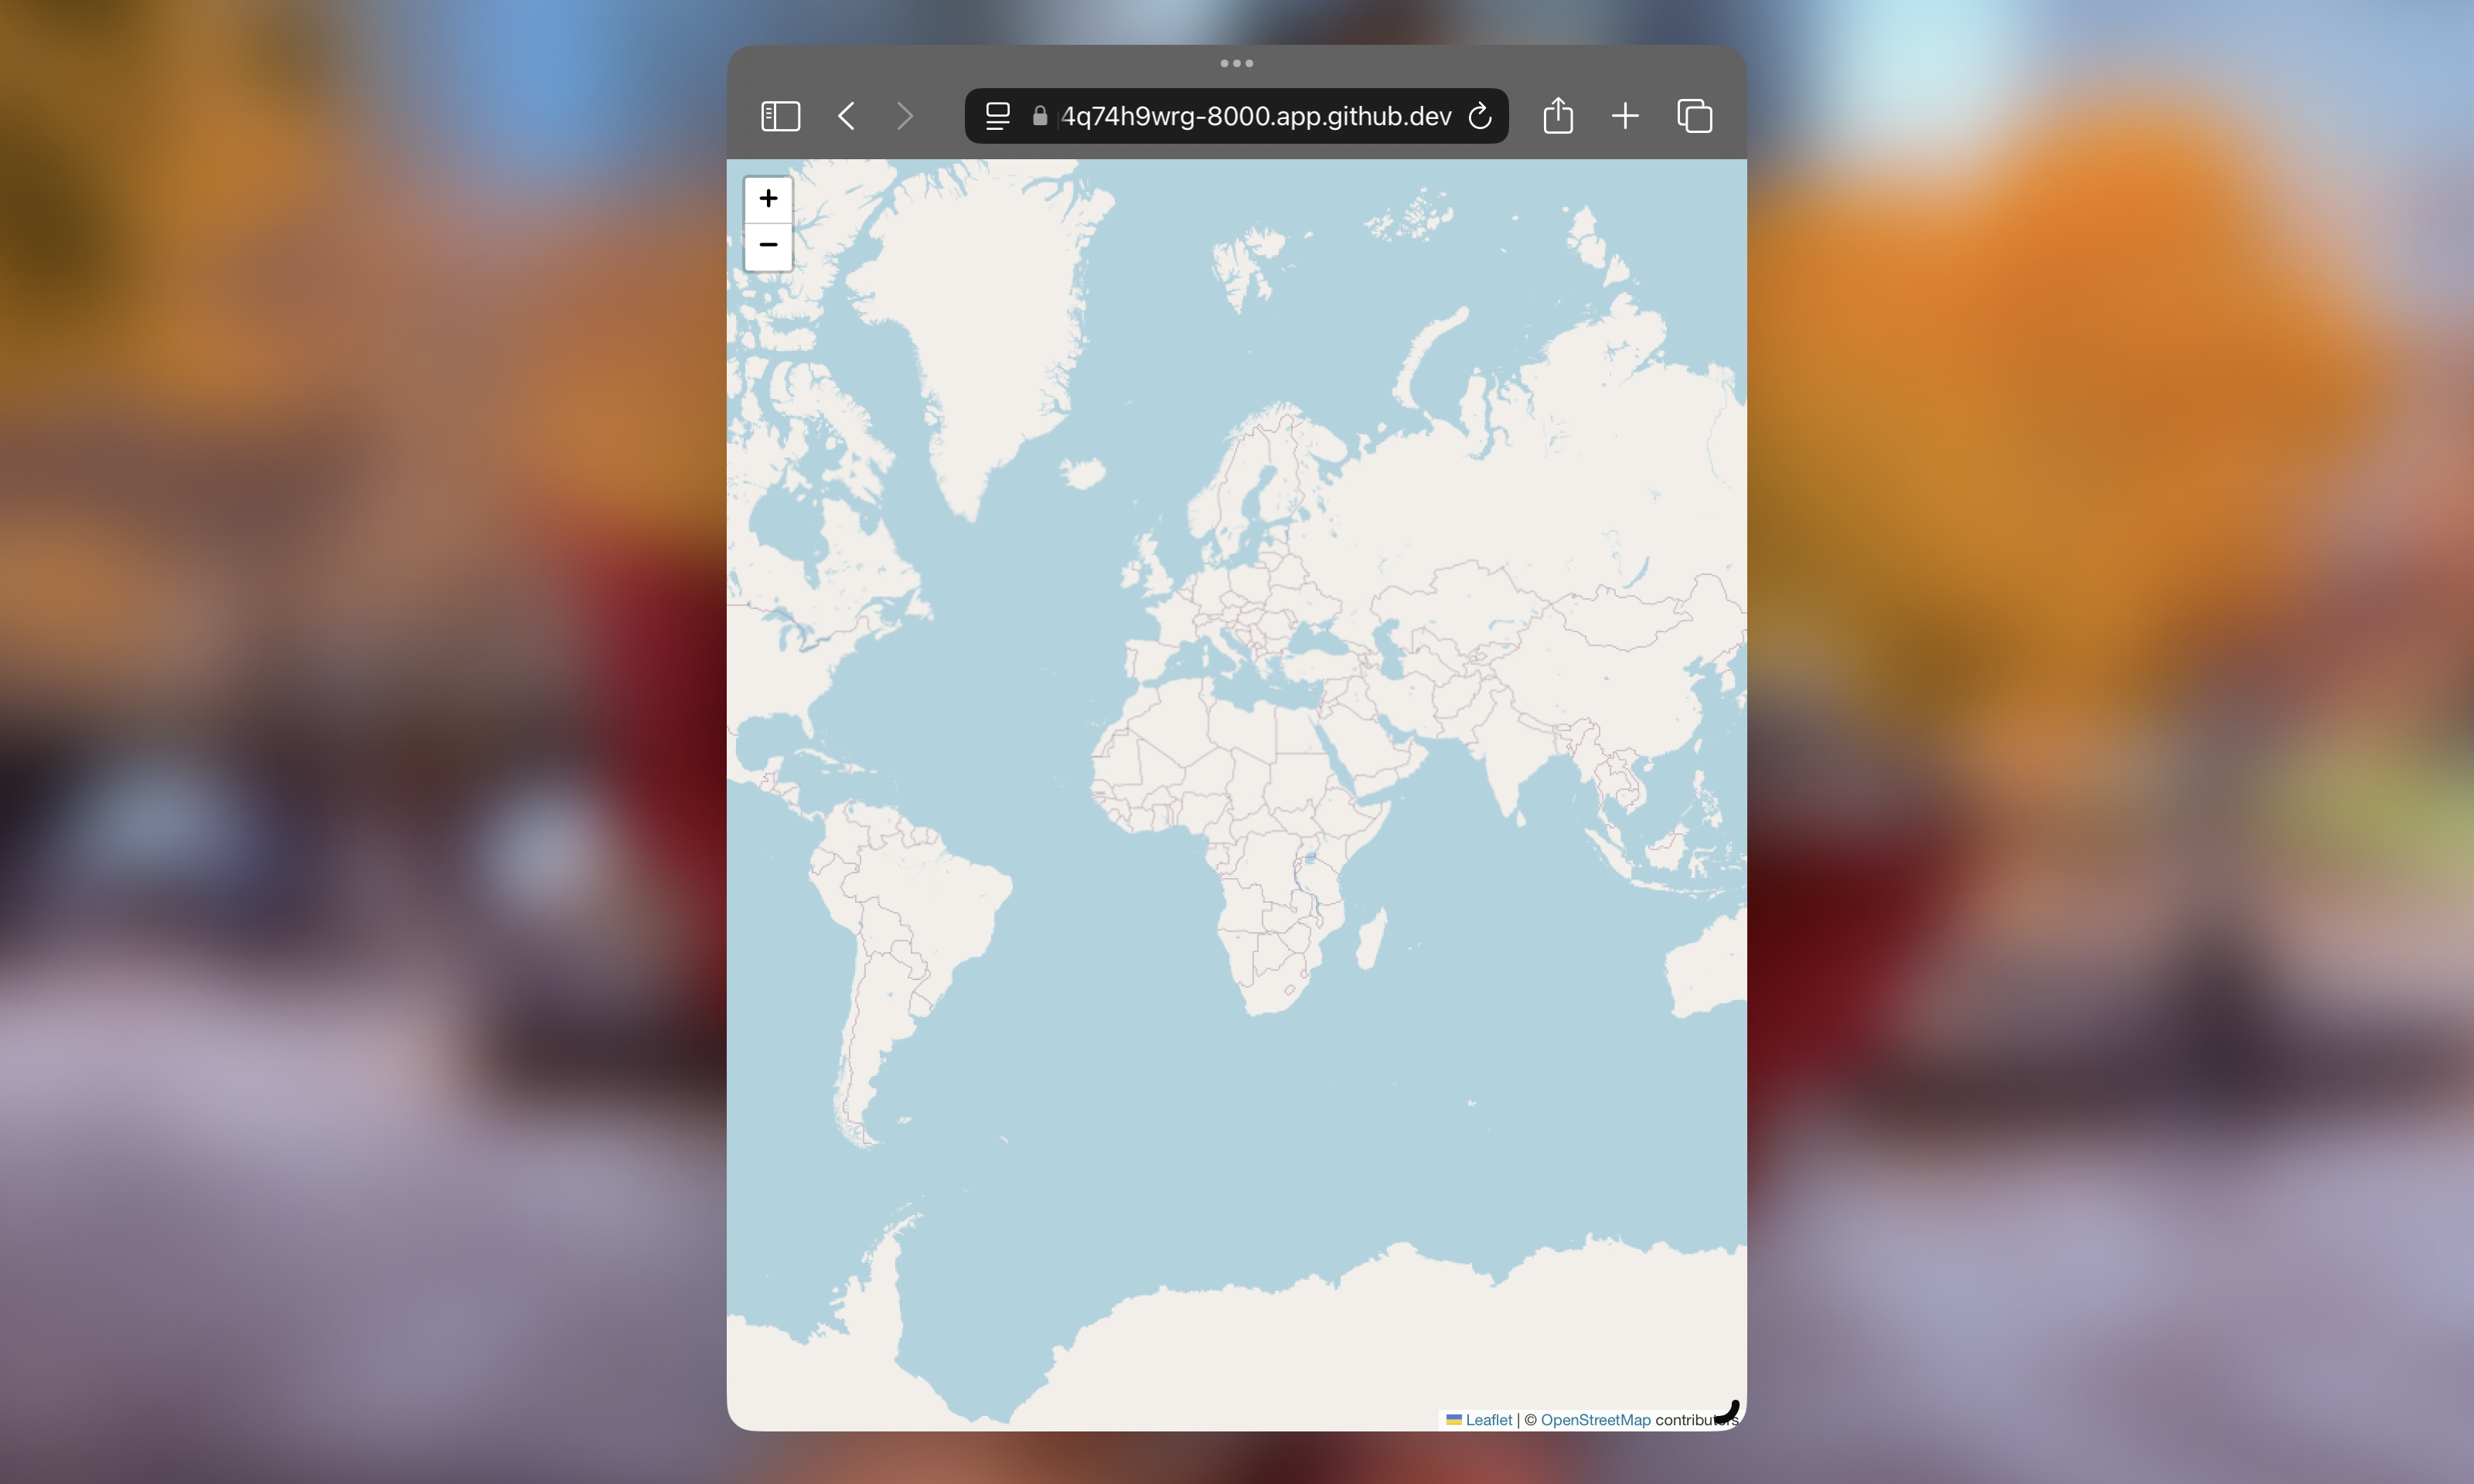
Double check your work: access http://127.0.0.1:8000/map to see the blank map.
That’s cool but too “basic” so let’s add some locations and pins to our map.
Creating Locations
Now that you have a view and a model make sure to register the model on the map/admin.py file in order to see locations in the admin UI:
|
|
|
|
If your server is running, refresh your page to see the update, if not, run your server and login to the admin panel in order to create locations.
Make sure to add a few that would correspond to each of your blog posts.
Adding Locations to Blog Posts
Now since you want to associate each blog post to a given location we need to adjust the blog post model and make some improvements to the HTML templates.
Let’s begin by updating the Post model in the blog/models.py you’ll add a new field called location and it will be a ForeignKey. This will create a link between your post in the Post table and location that exists in the Location table.
Since you want to be able to create blog posts that aren’t tied to a location, you’ll also want to make this field optional by using the parameters blank and null. This will also help since you want to put a default location or have to implement your own migration in order to fill the field in the database.
|
|
|
|
|
|
|
|
|
|
|
|
|
|
|
Okay now let’s update the templates, start with the post_detail.html. Add the following after the closing </time> tag in the HTML:
|
This will render the location of a post in the post page if that blog post has a location filled in. Since the location is part of the post object as foreign key, you can still access it through the post object we pass in the render function of the post detail view.

Make sure to add some locations through the admin page and update the blog posts to have locations
Linking The Map in the Main Page
While you are editing templates might be a good time to link the Map in the footer of the base template. Open the base.html and add the code below after the closing of the </main> tag:
|
|
|
|
|
|
Finally, you may have noticed that this hyperlink is rendering in that awful blue color so update the CSS file so that this hyper link also renders in your chosen color, replace the content of blog/static/css/blog.css with this:
|
|
|
This way you can see your map with the same color setting for all other links in your page like this:

Showing Locations on a Map
Okay now that you have locations you should be able to see them in the map, right? Wrong! Our map has no information to display yet, to change that you need to update the map view. Add this code to it:
|
|
|
|
|
|
|
|
|
|
|
|
|
|
|
|
|
This extra code does the following:
- Queries all the locations in the database with
Location.objects.all(); - Then iterates over the QuerySet of locations to add a
folium.Markerusing the name and coordinates for each location.
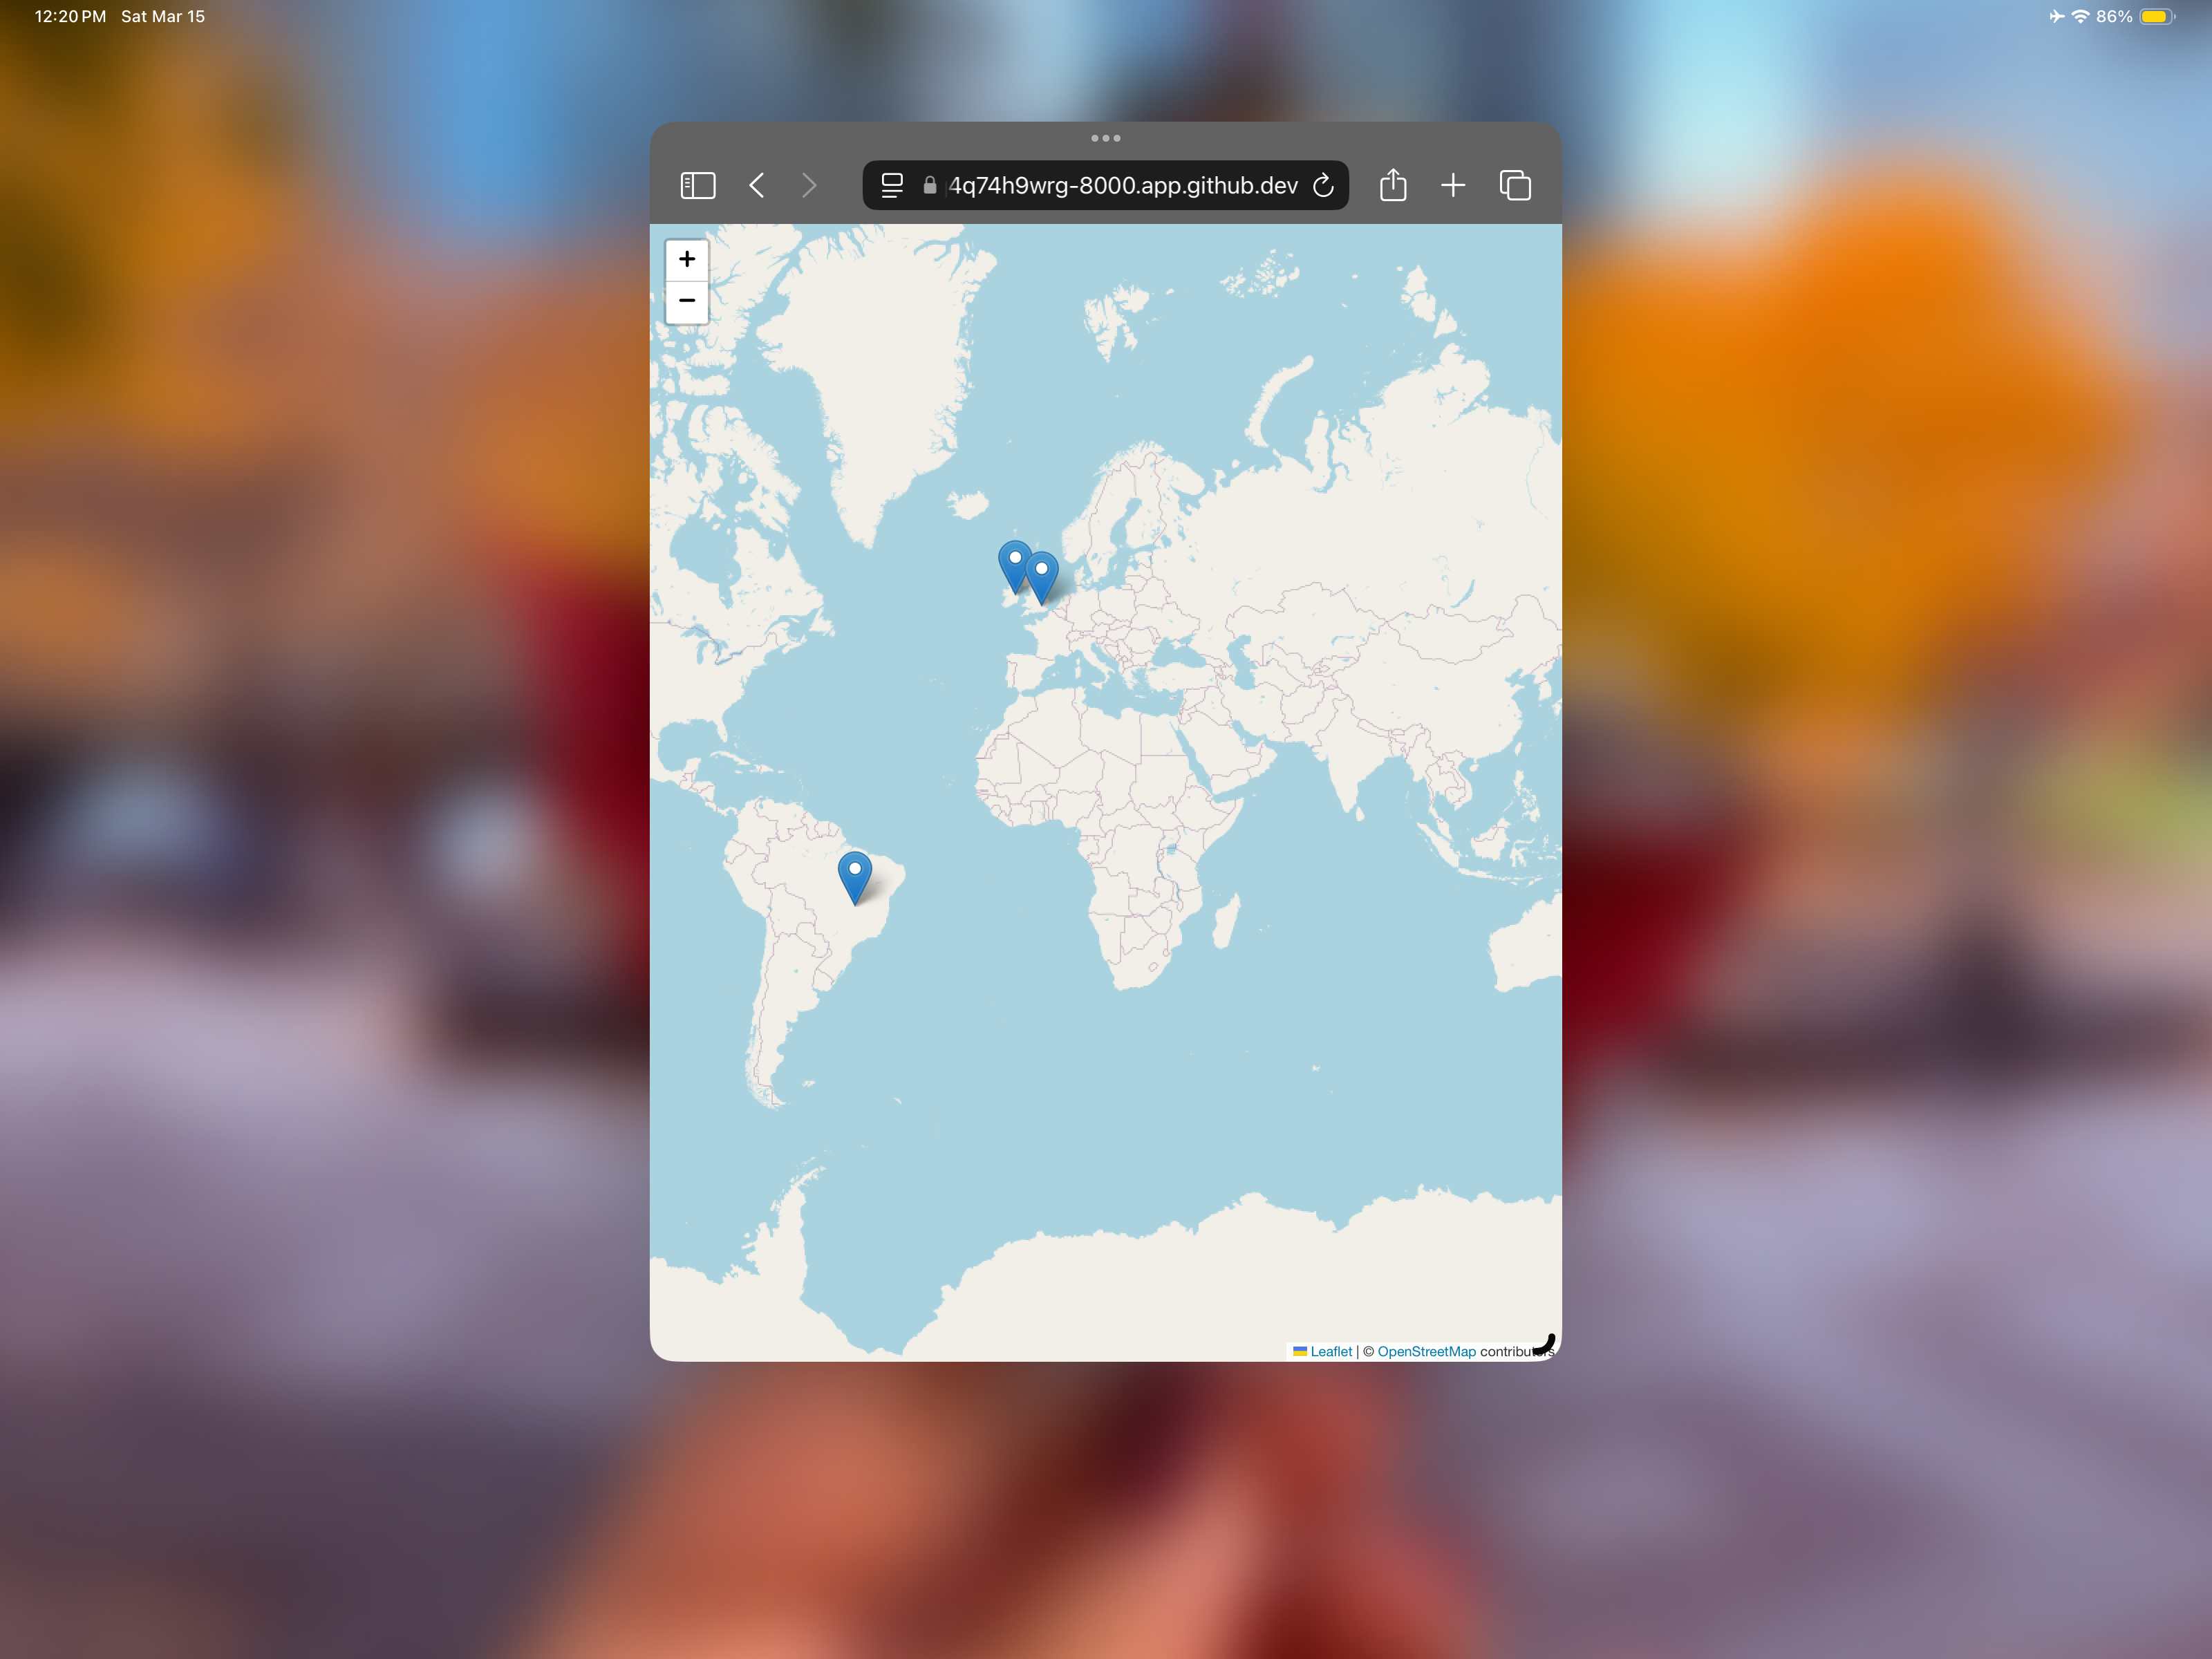
After adding some locations you should be able to access http://127.0.0.1:8000/map and see a map with the locations you created with their corresponding pins.
Creating Location Pages
Now this is all fun, let’s make it more complete. One fun thing to do using views is to generate pages based on the data you have stored in the database. So let’s create a new view to get a list of posts for a given location, add the code below on map/views.py:
|
|
|
|
|
|
|
|
|
|
|
|
|
|
|
|
|
Lets breakdown the code:
Location.objects.get(name__iexact=name): filters location based on the name without caring for capitalization;- Then we get all the posts using
Post.objects.filterpassing the location from the previous step; - Finally we pass the posts and the location to the page rendered by the template
map/post_list_by_location.html.
Speaking of template, now that we have a new view that actually uses templates create the templates folder to host the HTML that will be used by this view like this:
|
Then create a new template in the map/templates/map/ folder named post_list_by_location.html:
|
|
|
|
|
|
|
|
|
|
|
And to you can see the pages add the new URL patterns in map/urls.py:
|
|
|
|
|
|
The <name> ensures the part of the URL path that will contain the name of the location will be passed along to the view: for example accessing http://127.0.0.1:8000/map/london will render the corresponding London page with the collection of posts related to London.
Linking Location Pages in the Map
One final thing: might be fun to add a tiny preview map of the location on the page so lets update the view:
|
|
|
|
|
|
|
|
|
|
|
|
|
|
|
|
|
|
|
|
|
|
|
|
|
|
|
folium.Map: creates a map;folium.Marker: adds the pin to map;folium_map._repr_html_(): generates the HTML for the map;- then finally,
"location_map": location_mapwe pass the HTML map to be injected into the page.
And now update the template HTML file map/templates/map/post_list_by_location.html like so:
|
|
|
|
|
|
|
|
|
|
|
|
|
|
|
|
|
This update then render the map as a part of the page:
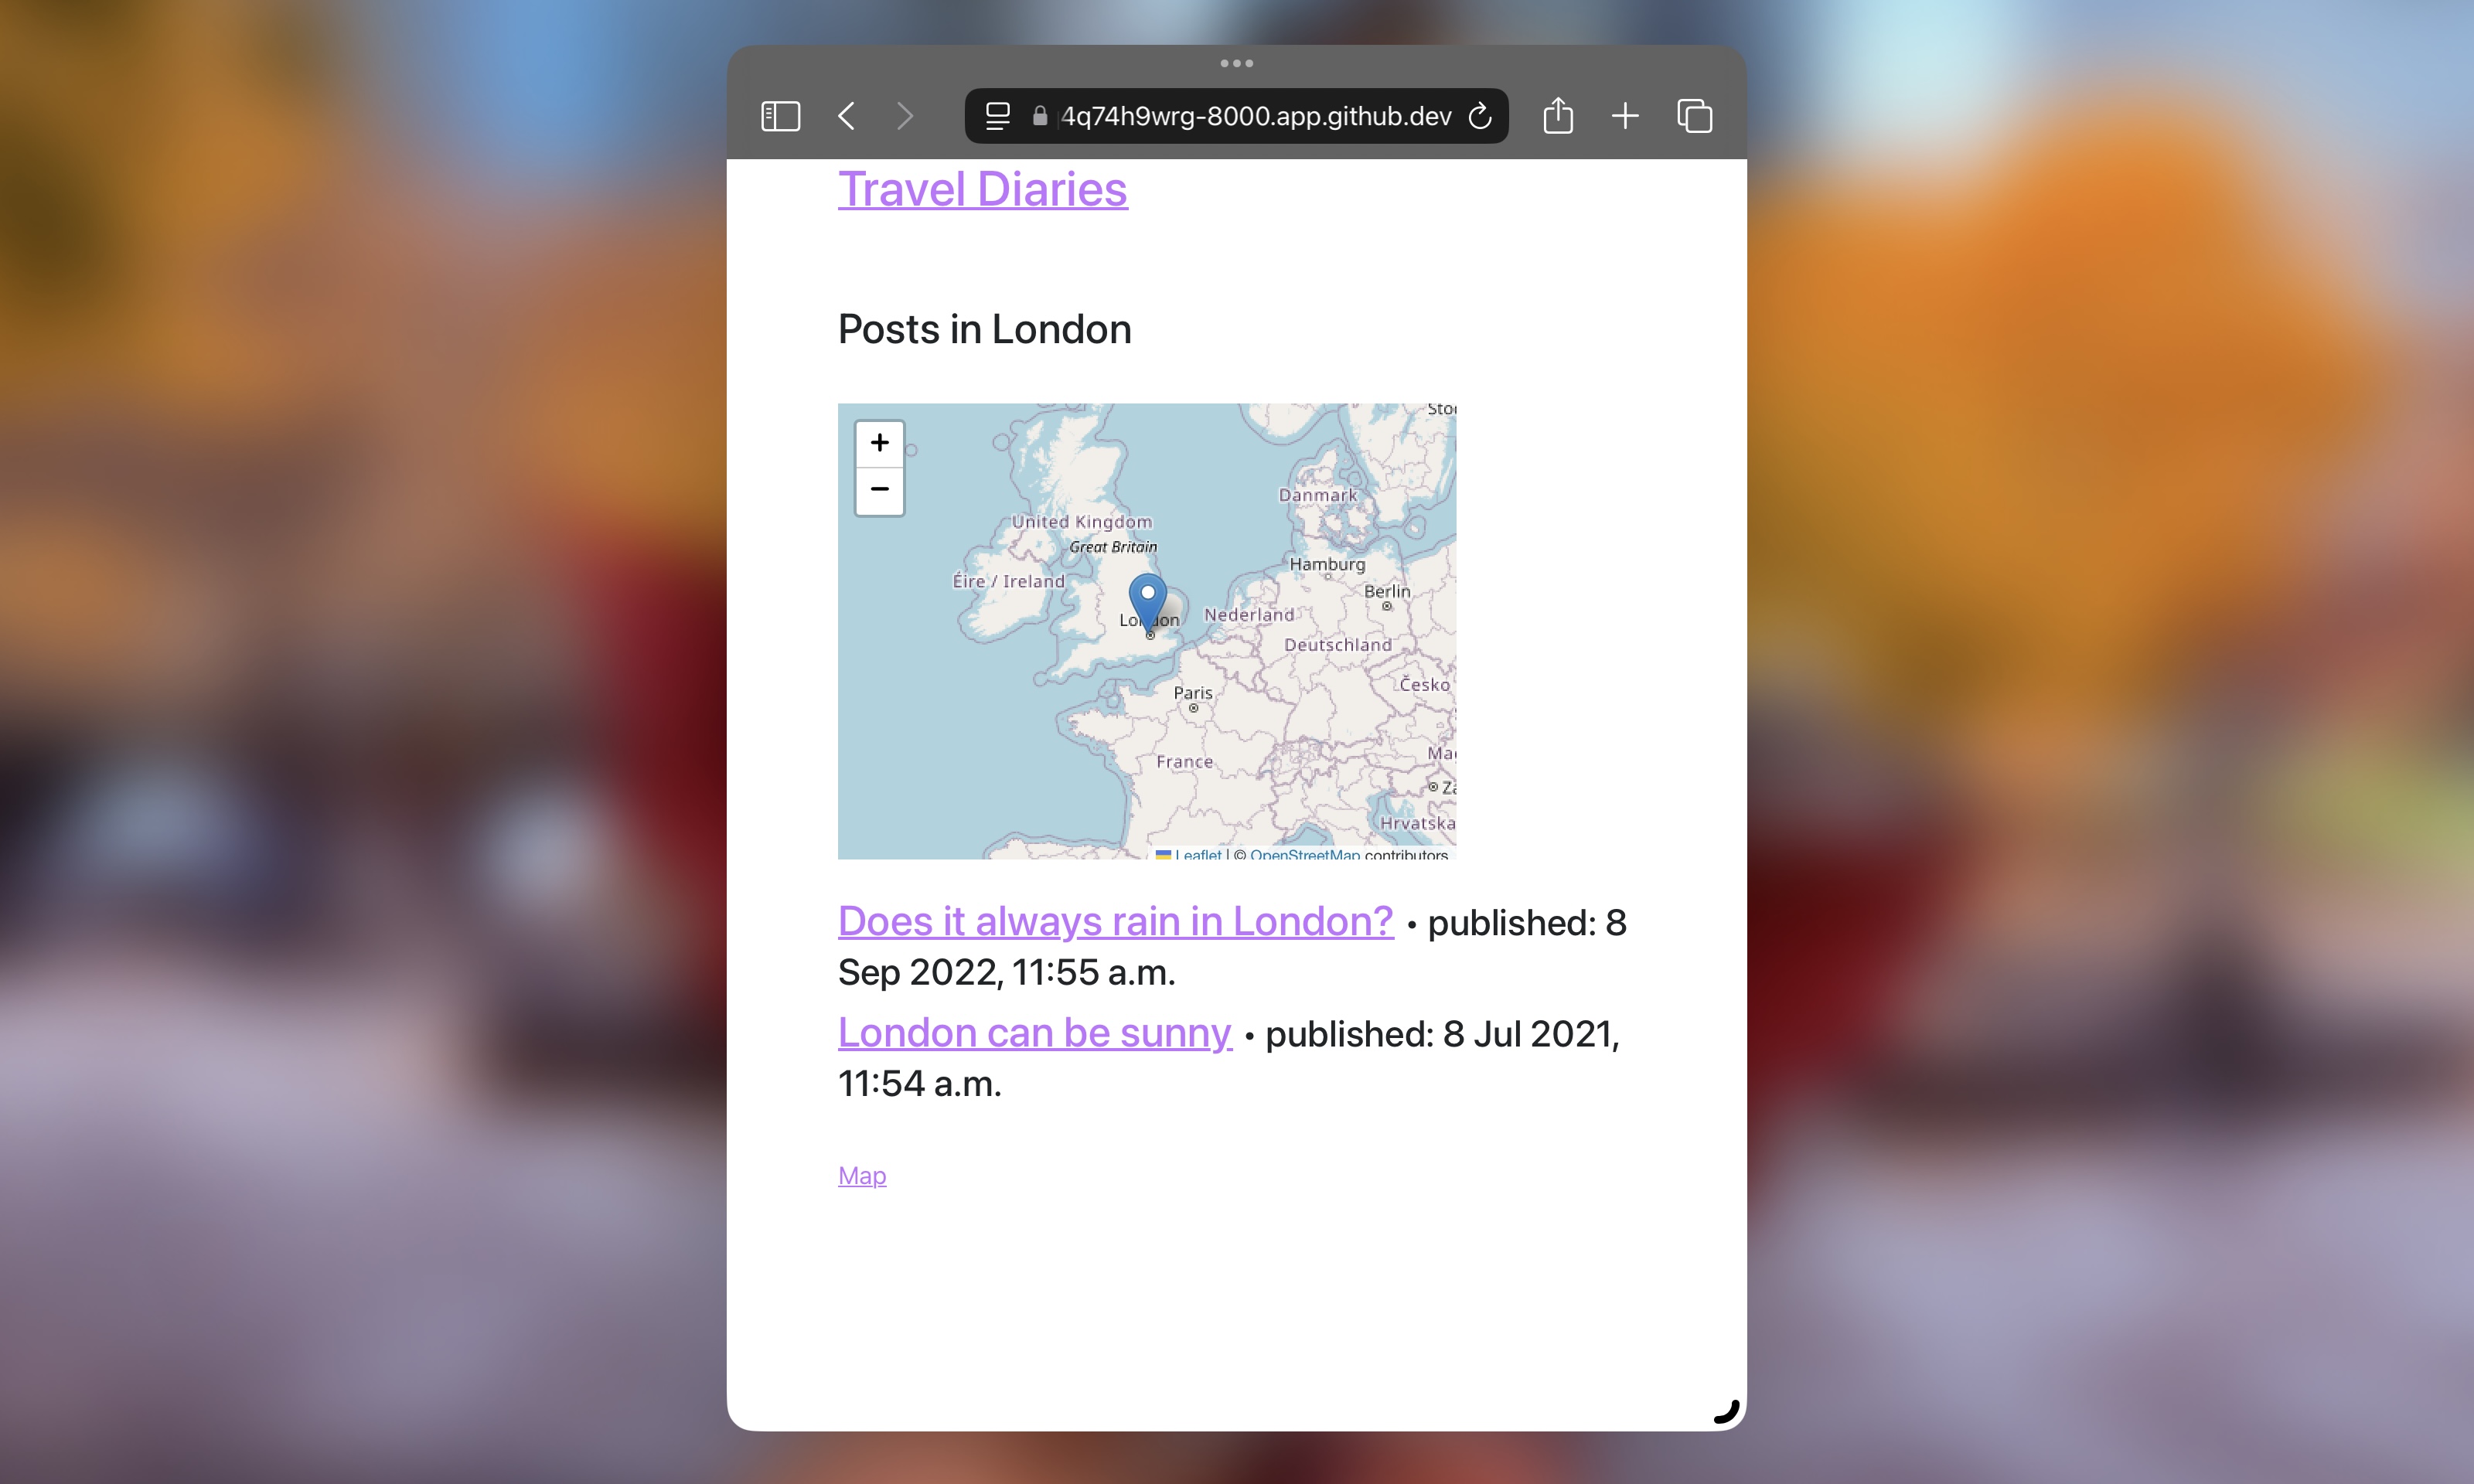
Now we need to add a link to this pages somewhere right? So let’s use our Map. Update the view that generate the markers on the map map/views.py like so:
|
|
|
|
|
|
|
|
|
|
|
|
|
|
|
|
And that is it, you are good to go! Go checkout the /map page and try clicking on the name of one of your locations:
Recap
Wow, that was a lot! You learned or remembered how to create a blog in the style of the Django Girls tutorial with some tiny differences to make the experience more personalized. Then you got to have fun and learn how to use Folium to generate maps and embed those maps in pages on your page.
On the Django side you saw how to use foreign keys to link your posts to locations and how filter posts based on the relationship they had with that location. And then you saw how to create specific pages with the filtered list of posts.
I hope you had as much fun reading as I had writing this, if you read until here I’d love to hear/read your questions so send me a message on Bluesky.
Before you go if you want to think of next steps for you to stretch your skills I recommend you trying both saving the map once a new location is added this way you can just render the map as opposed to querying the the database every time /map is accessed and creating a 404 page in case some tries to access locations that don’t exist.
Once again, the code shown on this tutorial is also available in this GitHub repository.
See ya on the next one.