Getting it online #
To the GitFichas online I followed the same steps I usually do for getting pages online. And if you want to know how I do them there’s a tutorial that teaches you step-by-step available here. Here I’m going to focus on other more philosophical things I don’t address on the tutorial.
The project is private #
To start, GitFichas is private project, by that I mean, the only person that has access to its source code is me.
Today, there isn’t a particular reason for that, but while I was developing it, my idea was to release one or two cards per week only. And to do that, since I didn’t have a CMS attached to the code, I would leave the pull requests ready only to merge them on the date I wanted to publish the cards. This way maintaining the code private would have that surprise factor attached to each card.
Today the scheduling of cards no longer holds true, but I’m still not ready to make it open source.
I’m using Netlify #
A part from the visibility of the project, I also ended up using GitFichas to finally learn how to use Netlify. This service integrates with GitHub in such a beautiful way that its configuration was suuuuper intuitive:
- created my account;
- associated both by GitHub and Netlify accounts;
- gave access to Netlify to find only GitFichas' repository (this impressed me, I’ll talk about that in a bit);
- waited the first build to happen (the first one is always the longest), and poof, everything ready.
I thought it was going to be more complex to be honest, and maybe it is, if the site config were more complex or if you were going to use Netlify to do more things than just building the site. Since the site is served through GitHub I didn’t need to do anything else.
After that, each new pull request, Netlify’s bot appears and displays the following message:
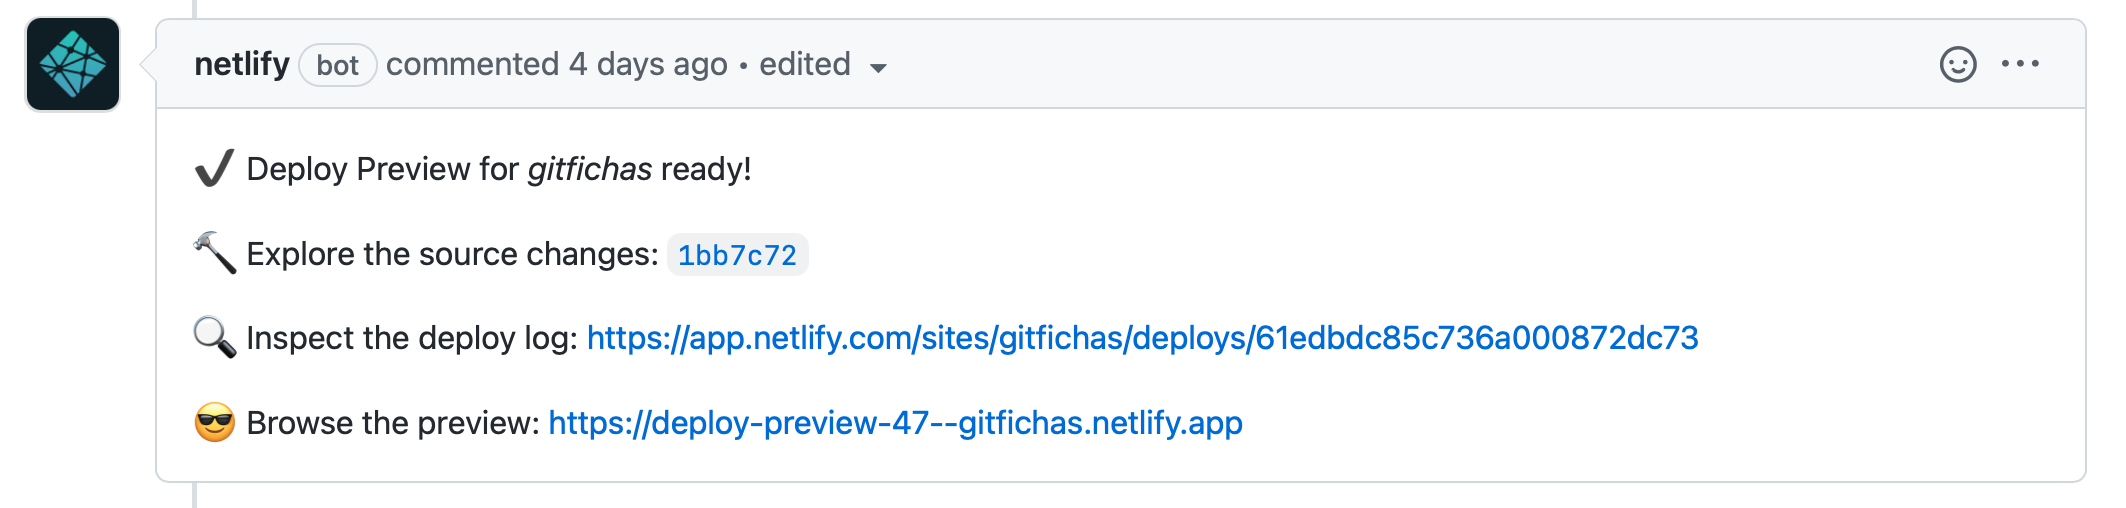
This message is update for each new commit that is pushed to GitHub. For me, that sometimes adjust things on the site from an iPad (which I have no development environment), the ability to preview the changes without running it locally is very helpful.
Access to one specific repository #
Getting back to the feature that impressed me: access to find only one repository.
At work, I use the same GitHub profile that I use for my personal projects. For this reason I tend to be 3 times more aware of what services I give access to my profile data on GitHub.
The possibility to control to such specificity which repositories the services can access impressed me because usually you don’t have such power.
For example, Heroku - another service I use - can list all the repositories in my account, to be fair, Heroku doesn’t have access to the organizations I’m a part of unless I request it but still, Netlify took that extra step.
Domain #
To finalize the publishing step I bought a new domain on Namecheap and configured it on GitHub.
I usually buy and manage my domains through Namecheap, I think it is easy to use and set up. For example, GitFichas actually has two domains:
- https://gitfichas.com that shows the main page in Portuguese;
- https://gitstudycards.com that redirects to the page in English.
This redirect I make directly on Namecheap nothing further required. It is very practical in my opinion.
Official announcement #
With the site live, and the first cards published I did what I love to do and wrote a blog post to tell everyone that the project was born, and you can find the version of it in English here. Basically it tells what the project is about, like showing what a git study card looks like, and with it, people that follow my work could know what to expect.