Let’s say you already know how to use the iterative way to log in to Heroku via the terminal, but now you’ve activated multi-factor authentication (MFA) on your profile and a simple username and password won’t be enough to log in.
In this pro-tip you will learn how to use iterative mode with MFA.
Logging into Heroku using the terminal
Just to review, if you use the following command
|
You can enter your username and password directly on the terminal to log in to Heroku without having to use a browser.
This feature is extremely useful when you are trying to log in to Heroku from a remote instance like GitHub Codespaces for example.
With MFA (multi-factor authentication) activated, just username and password won’t be enough as can be seen in the image above.
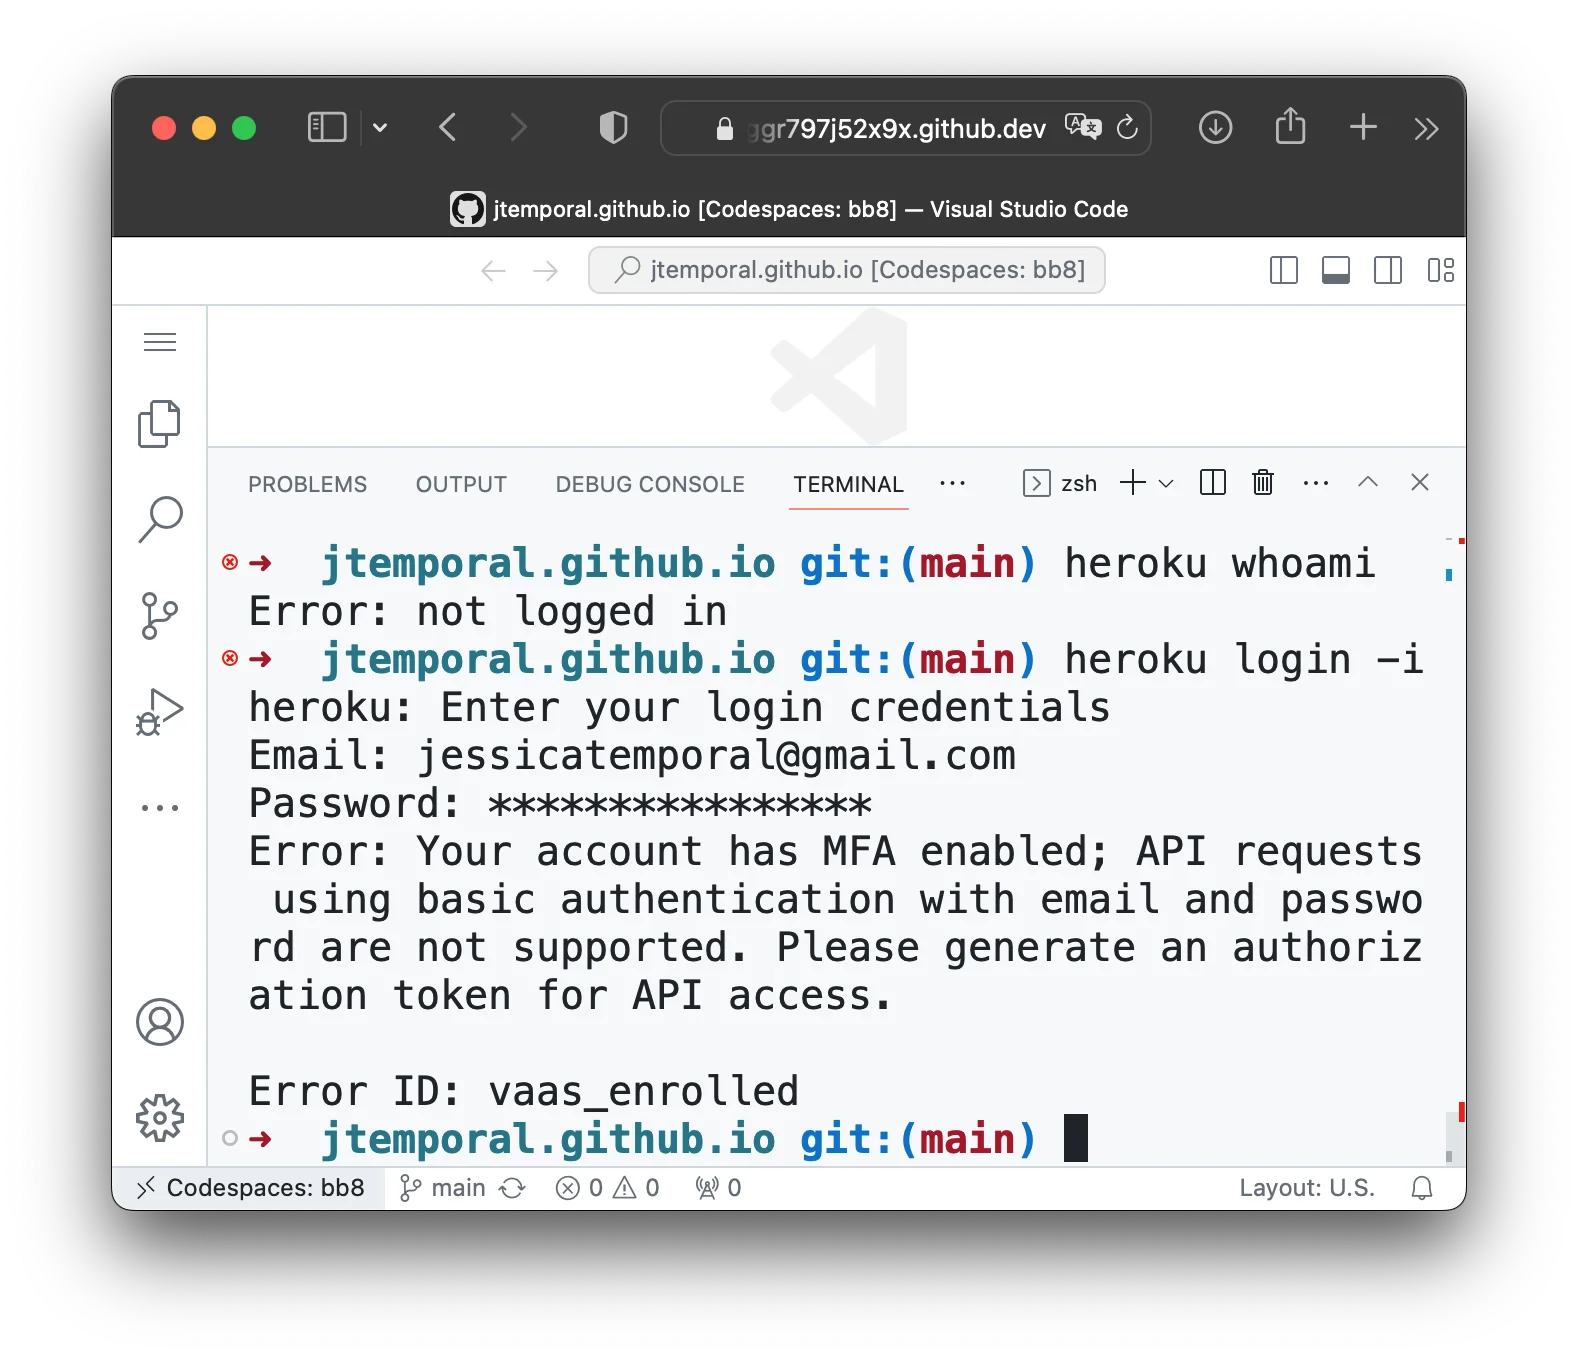
To follow up with the login process in these cases, an authorization token must be generated.
Setting up an authorization token to log in to the MFA-enabled endpoint
Log in to your Heroku dashboard and click on your photo, then select “Account Settings”, when the page loads choose the “Applications” tab or click on this link to go directly to the applications dashboard. Then scroll down to the section called “Authorizations”.
If you have never used Heroku authorization tokens before, this section will be empty, I already have some tokens as you can see in the image below.
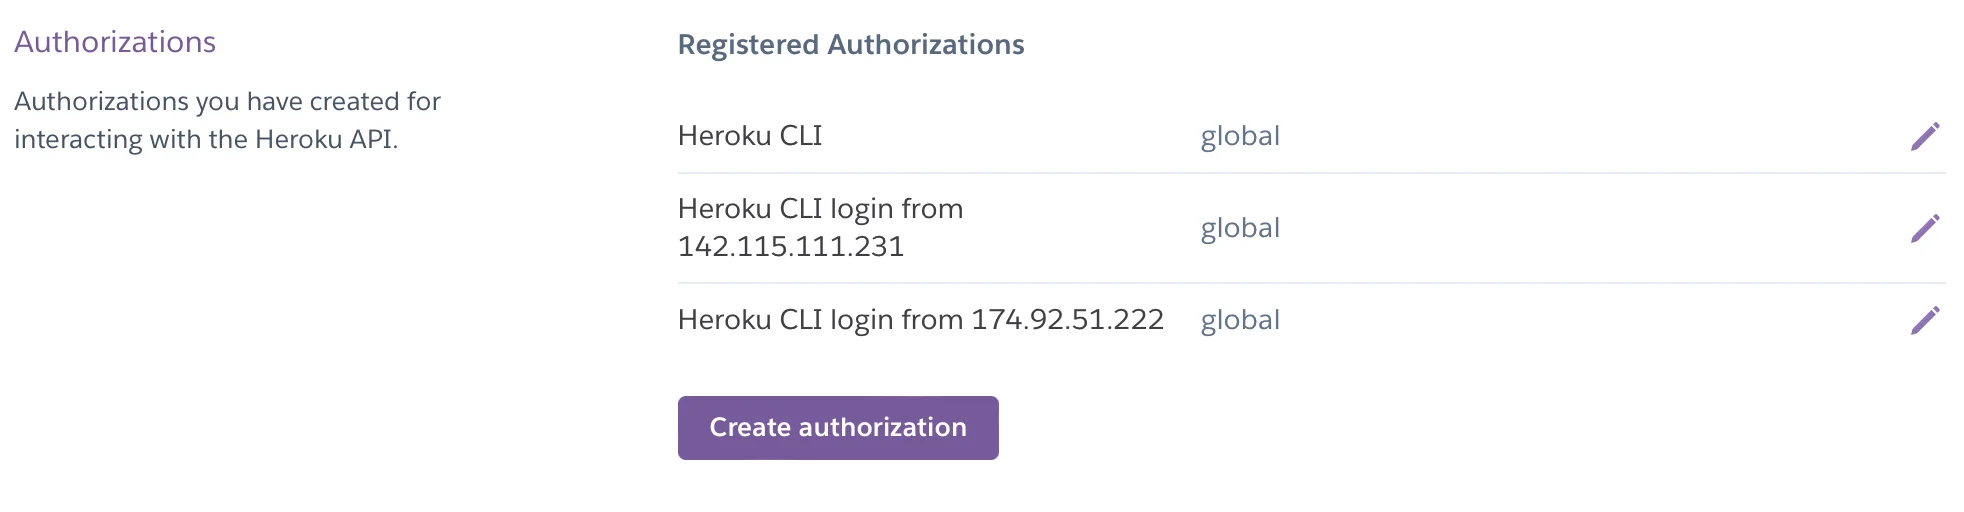
Then click on ”Create Authorization”. A side menu will appear as you can see in the image below.
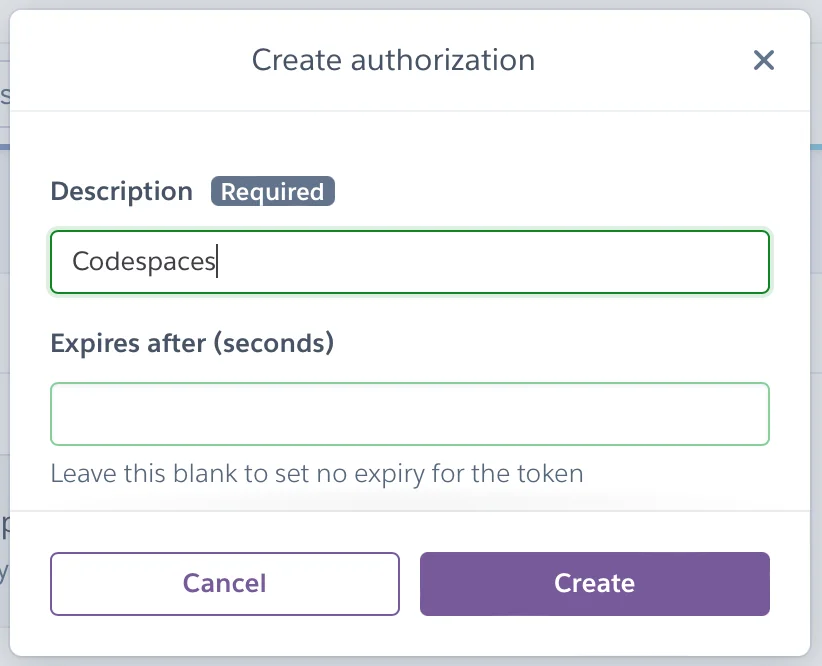
To create a new token, just give it a description and click on the “Create” button. In my case, I intend to use this token for a GitHub Codespaces, so I named it “Codespaces”.
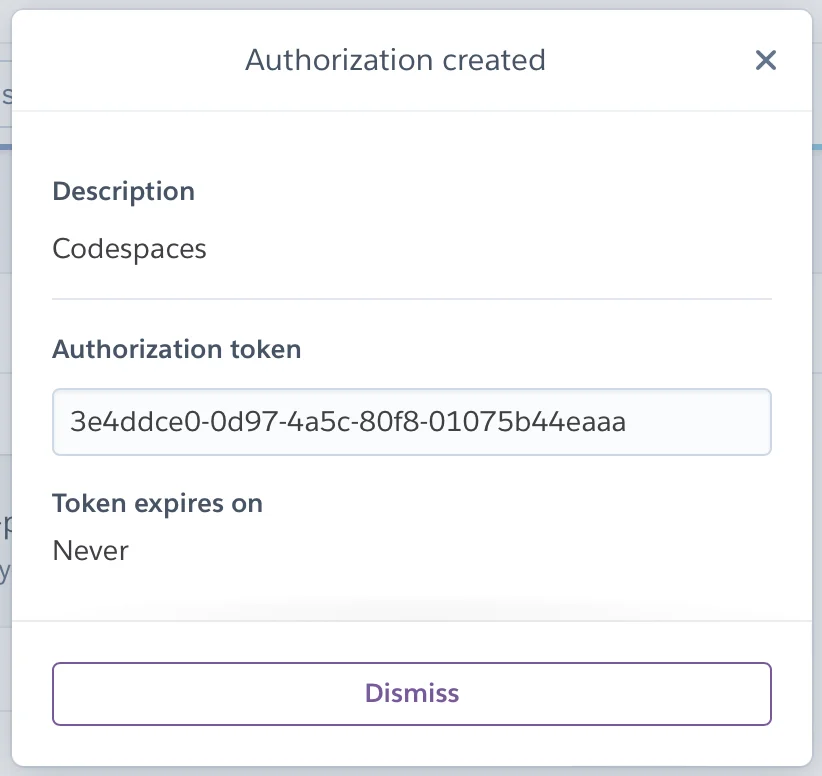
Once created, the token will be shown on the screen so you can copy it. Oh and don’t worry, although I’m showing this token here (which you should never do) it no longer exists so no one can impersonate me.
Note that, optionally, it is possible to give an “expiration date” or better said, a period of time for this token to expire, it is even recommended to do so.
Using an authorization token to log in
Remember to copy the token, now to log in, just use the token instead of your password when logging in. Run the command heroku login -i again and pass your username and token as can be seen

Now just follow the traditional flow of using Heroku.
Recap
In this post, you learned:
- How to log in to Heroku via command line with multi-factor authentication (MFA) enabled using an authorization token.
- How to create an authorization token on Heroku.
- That to log in with MFA activated, you need to copy the generated token and use it instead of the password when logging in via the command line.
Now you can continue logging into Heroku via command line even with MFA enabled!