What you’ll find in this post
- How to run a database using docker and docker-compose
- How to run migrations on that database
- How to interact with that database through a UI
Heads up
All the code and structure I’ll show here is in this GitHub repo.
Running PostgreSQL on Docker
To start, you can install PostgreSQL on your machine following the instructions on the official site, but here I’ll show how to use Postgres inside a Docker container using Docker-Compose. To start (if you haven’t already), install Docker and Docker-Compose on your machine. After that, we’ll need a file called docker-compose.yml containing the following lines:
|
|
|
|
|
|
|
|
|
|
|
|
|
Let’s take a look at the configuration this file brings:
- Data directory: when this container runs, there will be a
data/directory in your folder that will be mapped inside the container and will hold all of PostgreSQL’s data; - The service name: here called
tad; - The open port: so we can access the database, we need to map a container port to our
hostmachine. By default we’re going to pick the same port that PostgreSQL would use if it weren’t running inside the container; - The database name: here I called the database
tadpgweb; - Database user: in the file we define the database user as just
postgres.
And now to get our database “up”, the following command in a terminal will do:
|
|
The first time we run this command, a few things will happen starting with the download of the PostgreSQL image version 9.6, the creation of the data/ directory to hold postgres data, and after that, the creation of a database with the settings in docker-compose.yml.
Migrations: they slice, they dice
Creating and deleting tables and columns, among other changes, can be done through migrations. Migrations are nothing more than files that execute commands on the database. These commands can be changes to the database structures like creating and deleting tables and columns, or commands to populate data, known as data migrations.
Here I wrote 4 migrations we’re going to run and I’ll explain them one by one, so brace yourselves for a short and intensive SQL basics course ;P
The first migration, called 001_create_table_up.sql, will create a clientes (customers) table with 3 columns: the id column which is a sequence starting at one, the nome (name) column that can be up to 250 characters long, and finally the idade (age) column that accepts numbers. Beyond that, this migration also defines that the id and nome columns cannot be null and that the id column is the primary key of the clientes table:
|
Now let’s assume the table we created doesn’t need an age column, so we create the migration 002_alter_table_up.sql to get rid of it:
|
Besides not needing that column, we’re going to want another column called endereco (address) also with a max length of 250 characters, and that’s what we did in the migration 003_alter_table_up.sql:
|
And now that we have a structure ready to store data let’s do some inserts on this beautiful table with the migration 004_data_migration_up.sql. This migration inserts three records into the clientes table:
|
|
|
Notice that all the migration names end in up. That’s because each of the migrations you saw here has a sister migration that undoes what that migration did. This is a software best practice ;)
But now that we have these migrations, how do we apply them to our database?
First we’re going to copy the migrations to the right place and then “run them” inside the container:
|
|
|
|
|
|
SQL syntax isn’t very mysterious, but if you’re a little rusty there are lots of materials available out there. Among them the codecademy SQL course and the SQL tutorial from GeeksForGeeks.
A client to interact with the database
There are many clients/apps we can use to interact with a database like pgAdmin and the psql CLI. When we ran our migrations we used PSQL to apply them. Beyond those, today we’re going to learn how to use a web client called pgWeb.
Written in Go, pgweb is lighter than the other options and lets you do the most basic operations like the ones from our 4 migrations. First install it in whichever way you prefer. Since I have Go configured on my computer I just went with go get:
|
|
Now to run it just grab a terminal and run the following command:
|
|
And the result will be the following:
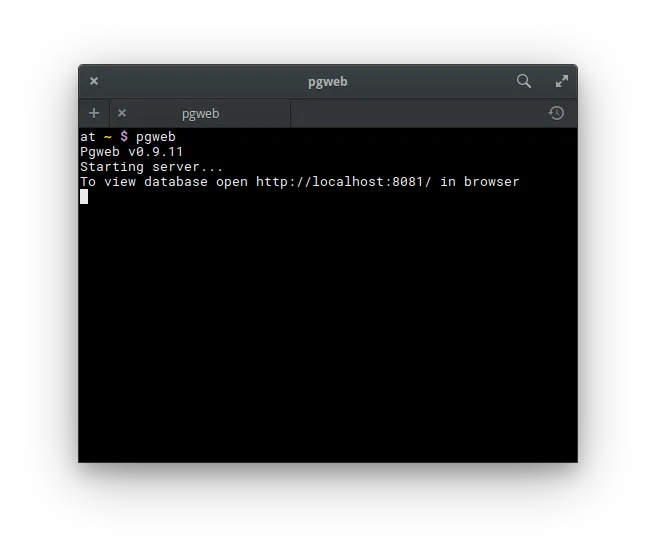
Now just head to your favorite browser and go to http://localhost:8081/ and you’ll see the connection screen:
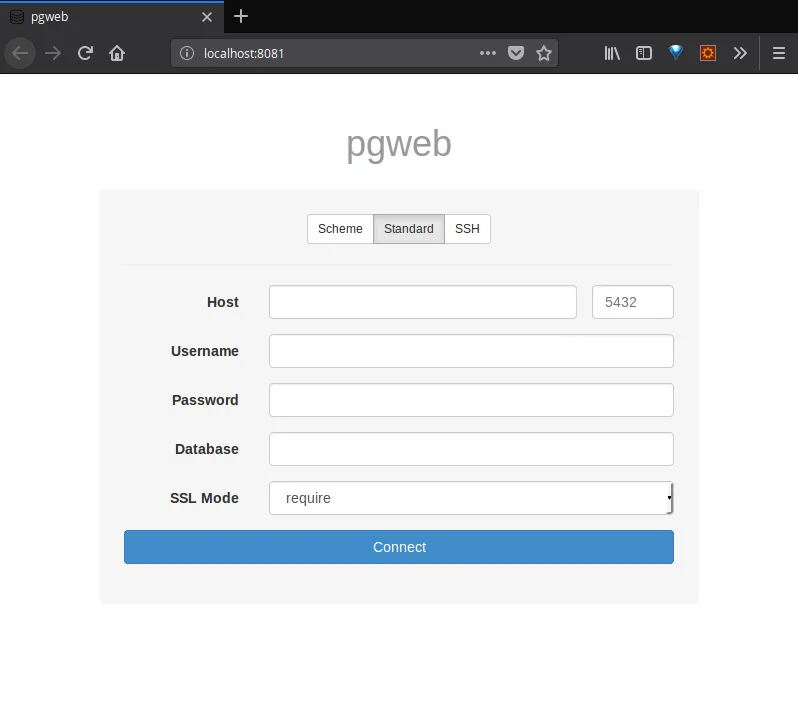
Then just fill in the blanks:
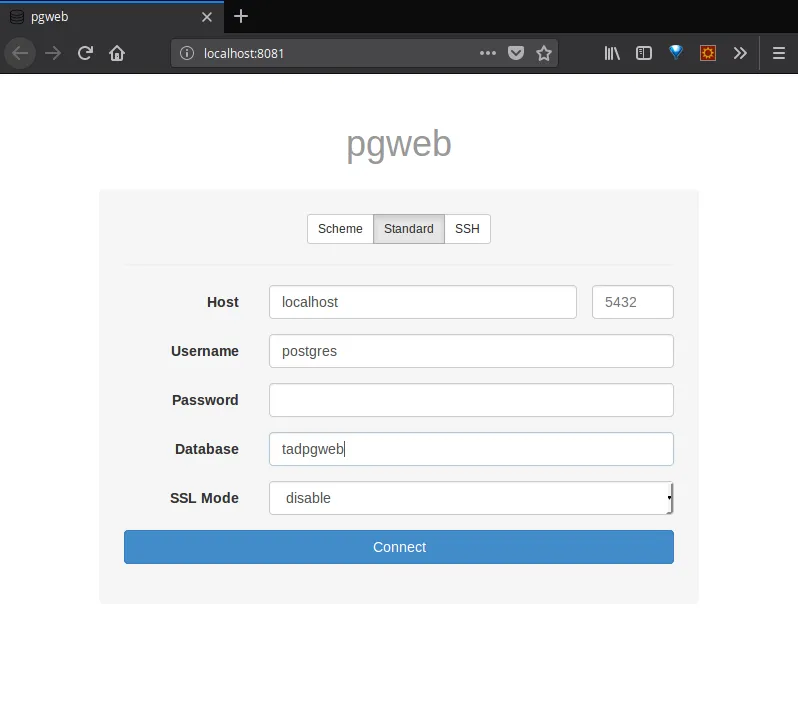
and click Connect to be taken to the page:
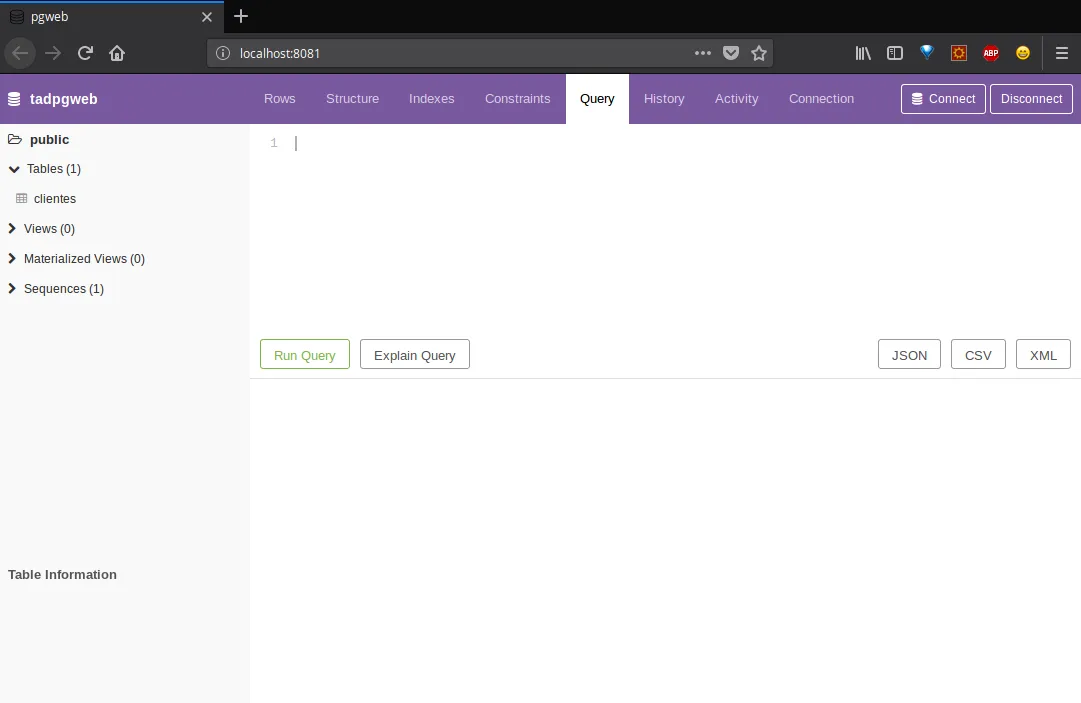
My favorite things about pgweb
Although it’s not as complete as a pgAdmin, pgweb has all the functions for daily and quick use.
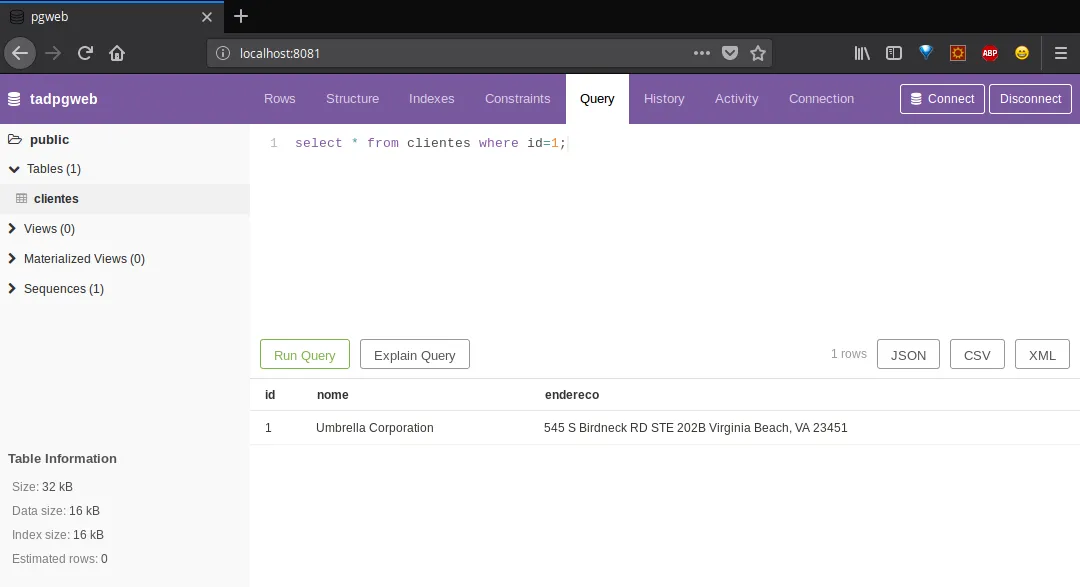
Running queries: Query
With pgweb you can even create tables, but you can also make simpler queries like a SELECT and see the results just below:
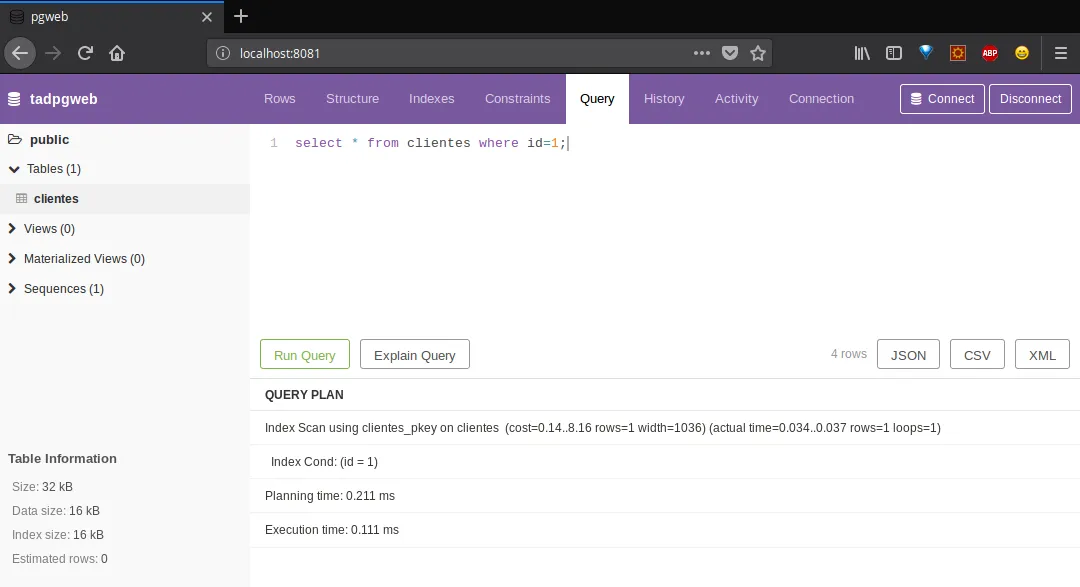
Beyond that, the coolest part is inspecting the details of a query by clicking the Explain Query button:
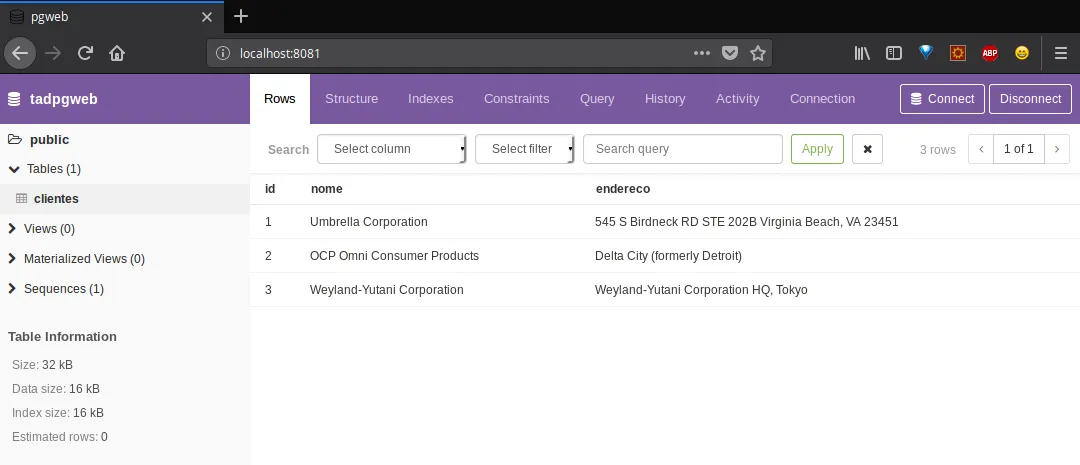
Row inspection: Rows
Want to see the rows in each table? Click on the table in the left side menu and click the Rows tab to show the records of that table:
Using filters: Rows
Still on the Rows tab we can see and run simple filters like selecting all rows that have id greater than 1 for example:
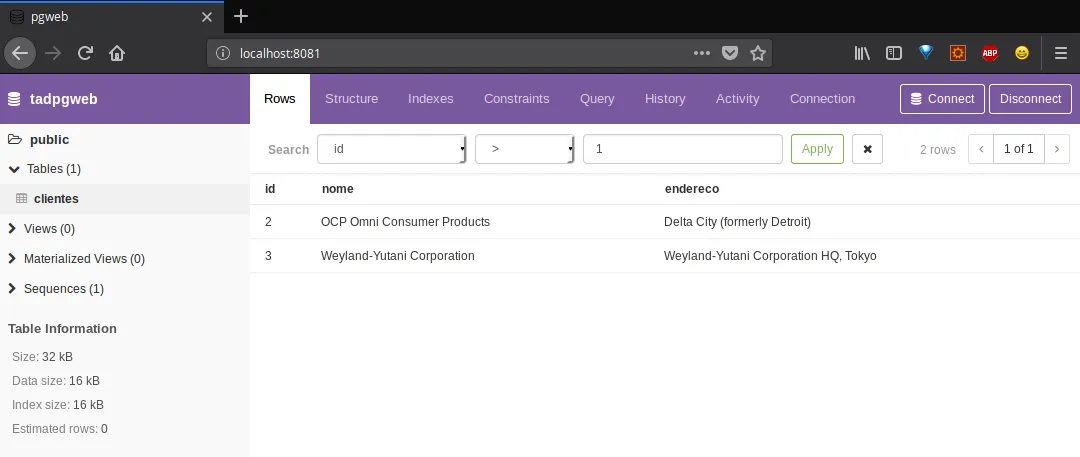
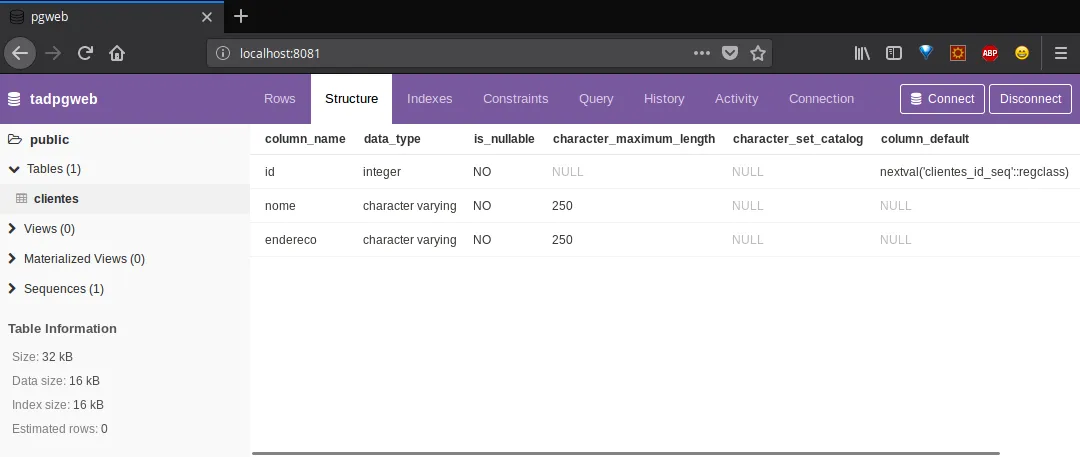
Table structure inspection: Structure
To see a complete listing of each table’s structure, again click on the chosen table in the menu on the left of the screen and click the Structure tab:
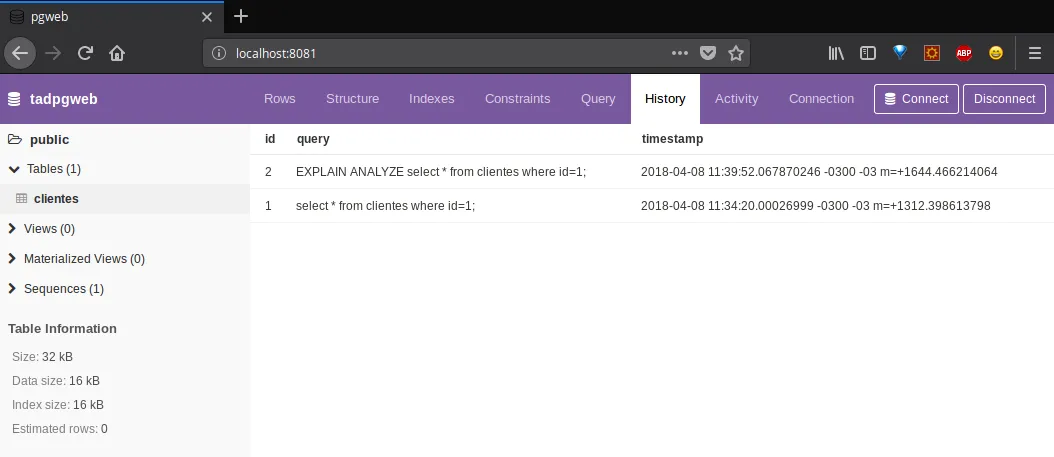
History: History
Also, all the actions we’ve taken are recorded in the History tab:
Cool right? Whether you’re a beginner in databases looking for a way to practice your studies or someone more experienced doing small and quick tests, here’s an alternative way to interact with your database ;)
