Switching branches during the middle of work is something that happens quite often, for example, when ”hotfixing” a bug in another branch while you’re implementing a task.
There are a few ways of stopping work, including making commits. My favorite way of doing that is using git stash and git stash pop. People often mix up how these work, along with the related git stash apply and git stash drop, so let’s sort all of them out. 😉
What is a stash
Stash can be seen as a bundle of the current, not-yet-committed changes that are saved locally on your computer in a stack. Each change bundle is called a stash.
When a stash is created, your directory reverts to a clean state, that is, with no changes to the files that are tracked by Git. This also means that new files, which have not yet been added in a commit, are not stashed.
Each stash receives a “name”, an index, in the format of stash@{<n>}, where "n" refers to a number corresponding to the stash position in the stash stack. This number always changes if more stashes are added to the stack, so the most recent stash is always stash@{0}.
Stacks are a common concept in programming, and this is important to understand the stash behavior, because, without indicating the stash index, the commands will follow the LIFO order (“last in, first out”), where the last stash, that is, the most recent stash to be added to the stack is removed first.
Saving a work in progress with a stash
So let’s say you are working on the branch tarefa that corresponds to the implementation of some feature, but now you need to go back to the main branch and solve a very important problem. To make it easier, we will not focus on problem solving. This is the current state of your work:
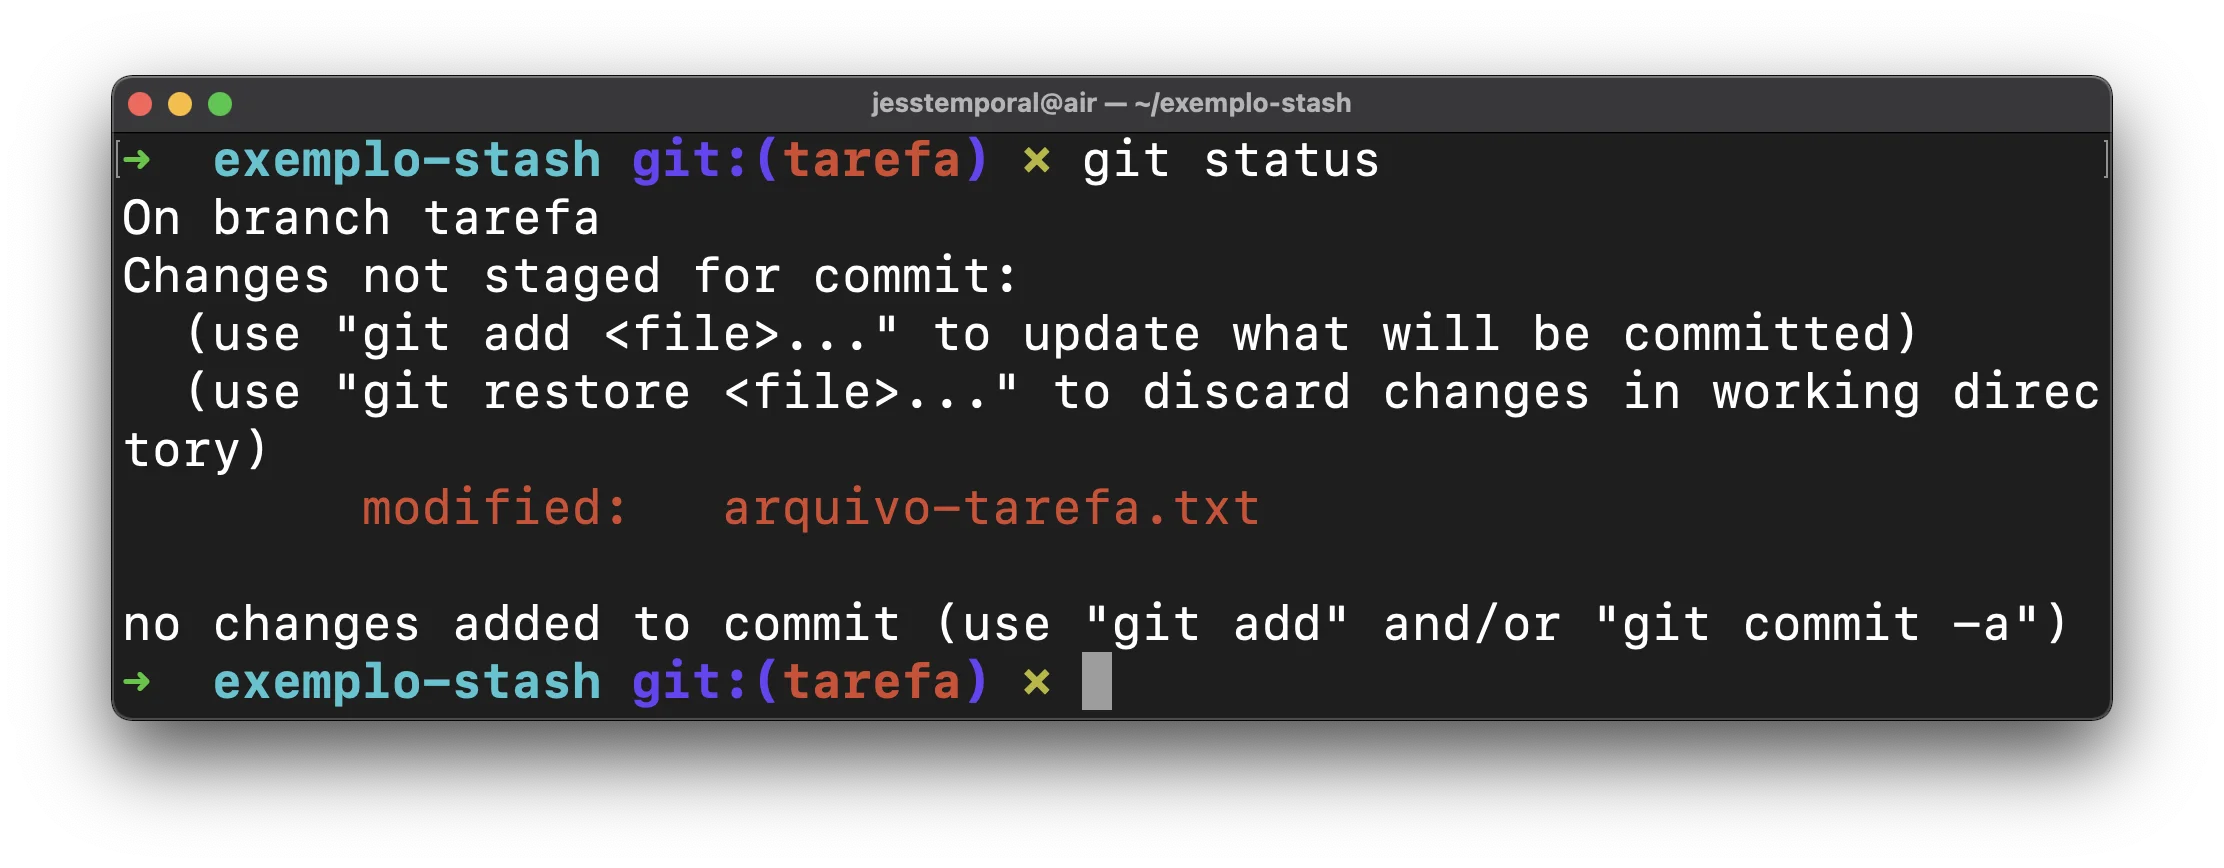
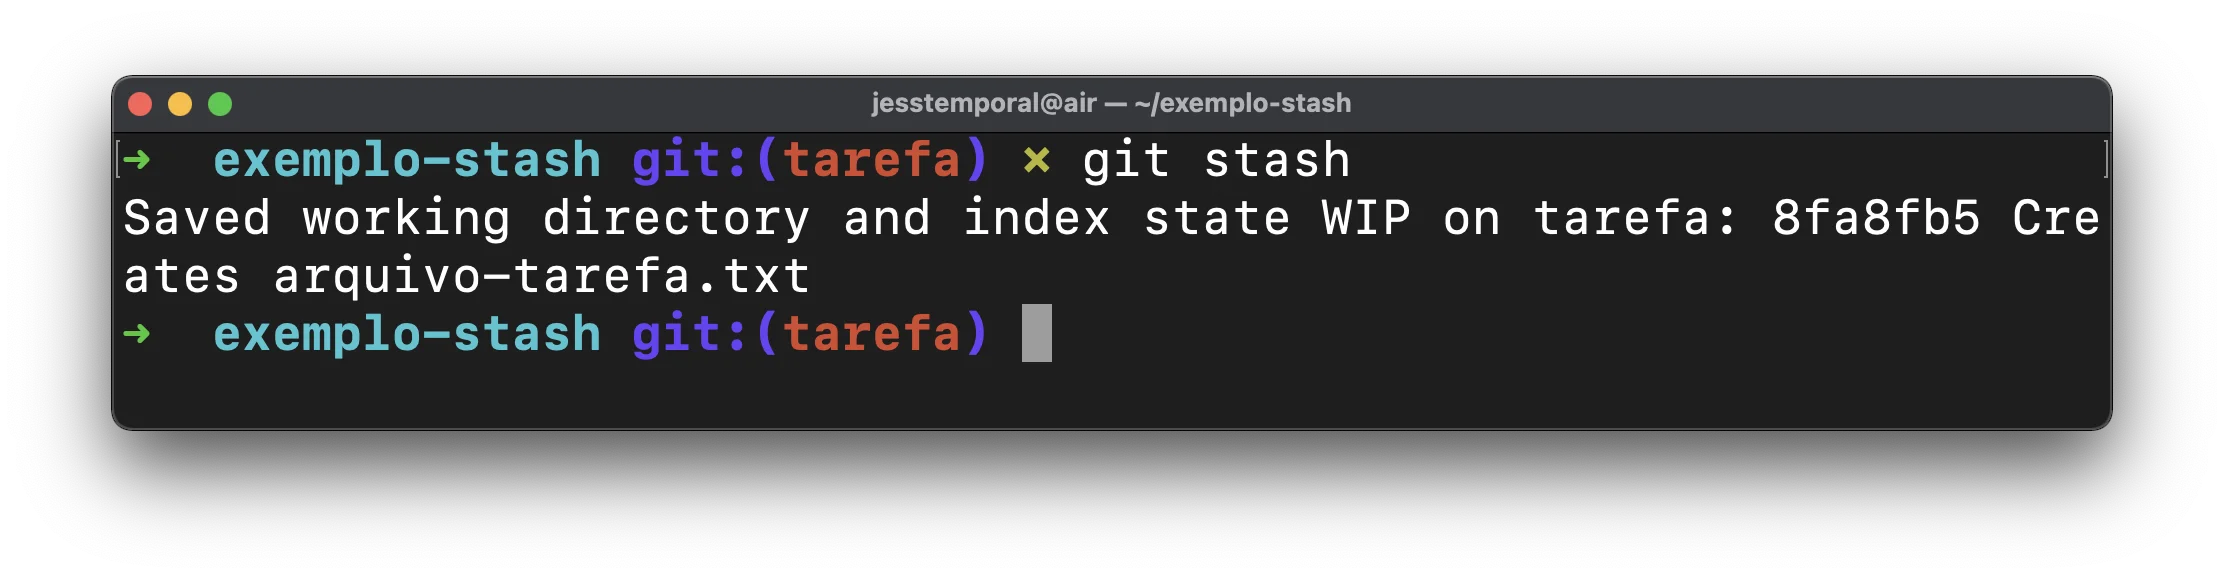
Now you need to save the work you’ve already done before going back to the branch main. To do so, use the following command:
|
|
This command is a shortcut to the full command, git stash push. Now that the stash is done, you will see an output similar to the following:
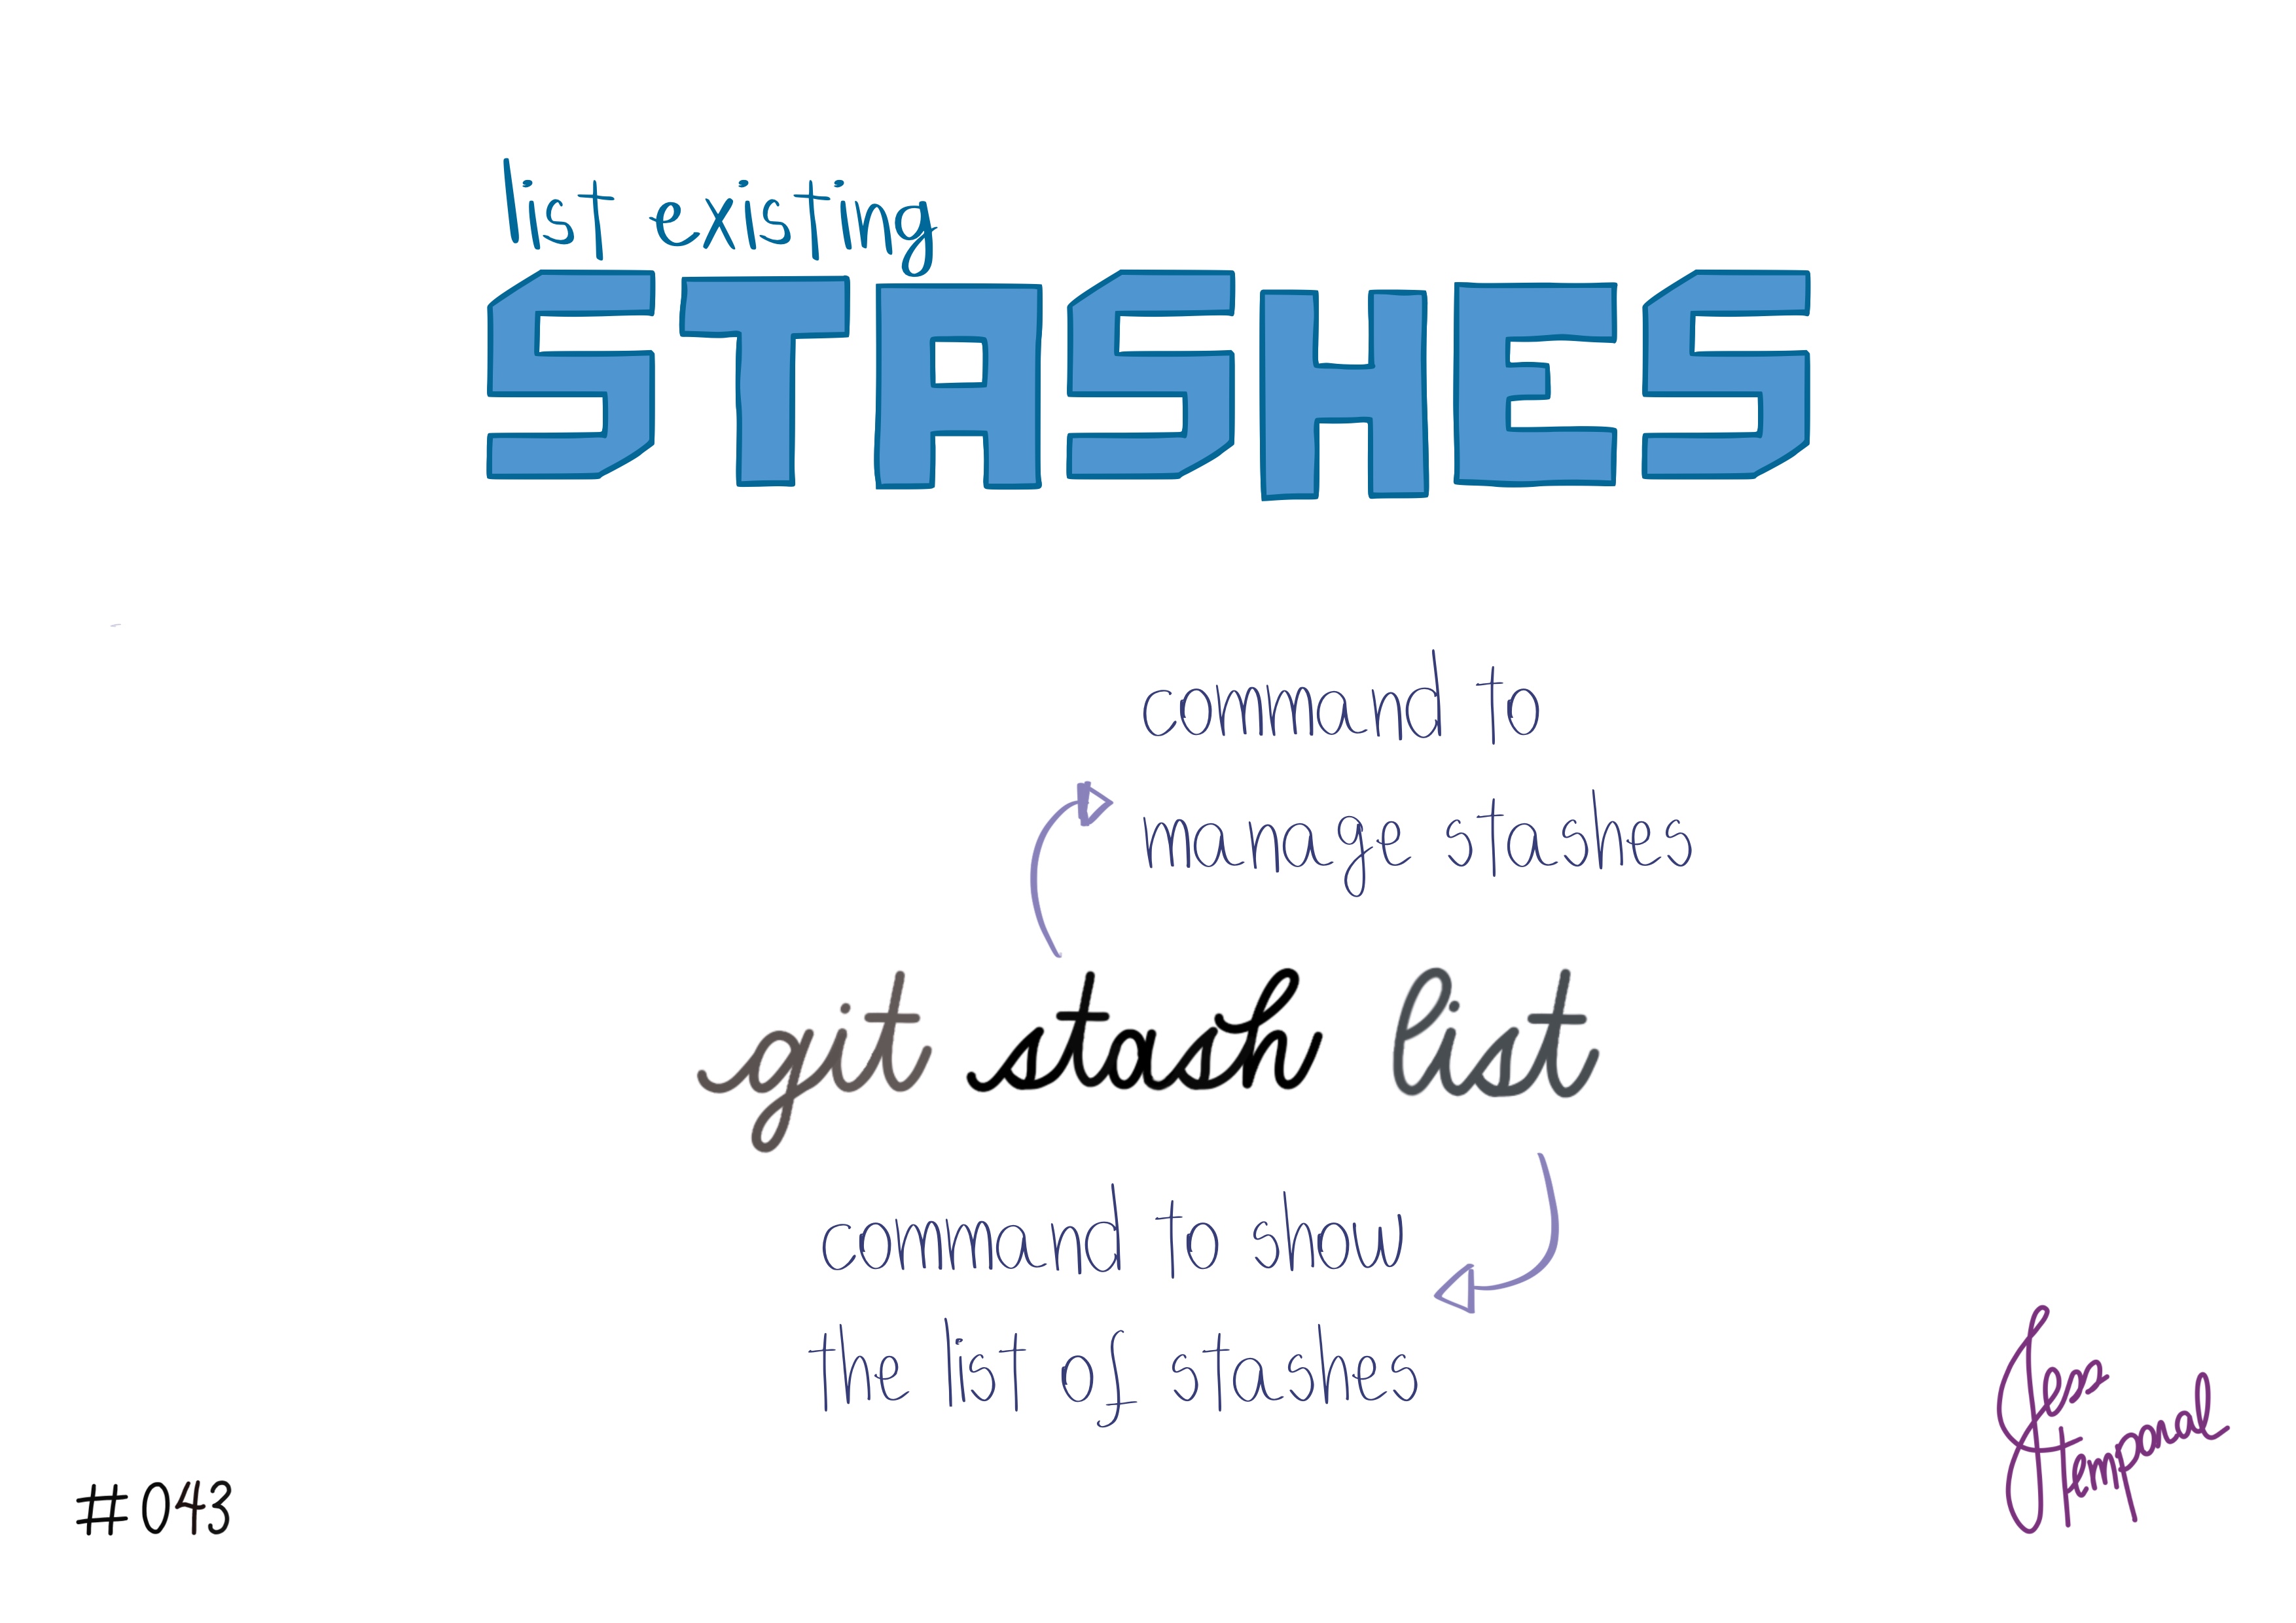
You can also see the stash you just made using the command git stash list to see the list of existing stashes:
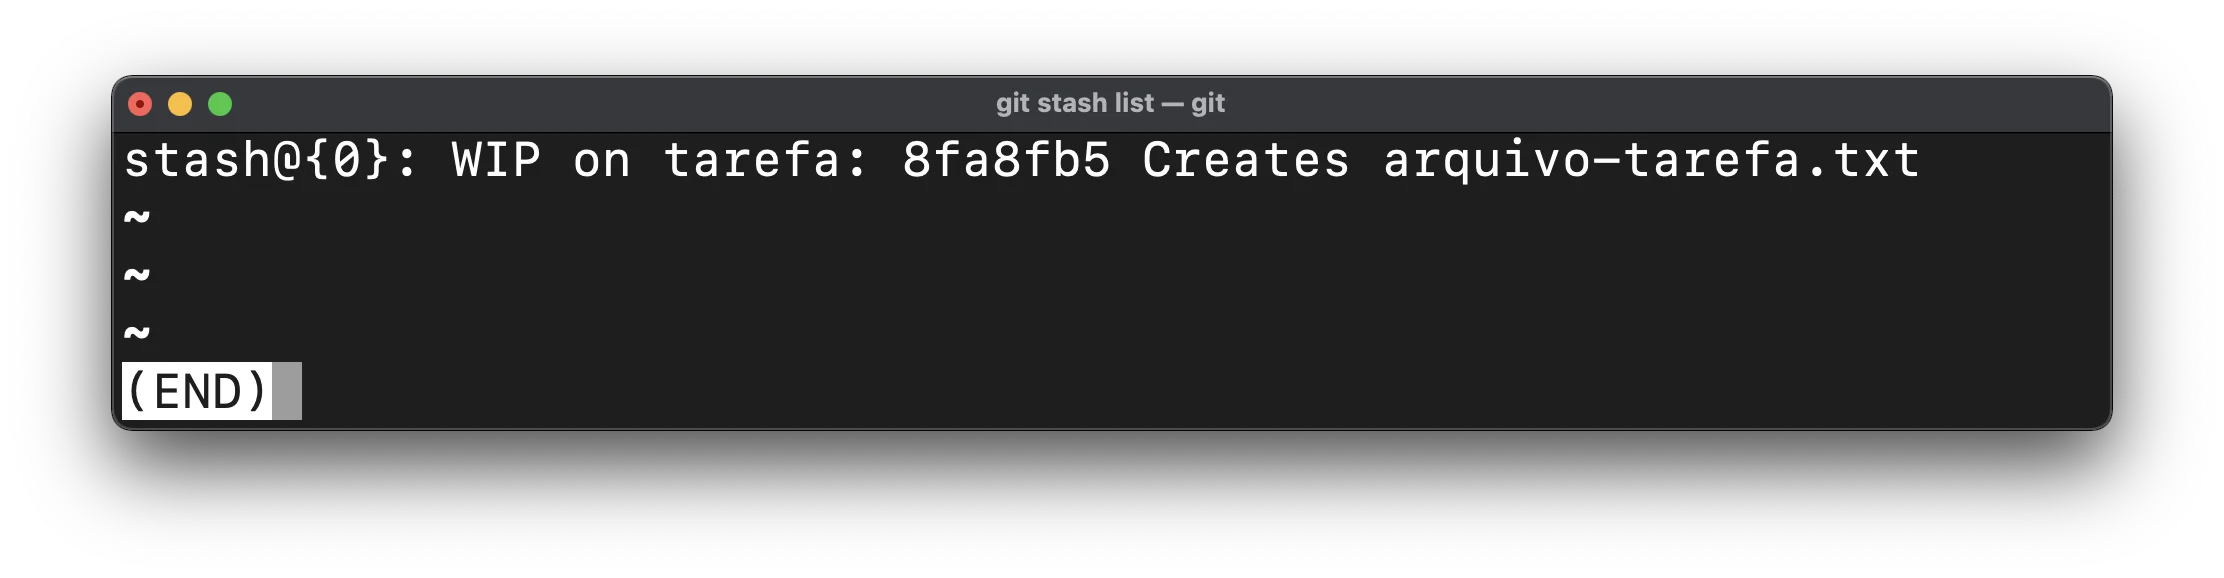
Note in the image above that the stash listing always displays the stash index and a message. Now that your work is saved, you can seamlessly switch branches and resolve whatever you need to. It’s worth pointing out that stashes are not tied to a branch, so you will still be able to see your stash in the list even after switching branches.
Getting back to work with a pop
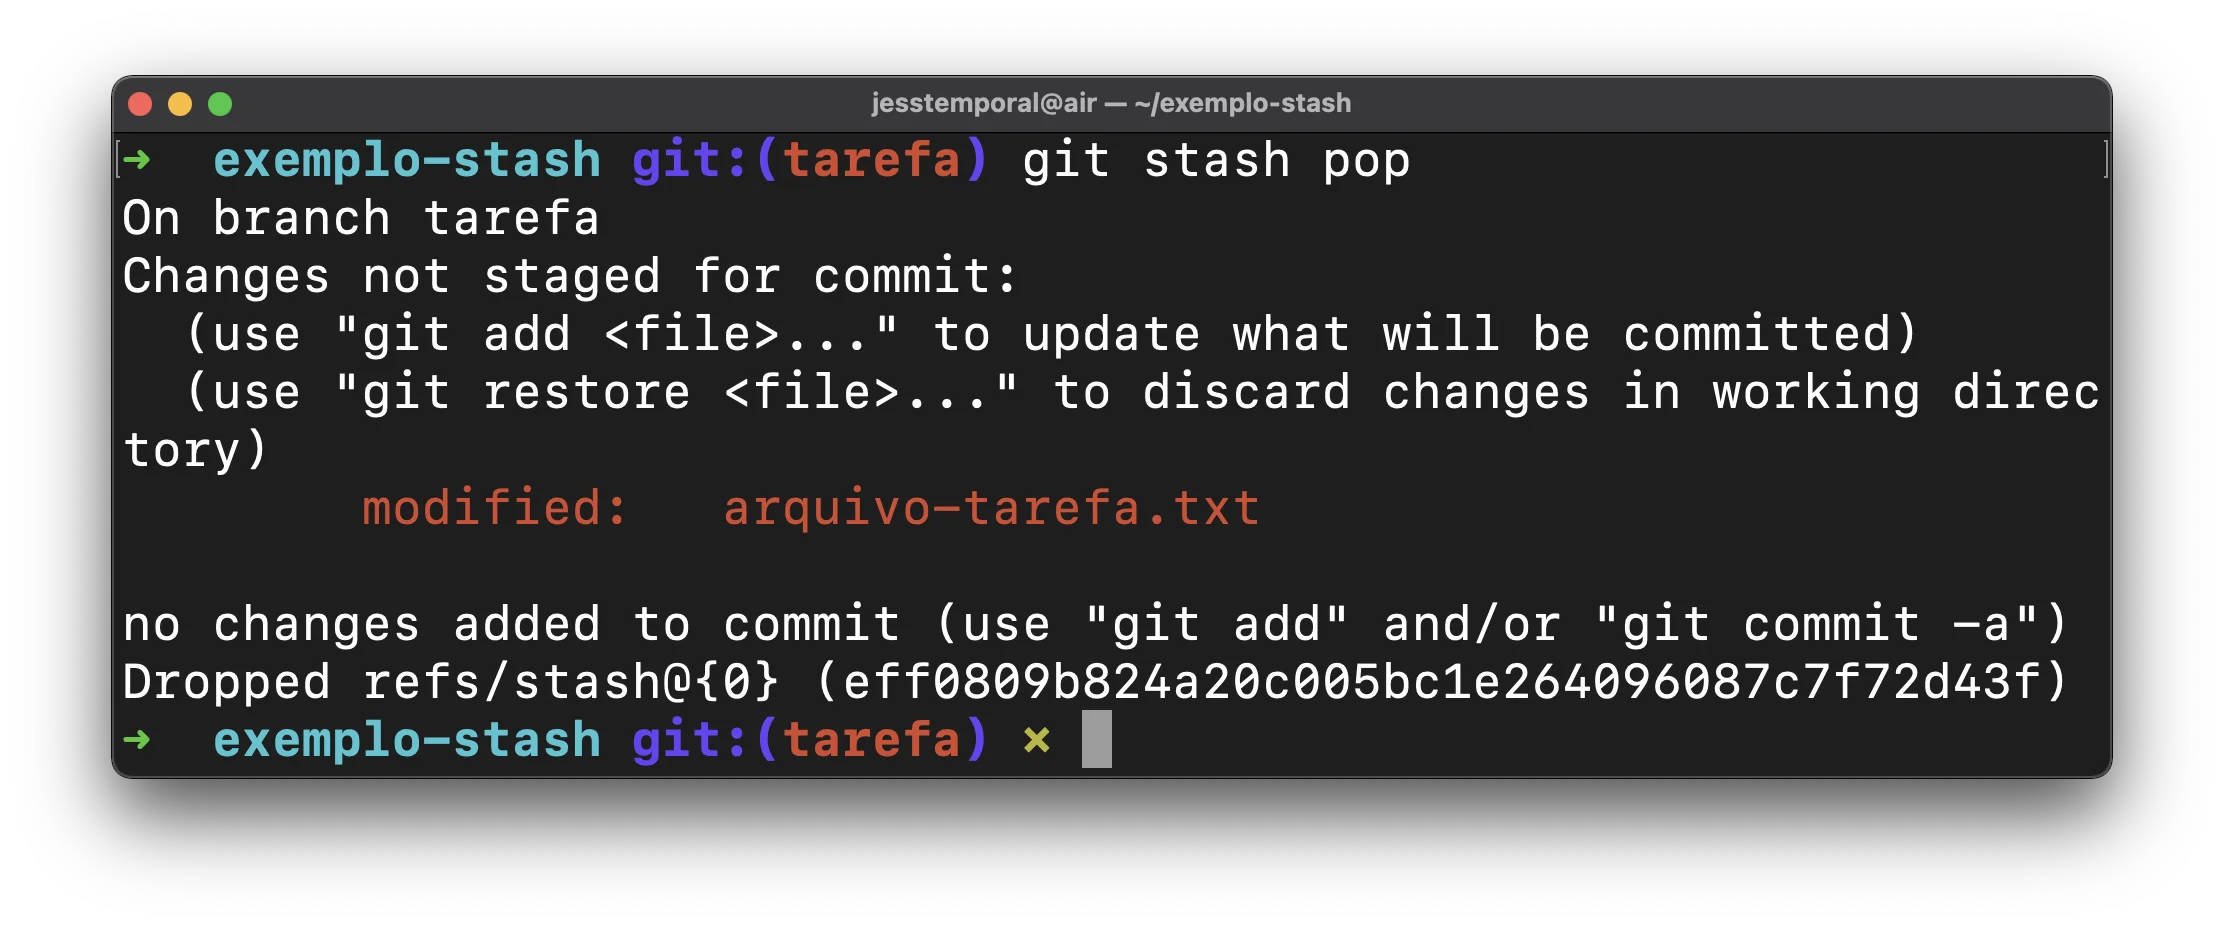
After you finish adjustments on the branch main, you can finally get back to working on that feature on branch tarefa. To “unstash” the stack and apply the changes you saved, use the following command:
|
|
pop will remove the most recent stash from the stack and apply the changes it contains, and you should see an output that looks like this:
Now you have everything you need to continue your work.
Keeping the stash with apply
What if you want your changes back but you would like to keep the stash around, maybe to apply it on more than one branch? That is what git stash apply is for. It works just like pop, except it does not remove the stash from the stack:
|
|
The short version: pop applies the stash and removes it, apply applies it and keeps it. Reach for apply when you are not sure you are done with those changes yet.
Cleaning up with drop
Since apply leaves the stash on the stack, at some point you will want to clear it out. Use git stash drop to remove the most recent stash without applying it:
|
|
You can also drop a specific stash by passing its index, for example git stash drop stash@{2} to remove the one at index two. And if you want to wipe every stash at once, git stash clear does that.
How to add a new file to a stash
As I said before, new files don’t get stashed. This happens because they don’t have previous tracking. For example, let’s say that while working on the branch tarefa, in addition to modifying the file arquivo-tarefa.txt, you’ve also created the file arquivo-2.txt, leaving you with the following result in your working directory:
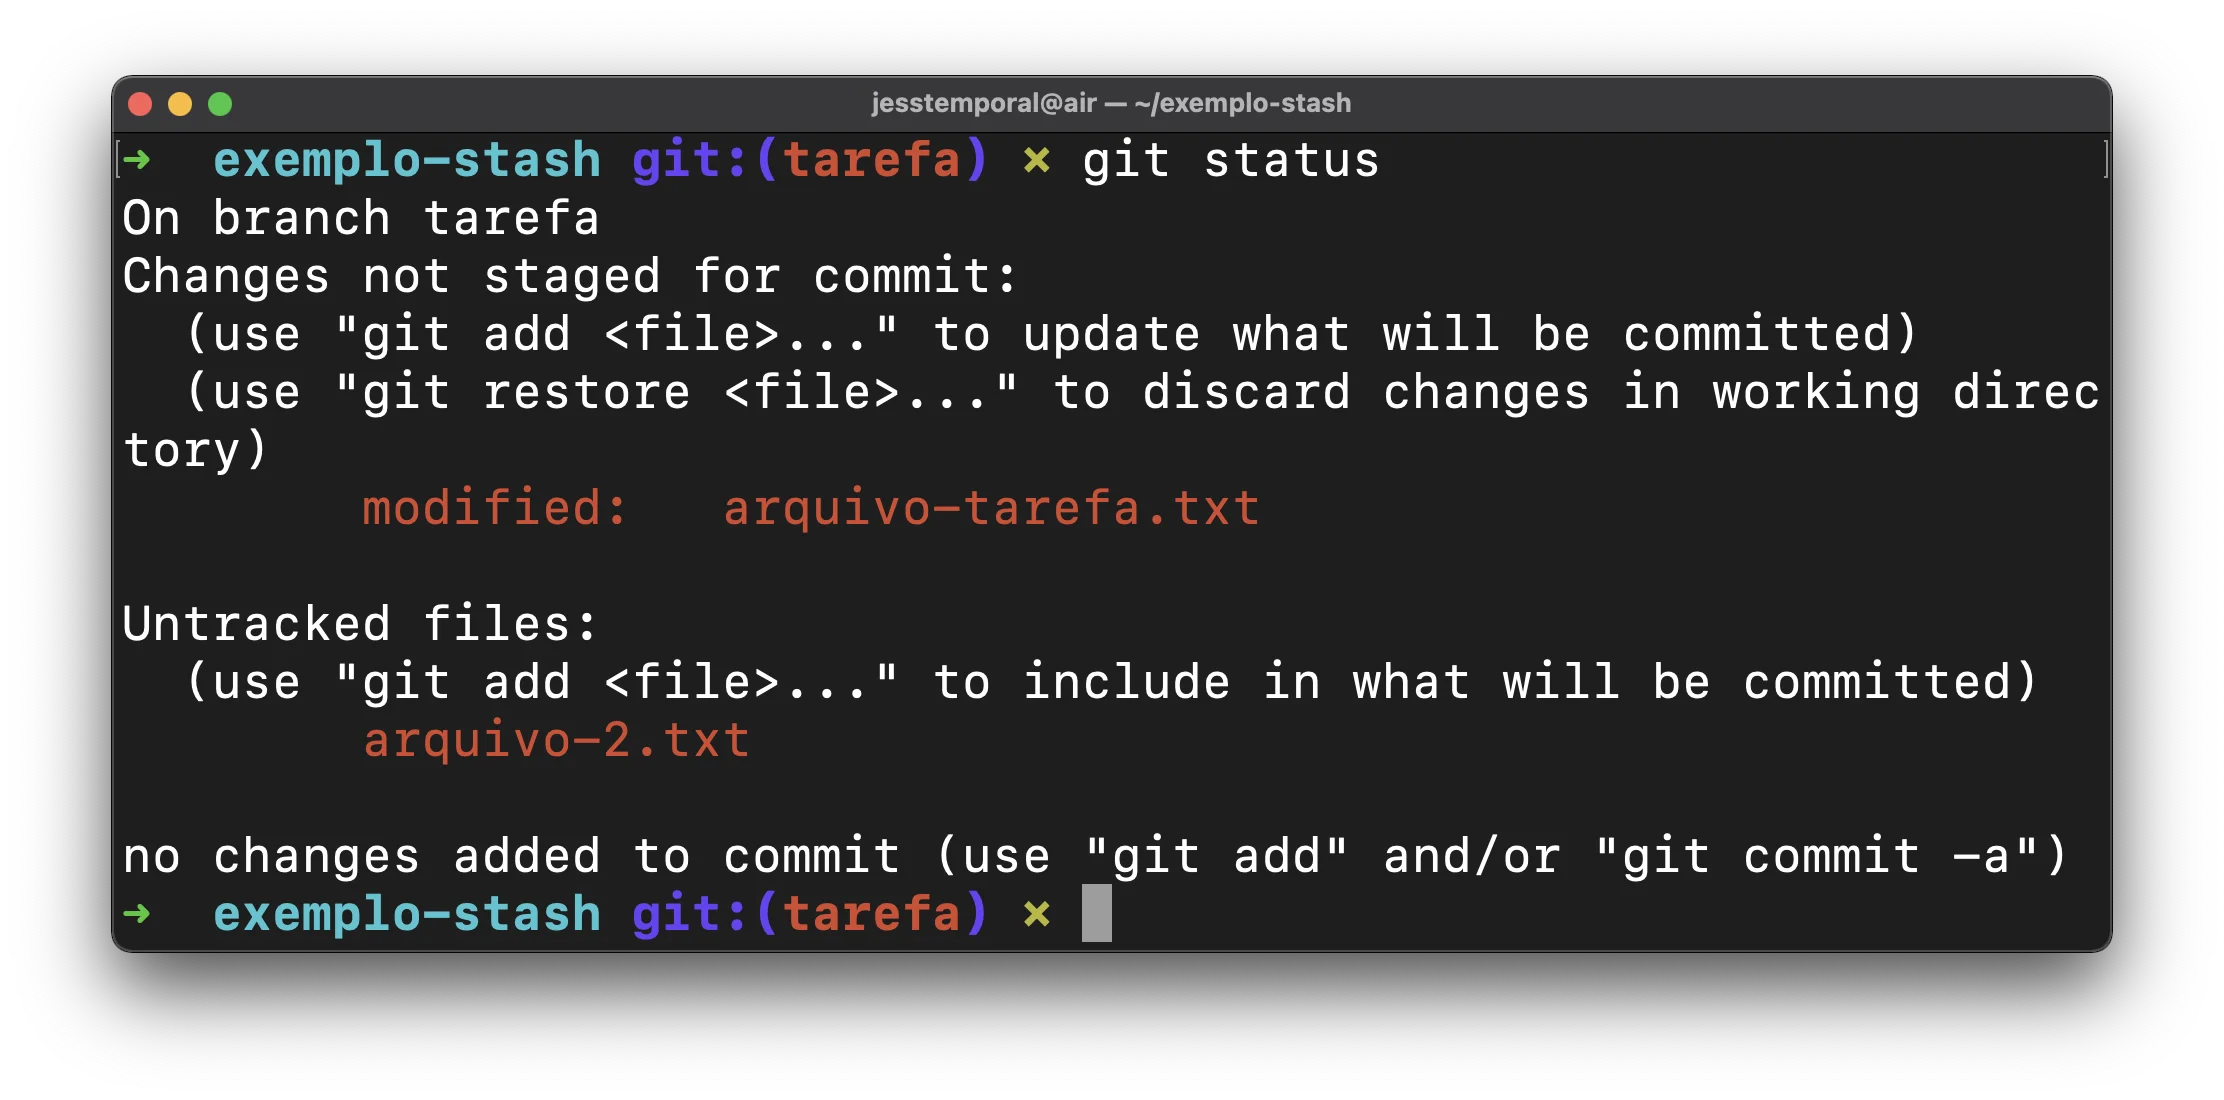
If you try to stash these changes, you’ll see that the new file is still there, alive and kicking:

And then you might be wondering, since the stash command doesn’t take new files into account, how do we get around this behavior? And the good news is that there is a trick to adding new files to a stash: you need to add them to staging!
Then add the new file with git add and you’ll have something like this:

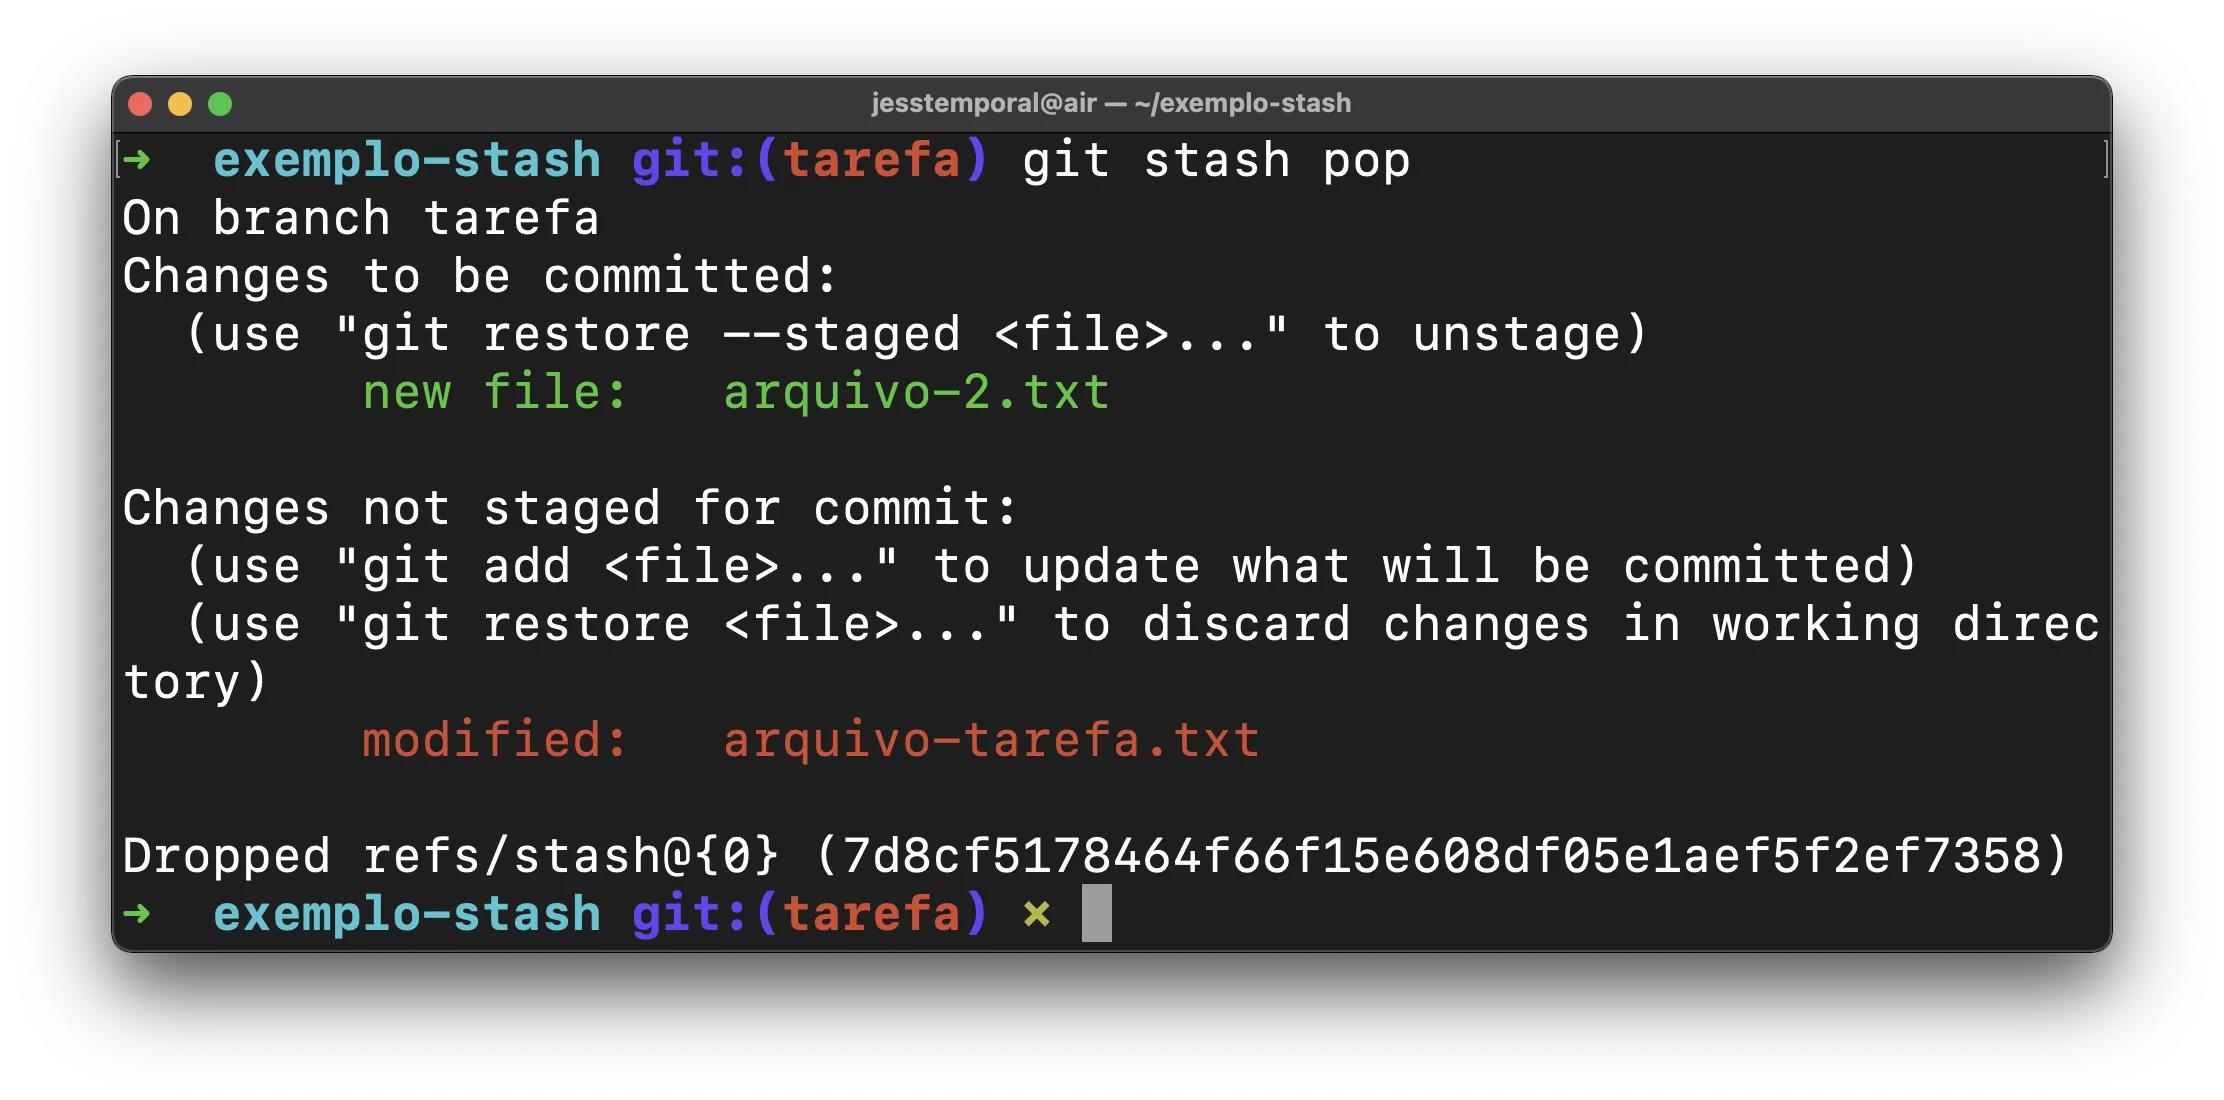
And if you run git stash again you will see that now your stash also saves the new file and as a result you have your working directory clean:

And since you know how to stash it and remove it from the list with git stash pop, you will see that the new file also comes back from the stash on staging:
And now you already know how to use git stash. 🎉
If a stash ever seems to vanish, or you lose work to a reset or rebase, the git reflog can help you recover it.
GitFichas | GitStudyCards


Hope these commands help you to stop the work you’ve done and get back to working on the changes.