GitHub Codespaces is a great tool for anyone who wants to write code on the go. Recently, GitHub announced that now all accounts have a free monthly quota of 60 hours to use GitHub Codespaces, so I wrote this blog post with the 3 golden tips in case you want to start using the tool.
Set up dotfiles to customize your experience
I really like to customize my terminal so that it shows the things I need/like. Most of these settings stay in a set of files popularly known as dotfiles these are those files that start with a . such as .zshrc and .bashrc.
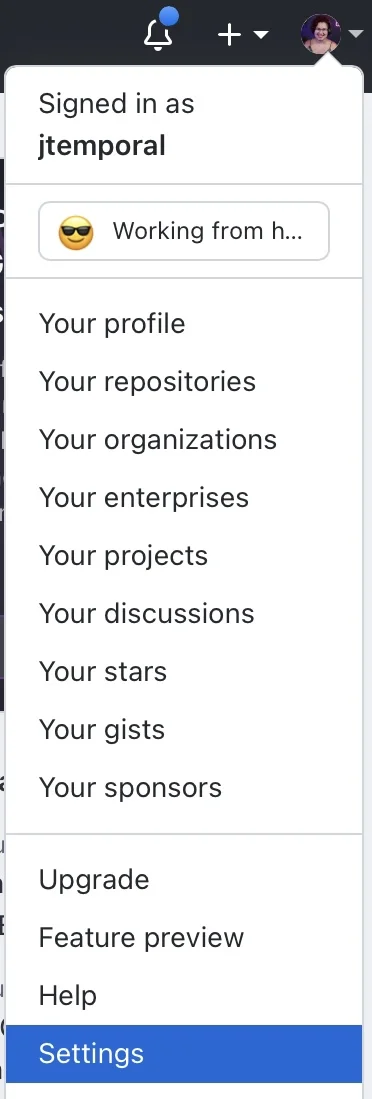
It is also common to store such files on a GitHub repository named dotfiles, for example here is my collection of dotfiles. To enable the use of these files in your Codespaces, click on your photo in the upper right corner and choose Settings from the menu that appeared.
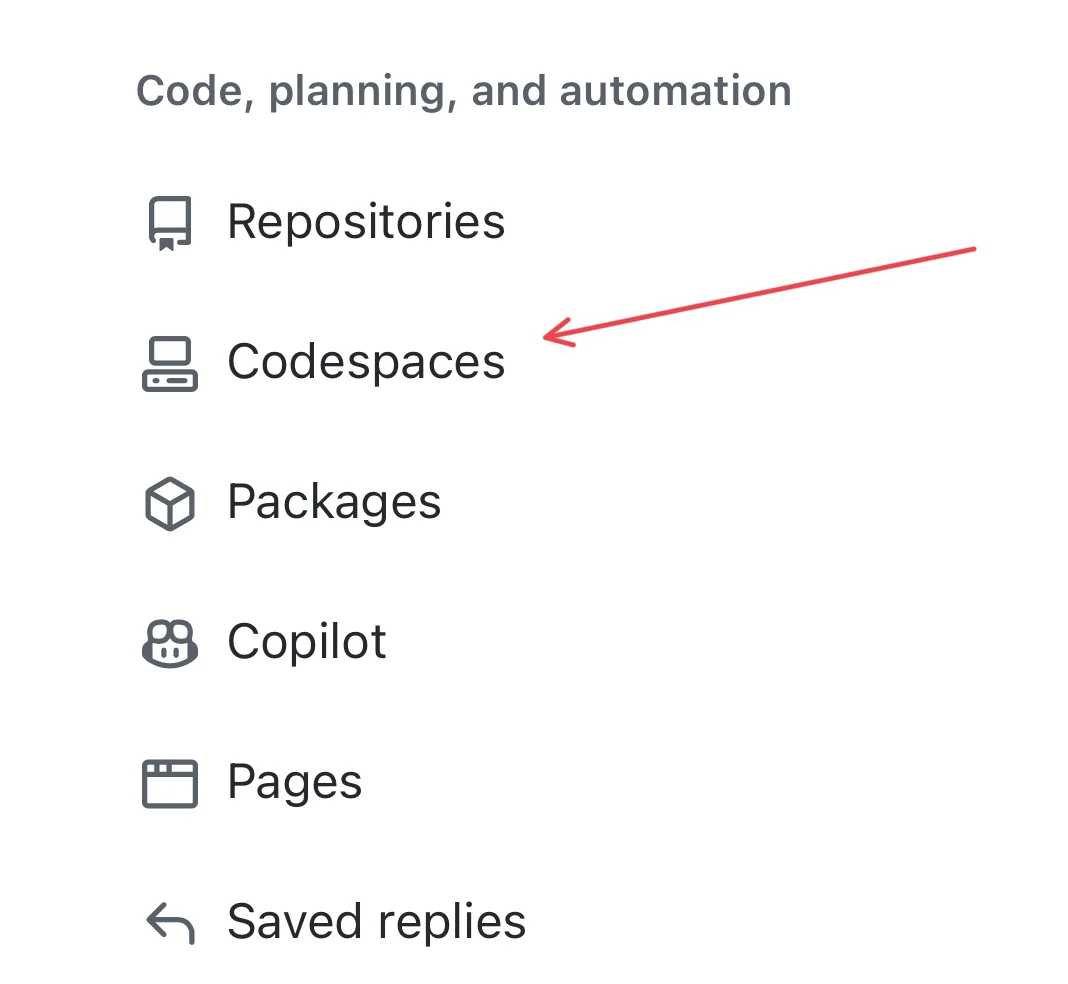
Once in the settings dashboard, find the Codespaces option on the left side menu in the Code, planning, and automation section and click on it.
This will take you to the Codespaces settings page and then the first section called Dotfiles will appear.
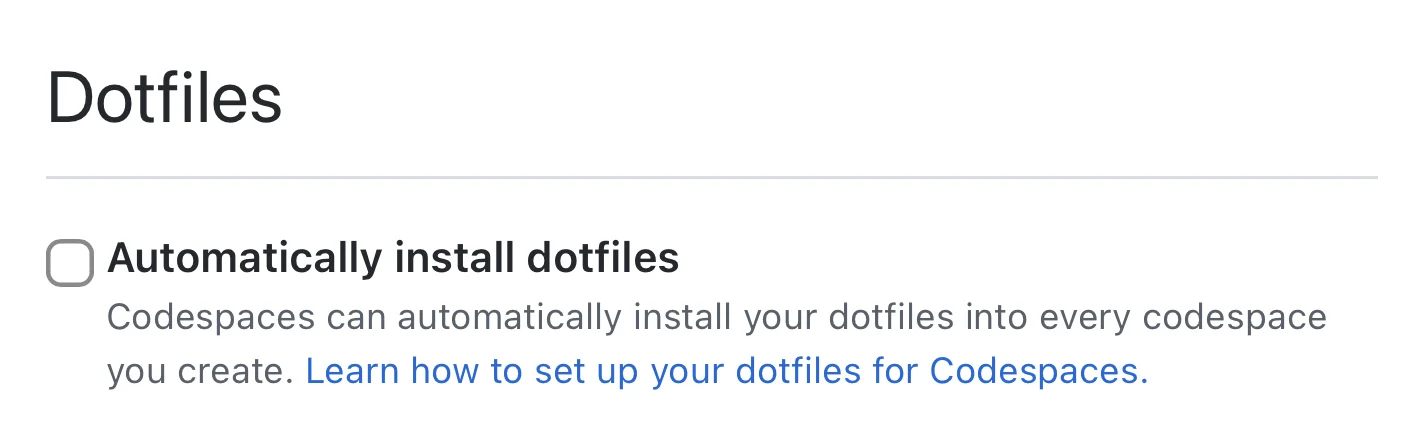
Now click on the checkbox to install the dotfiles automatically on Codespaces and if you have a repository called dotfiles GitHub will identify your corresponding repository and use it here.
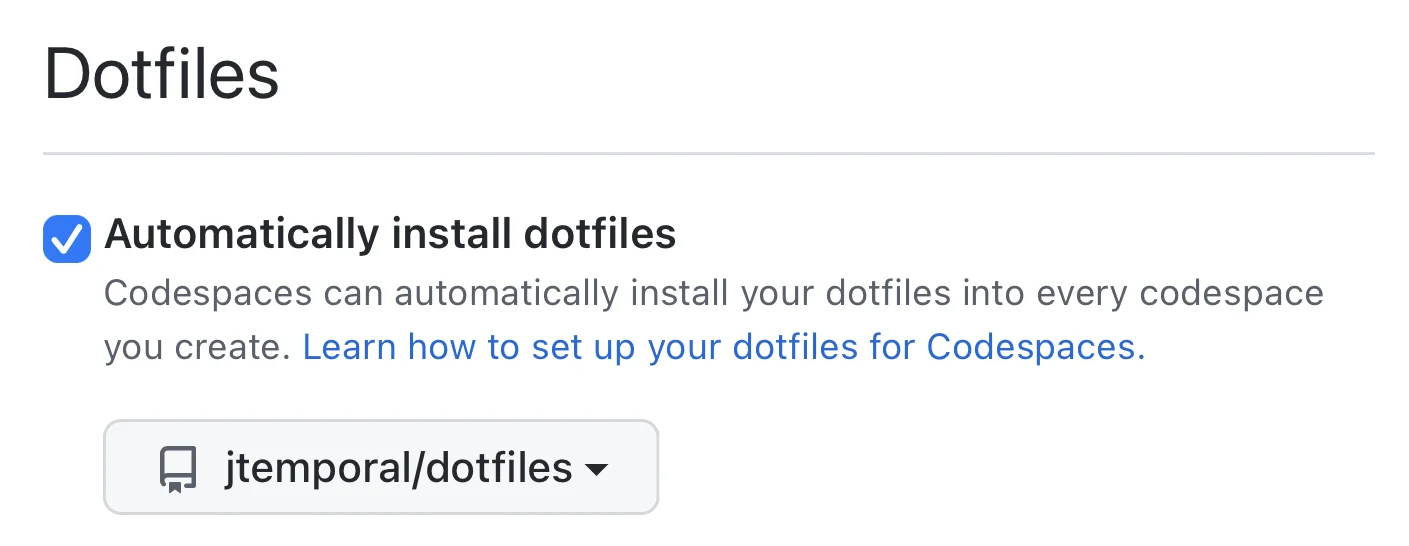
Keep in mind that you can switch to another repository if you want. Finally, it is good to point out two things:
- Changes in files in the dotfiles will only take effect after the creation of a new Codespace;
- Codespaces doesn’t use SSH to run git actions so if you have settings for that in your dotfiles like I did you’re going to have problems (the solution is to remove that).
Use the Codespaces Management Dashboard
Now that you have 60 hours free per month to play with Codespaces, you might be tempted to create Codespaces for all your repositories, after all, in theory, you can do that, but it’s good to learn to keep a clean house too.
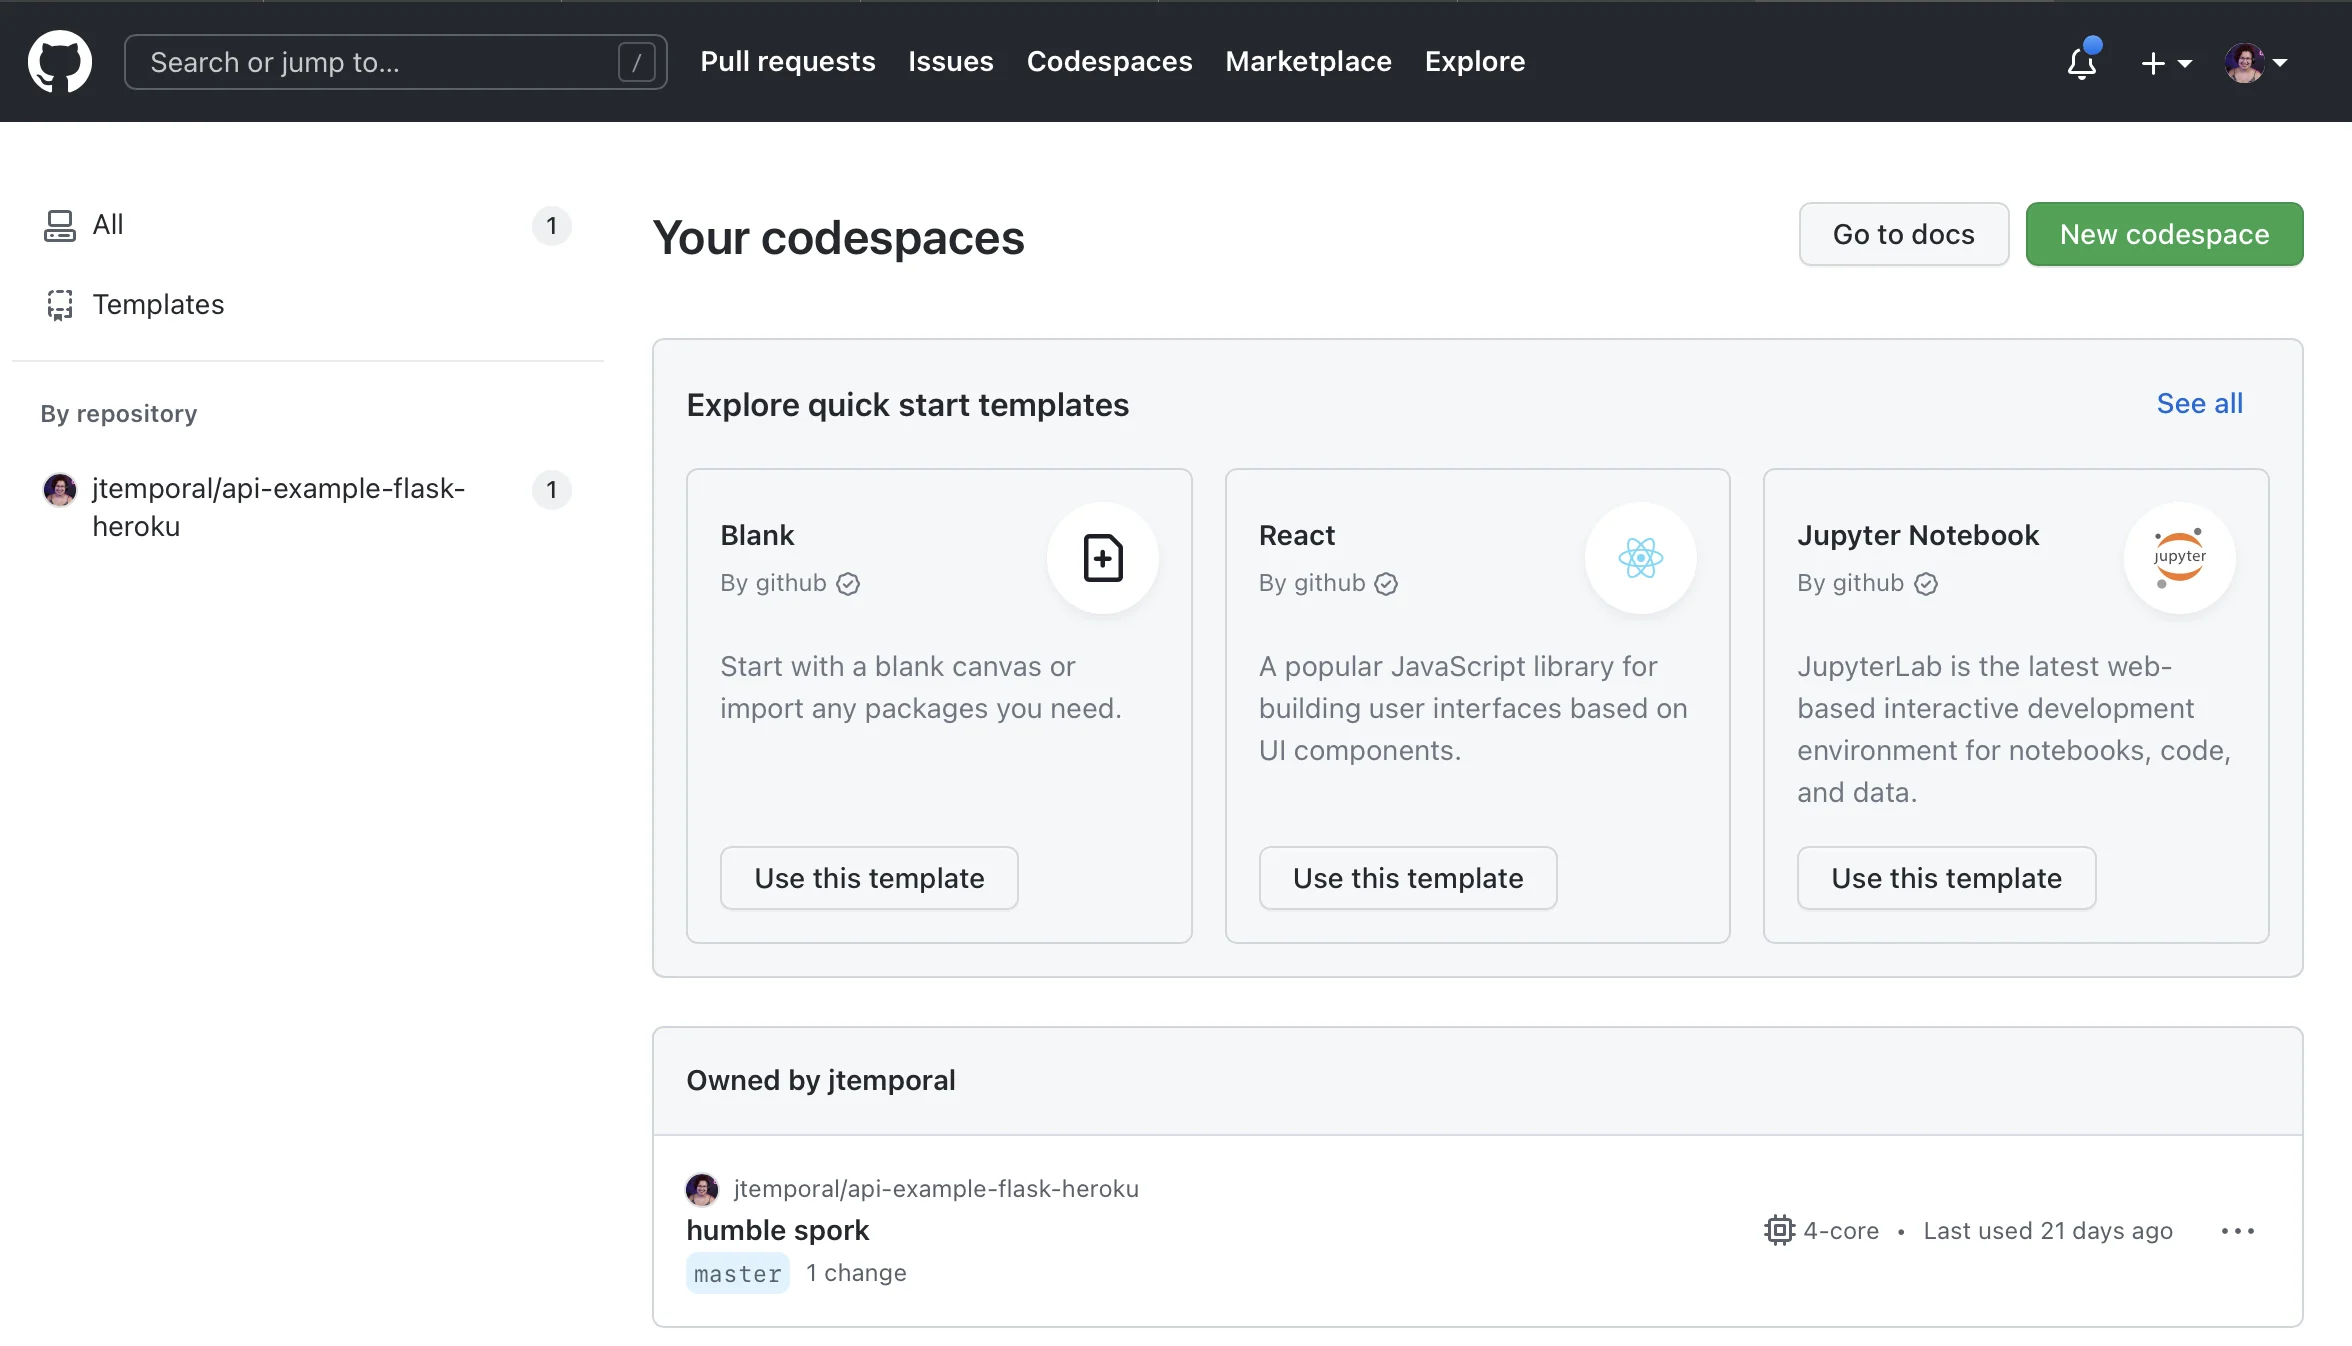
To make your work easier there is a page where you can see all the Codespaces you have and the status of each one as seen in the image above, just access github.com/codespaces. I also recommend you get into the habit of doing this regularly to help keep your free quota, well, free.
Learn how to use GitHub in the VS Code interface
Finally, the part that can take the most time: using GitHub integration in the VS Code interface. There is a VS Code extension called GitHub Pull Requests and Issues that basically allows you to do things like review pull requests and interact with issues directly on VS Code.
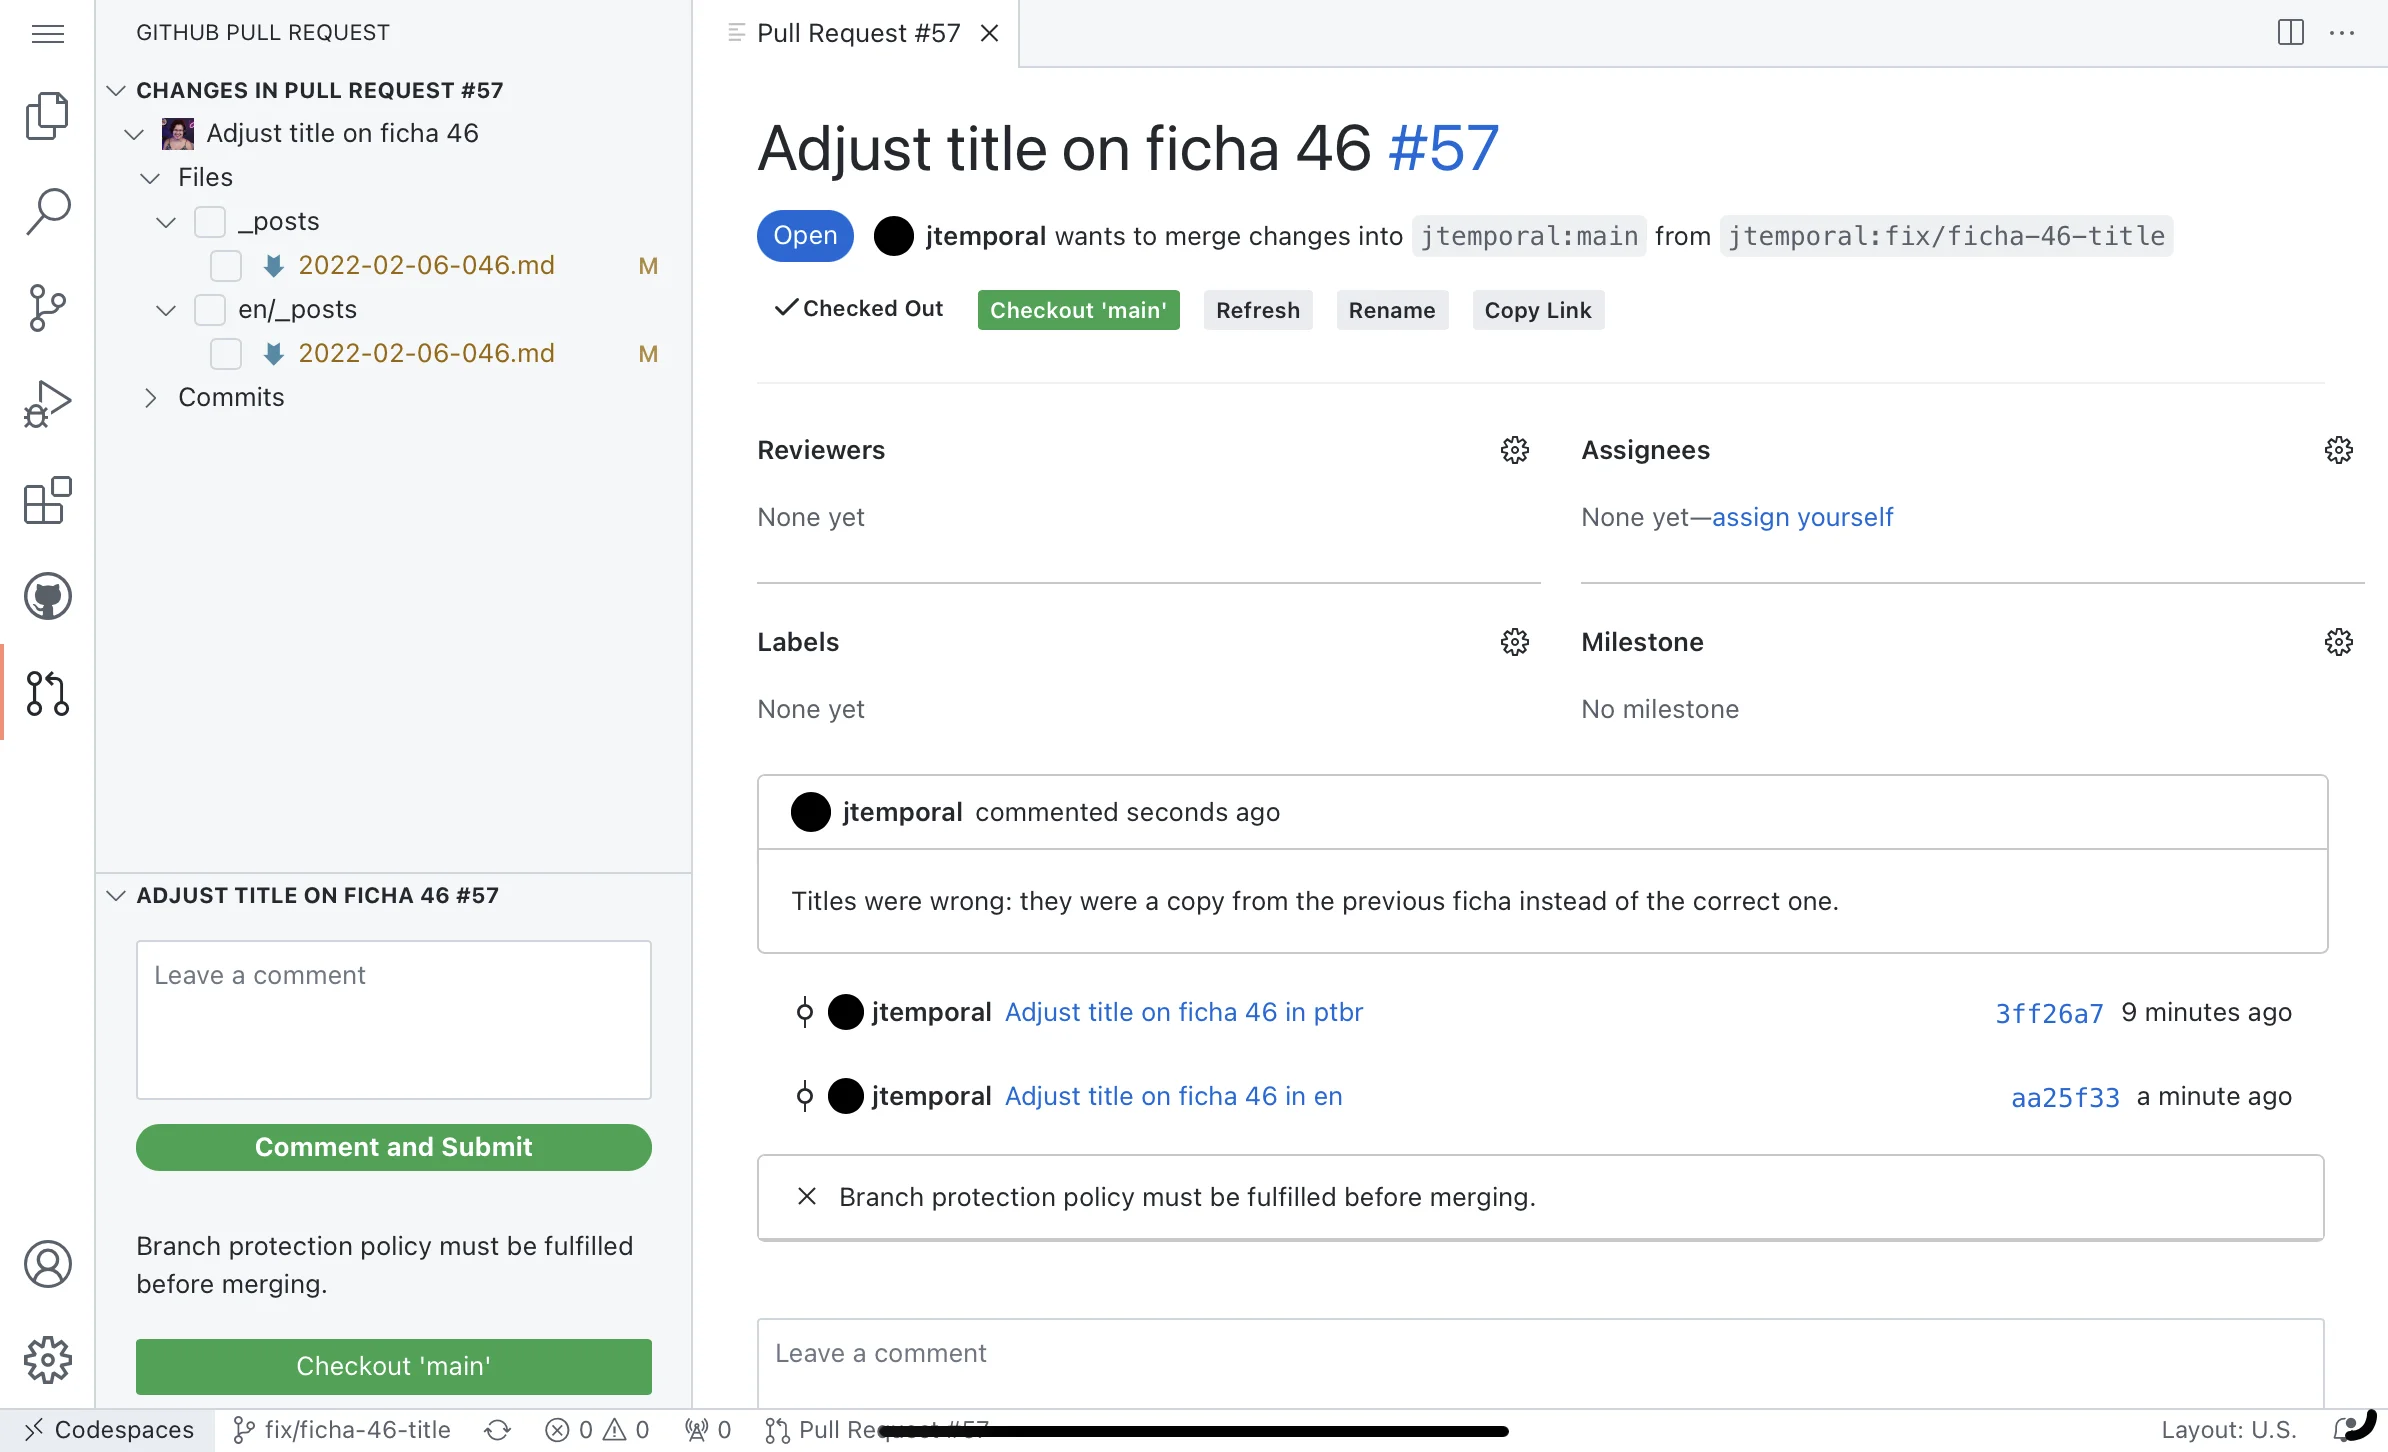
This will speed up your pull request review process because you don’t even have to switch tabs or leave your Codespace to interact.
Recap
These are the three fastest tips to implement that I can think of, in about 15 minutes you can set up and become familiar with each one. Remember:
- Set up dotfiles to customize your experience;
- Get to know the Codespaces management panel;
- Learn how to use the GitHub integration in the VS Code interface.